All Photos from Tasmania
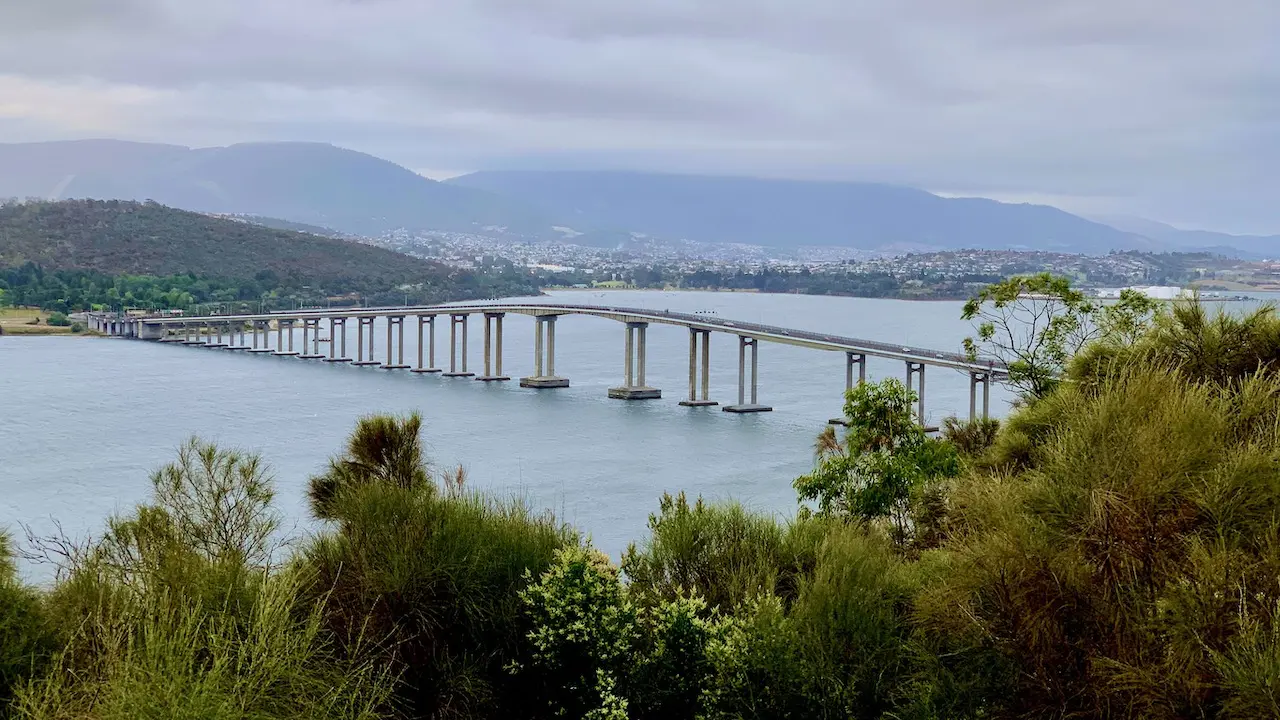
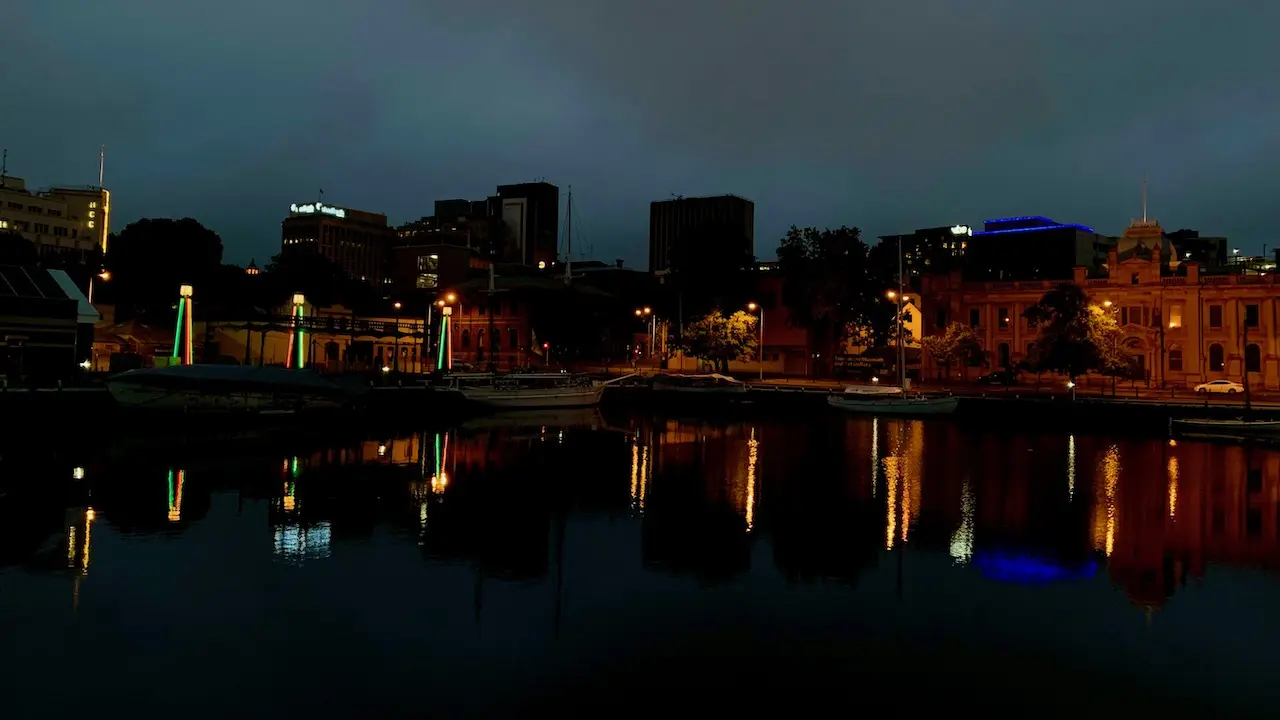
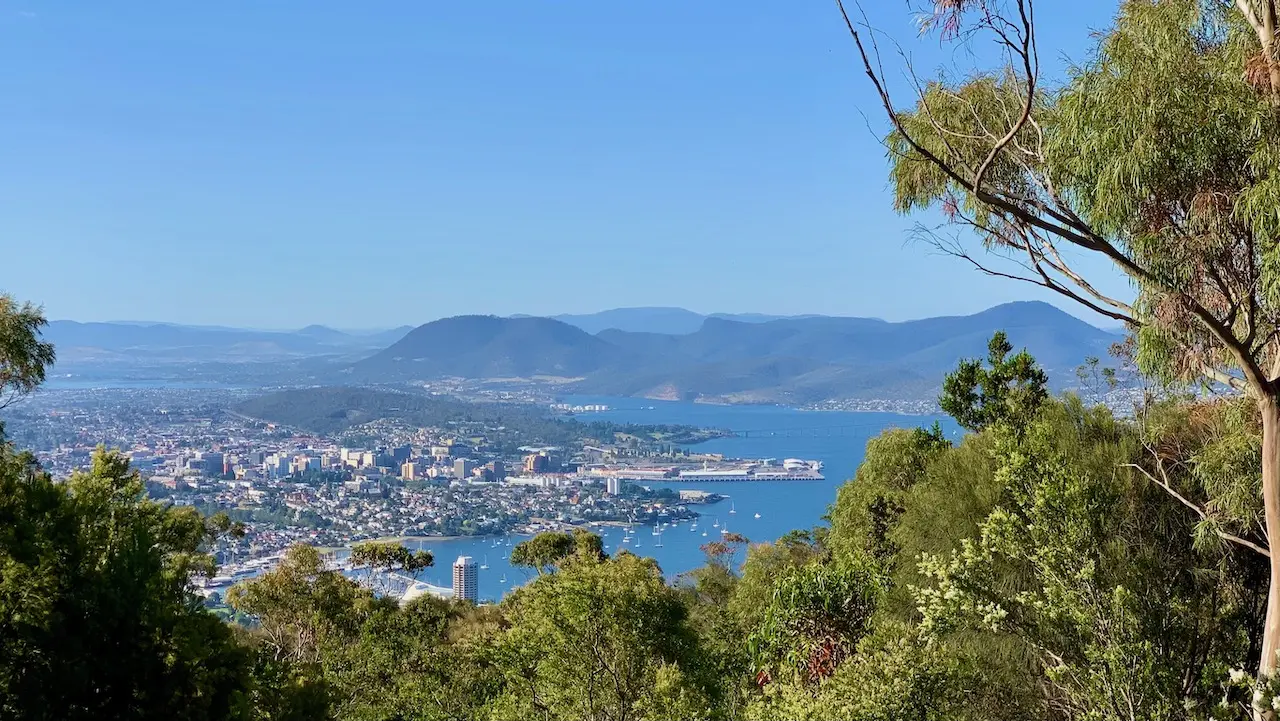
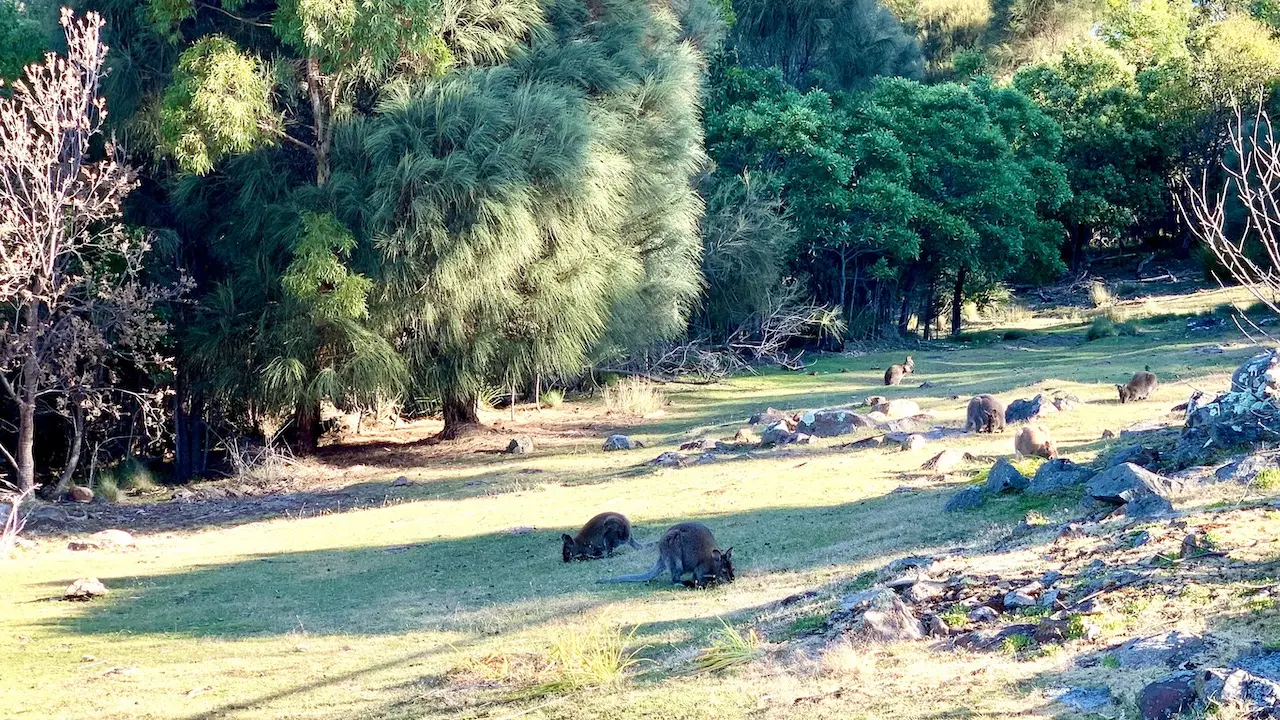
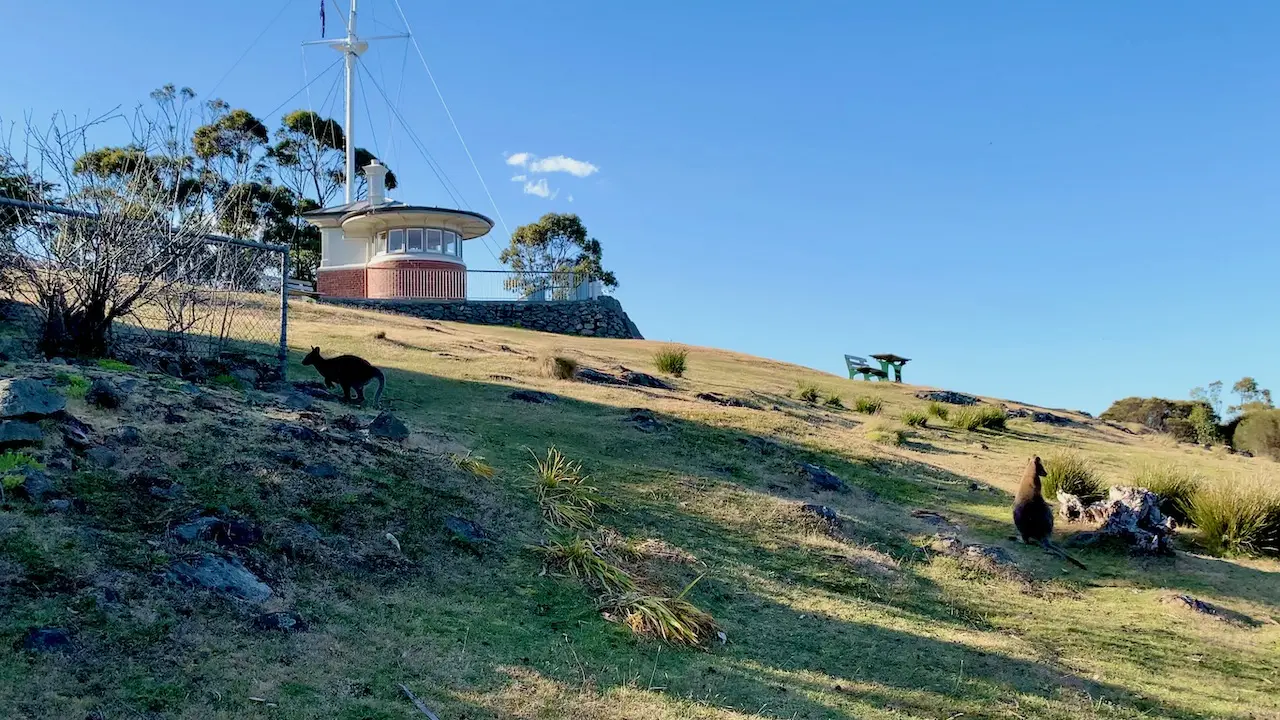
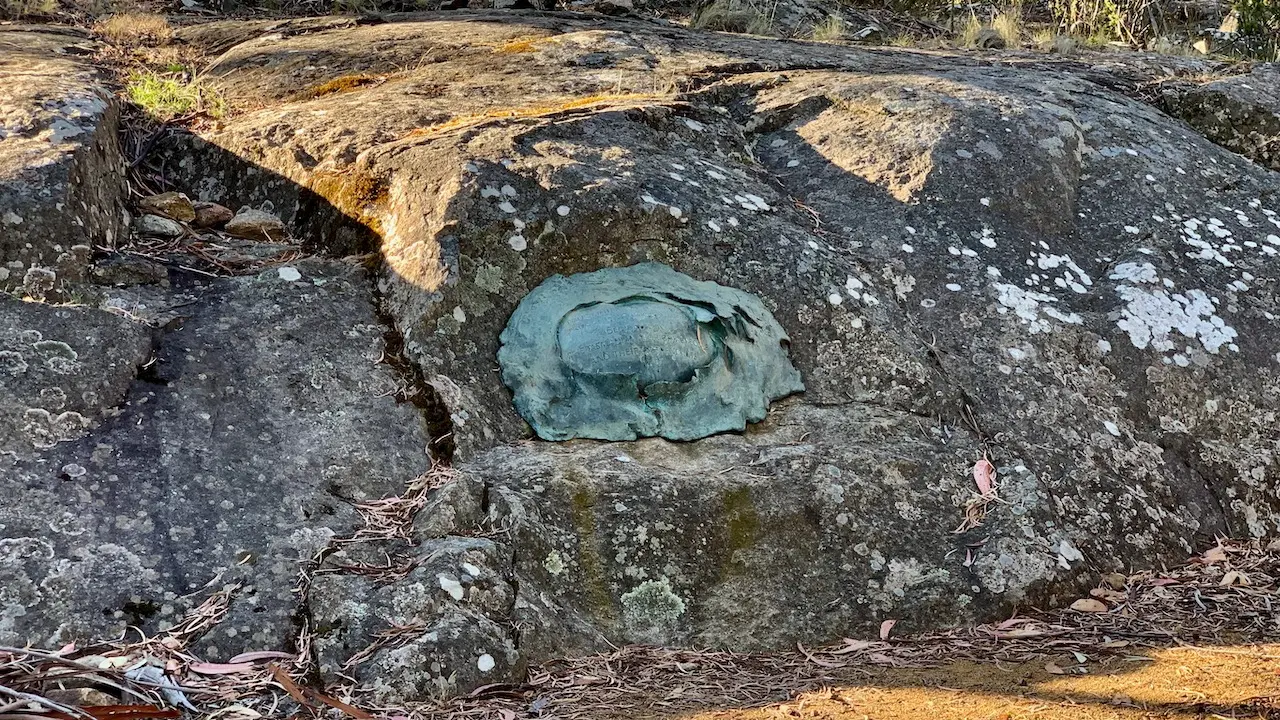
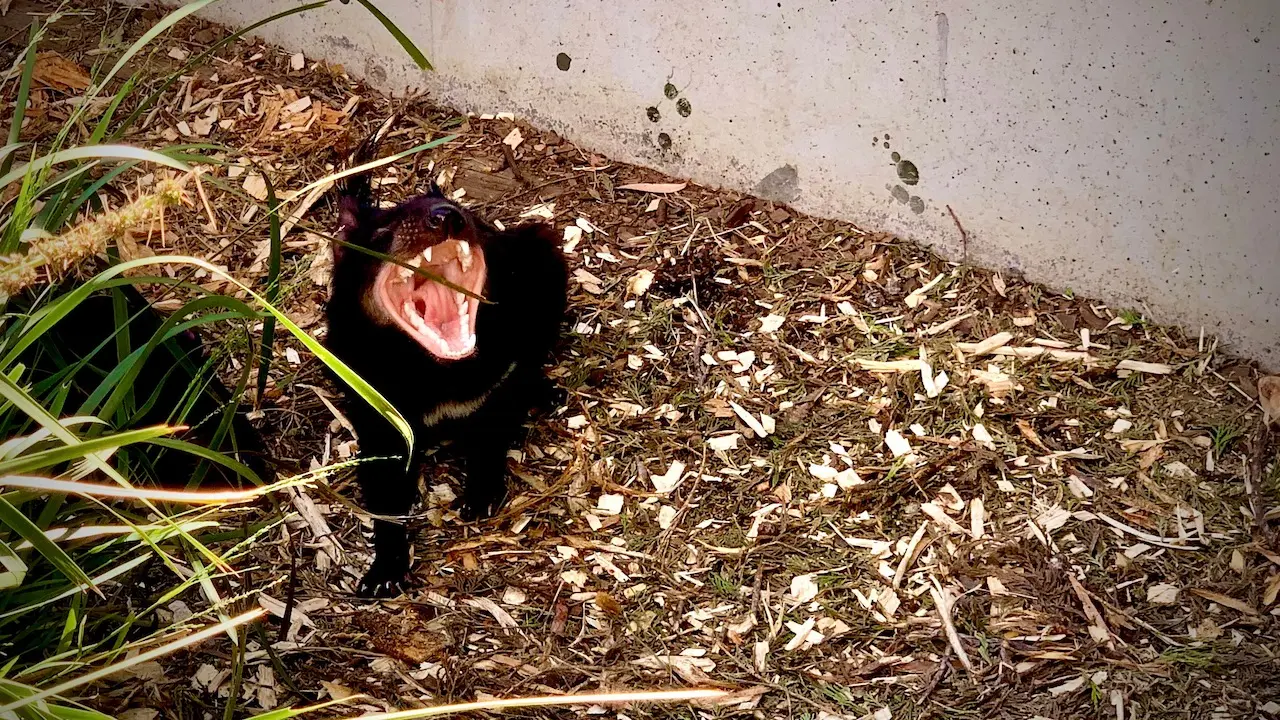
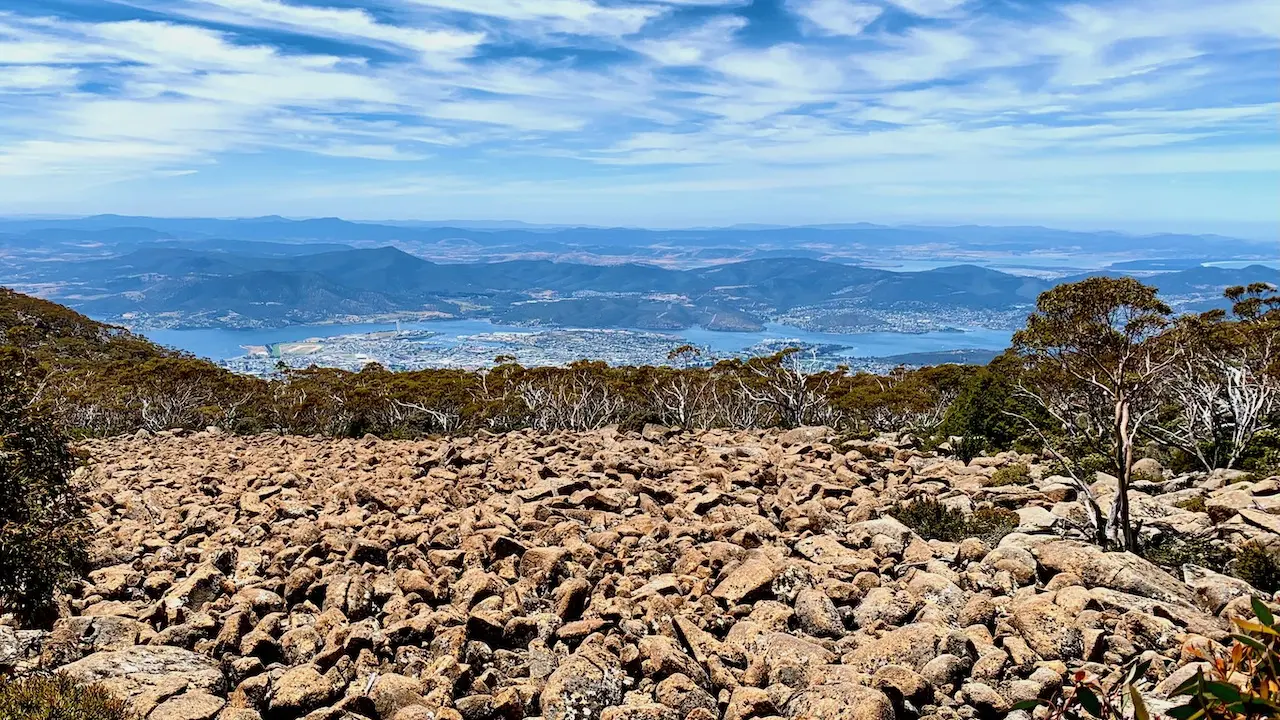
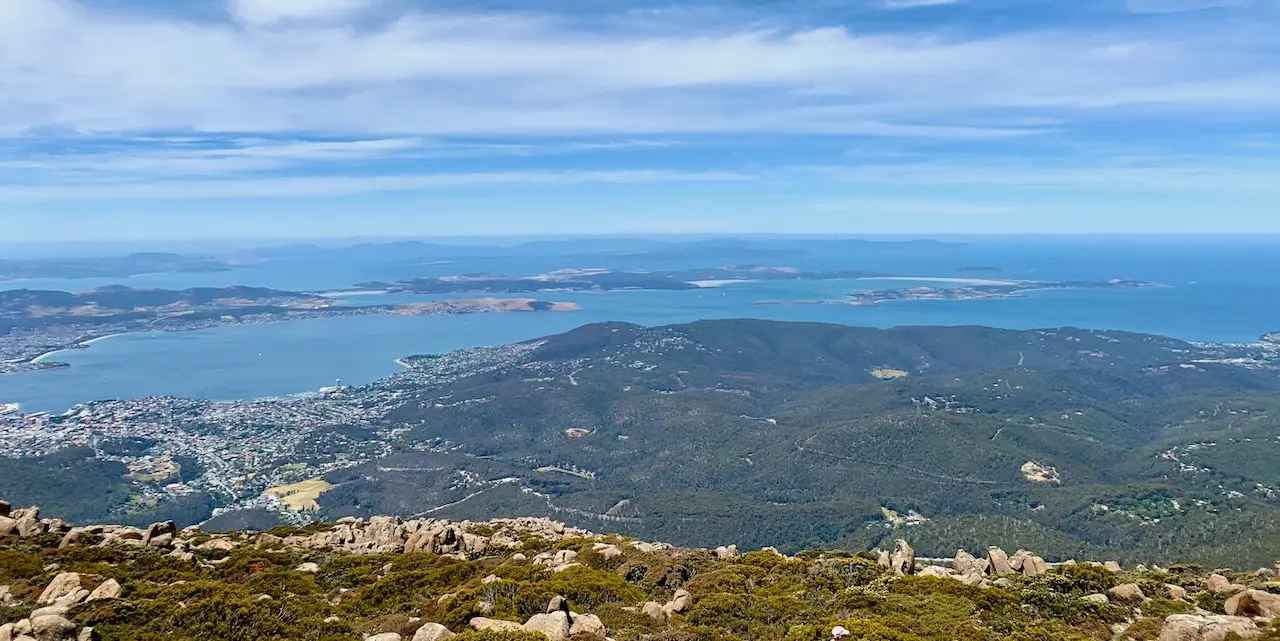
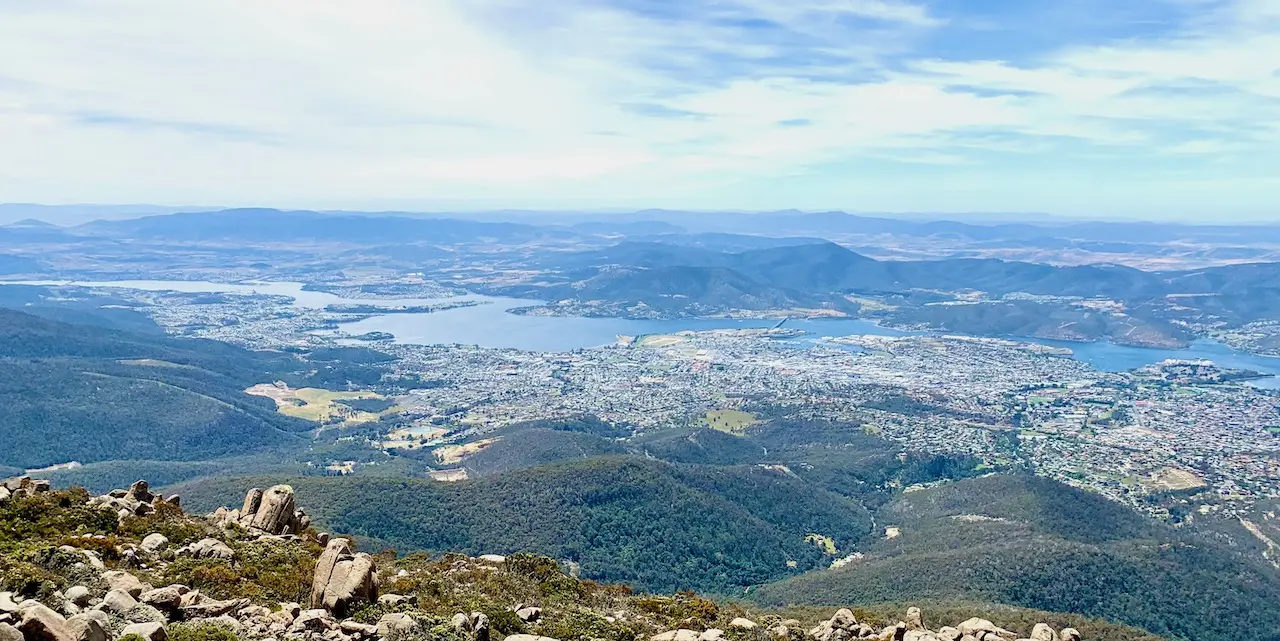
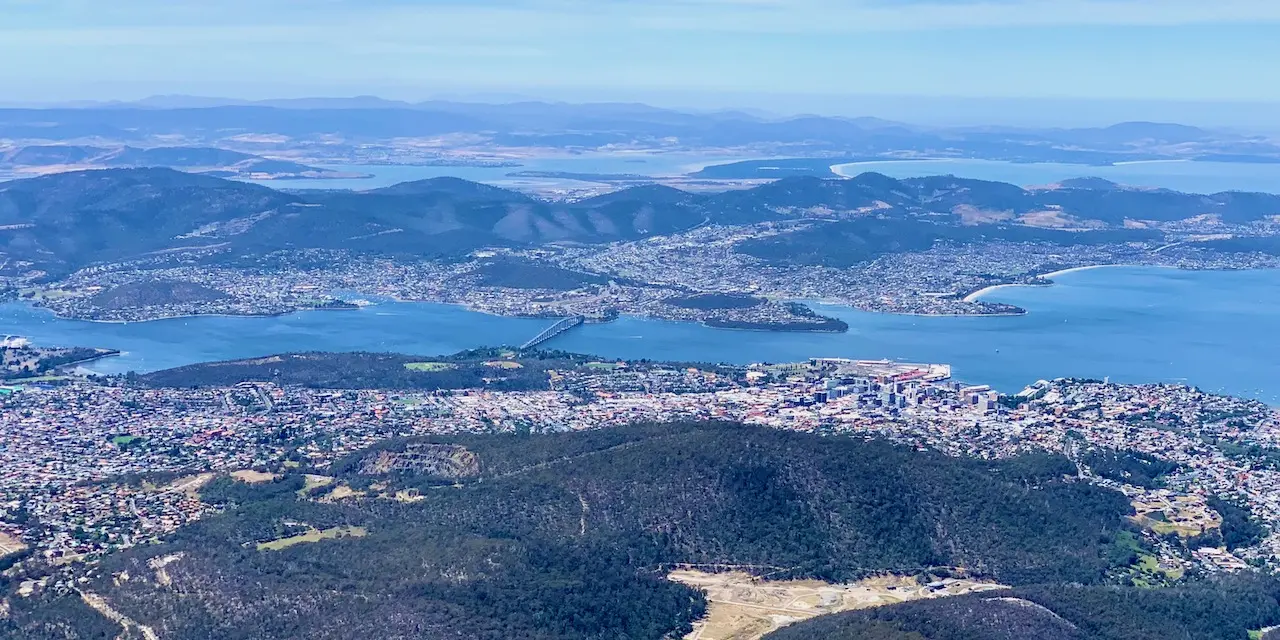
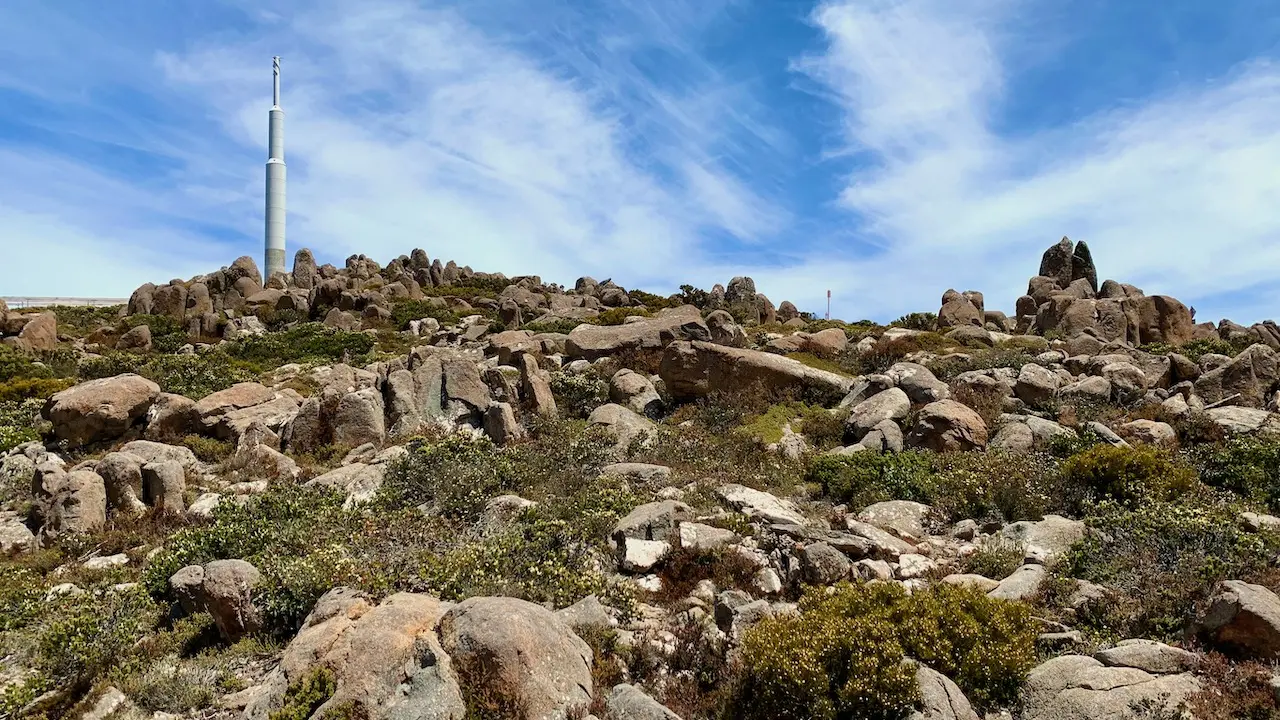
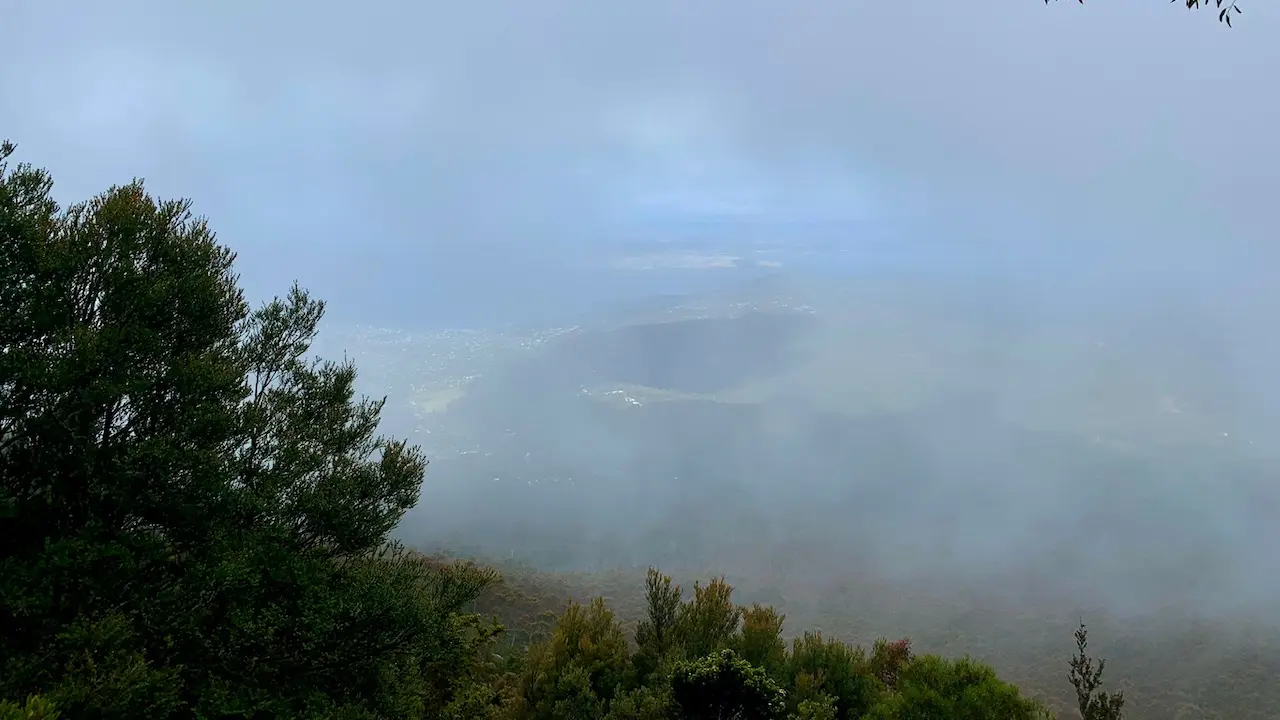
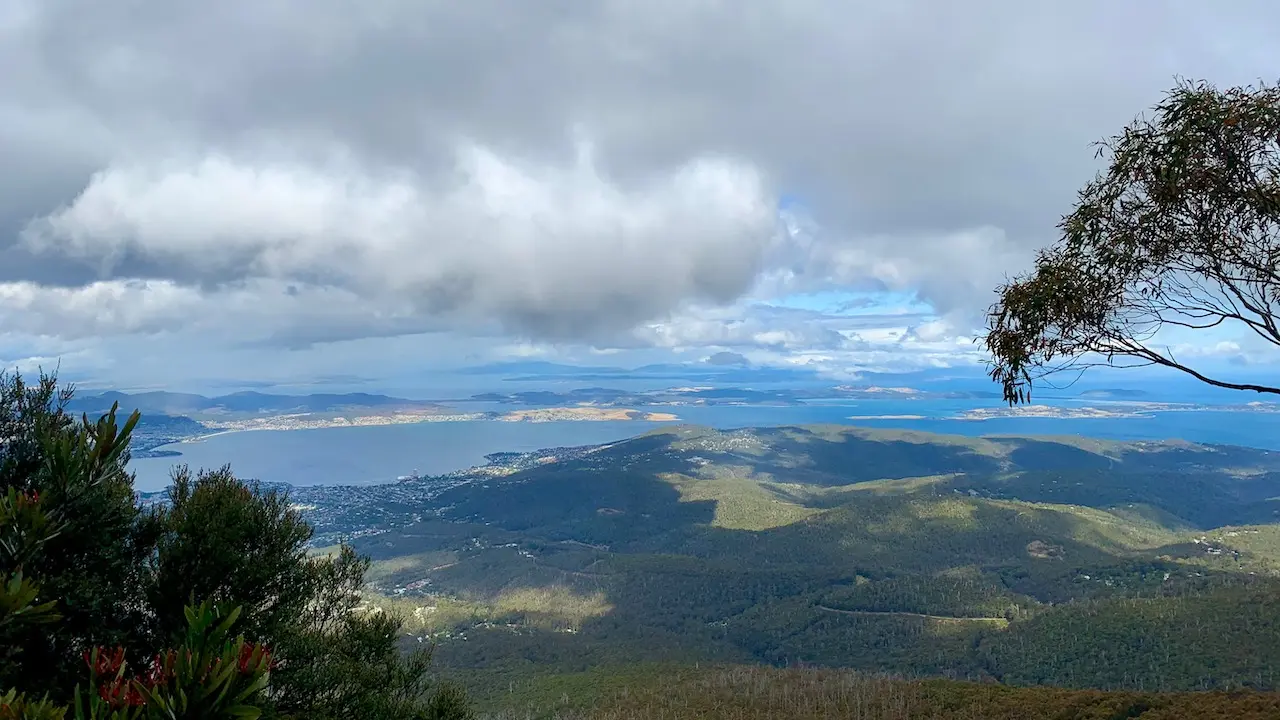
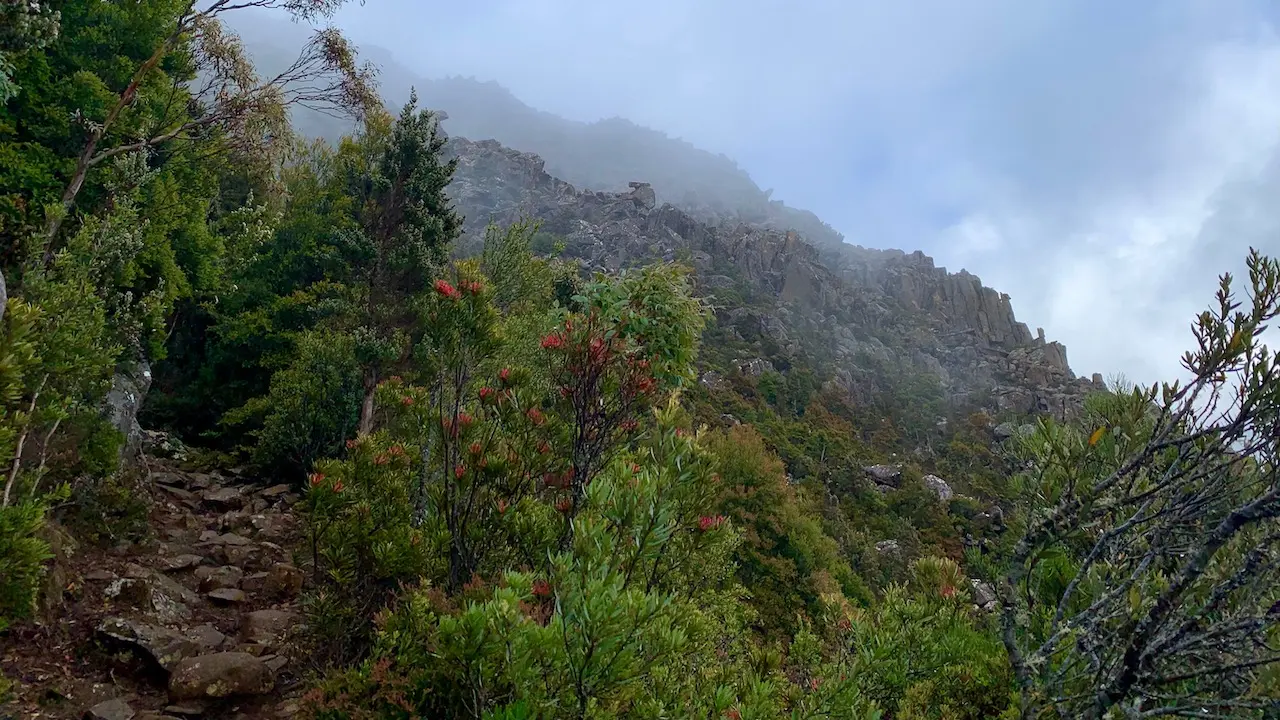
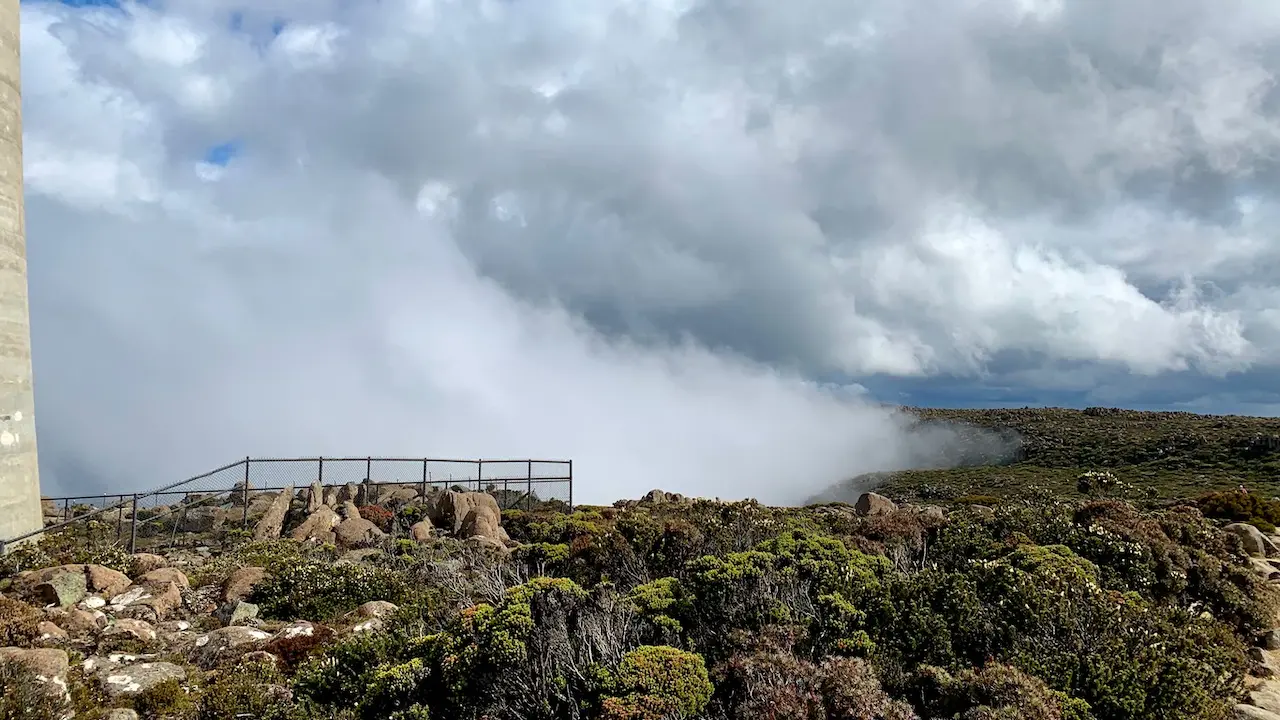
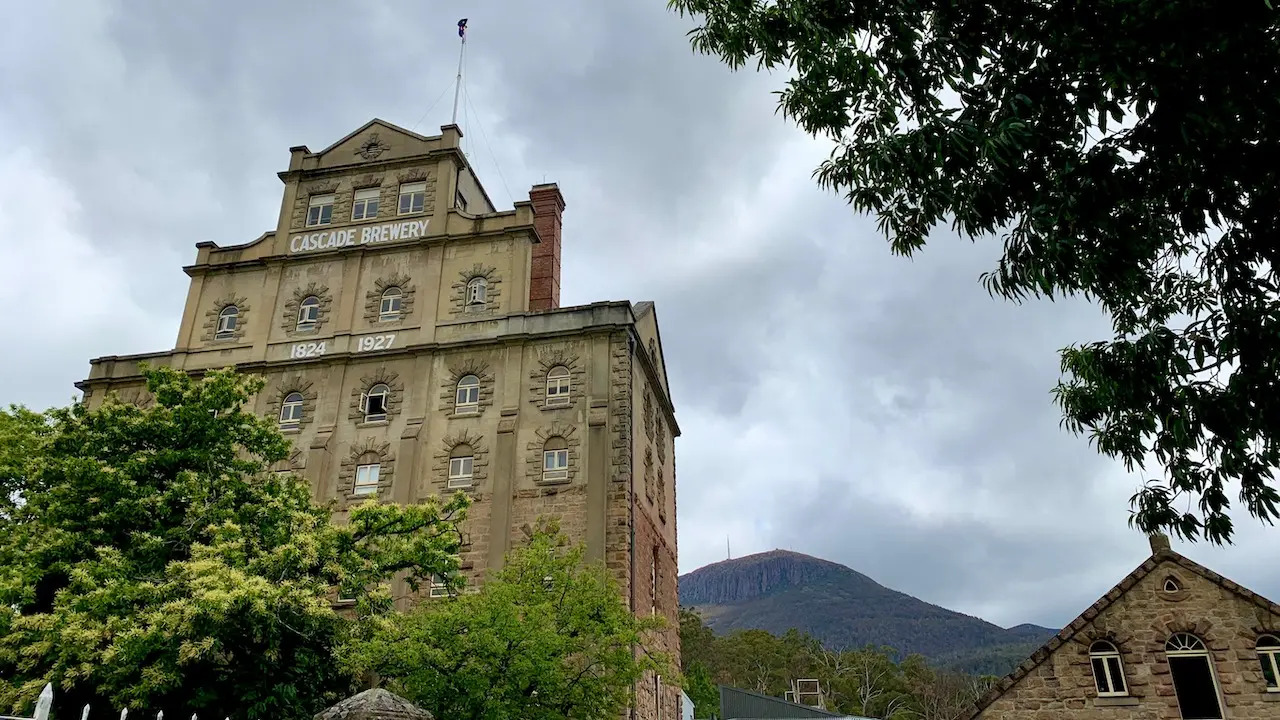
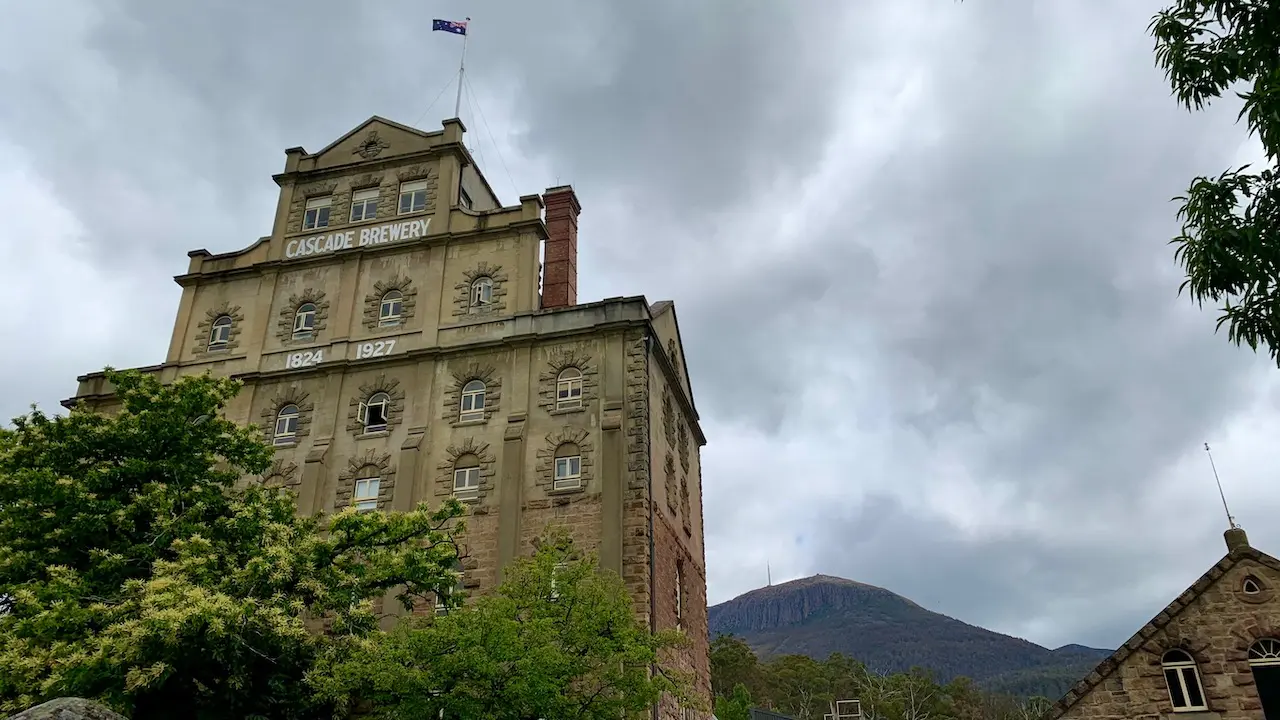
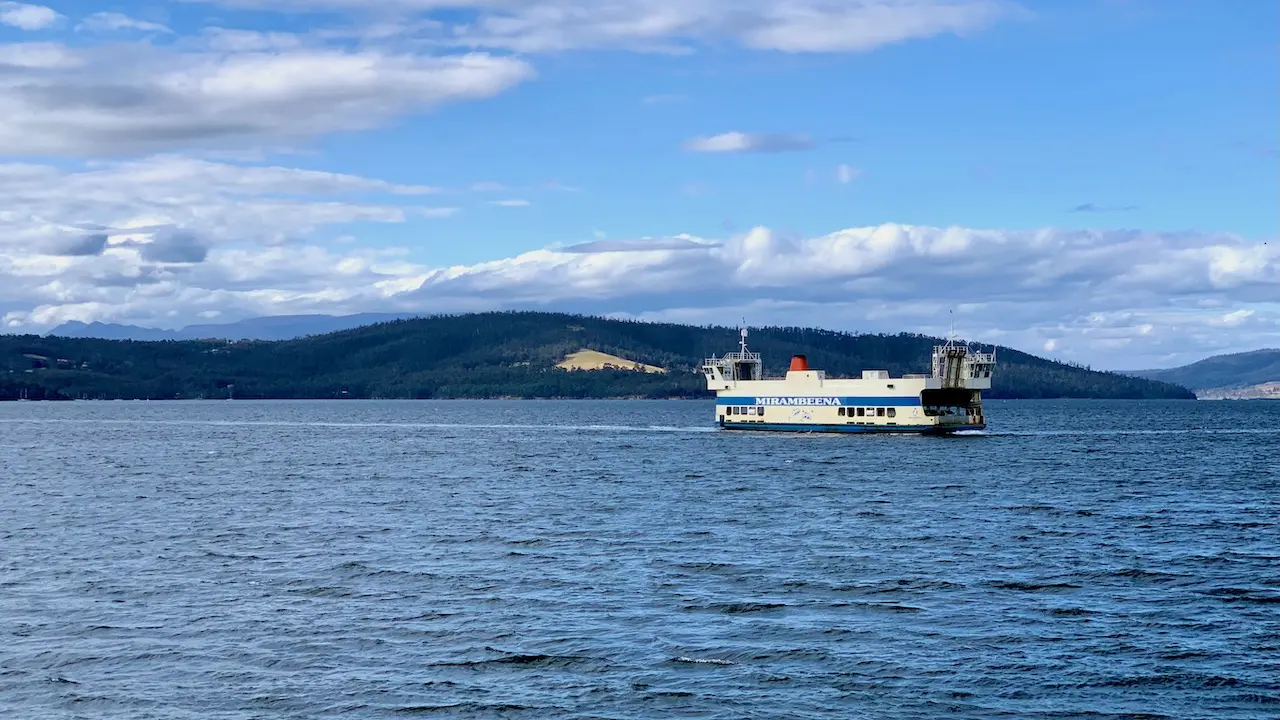
Hobart


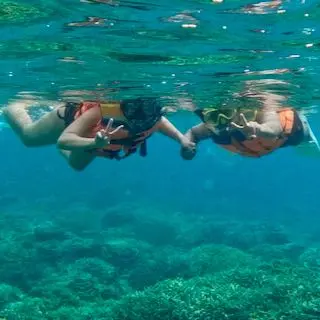
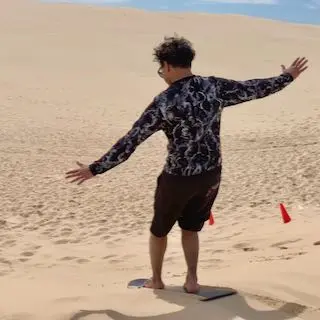
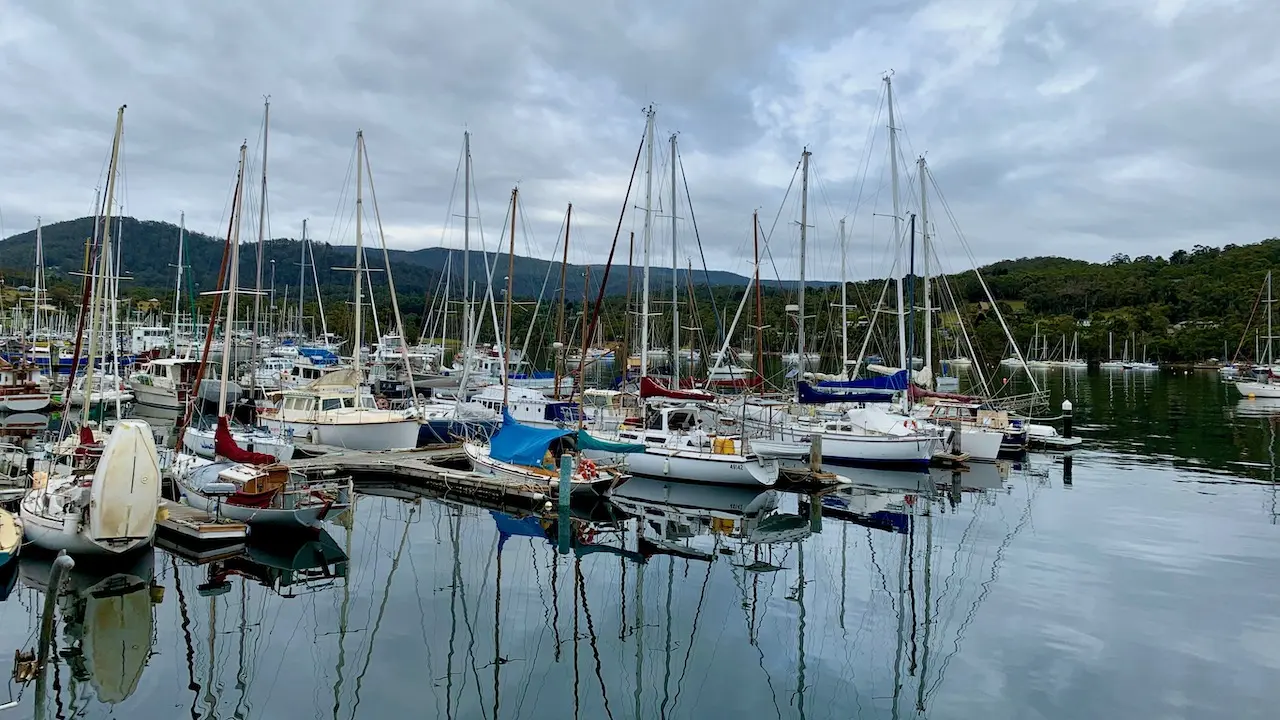
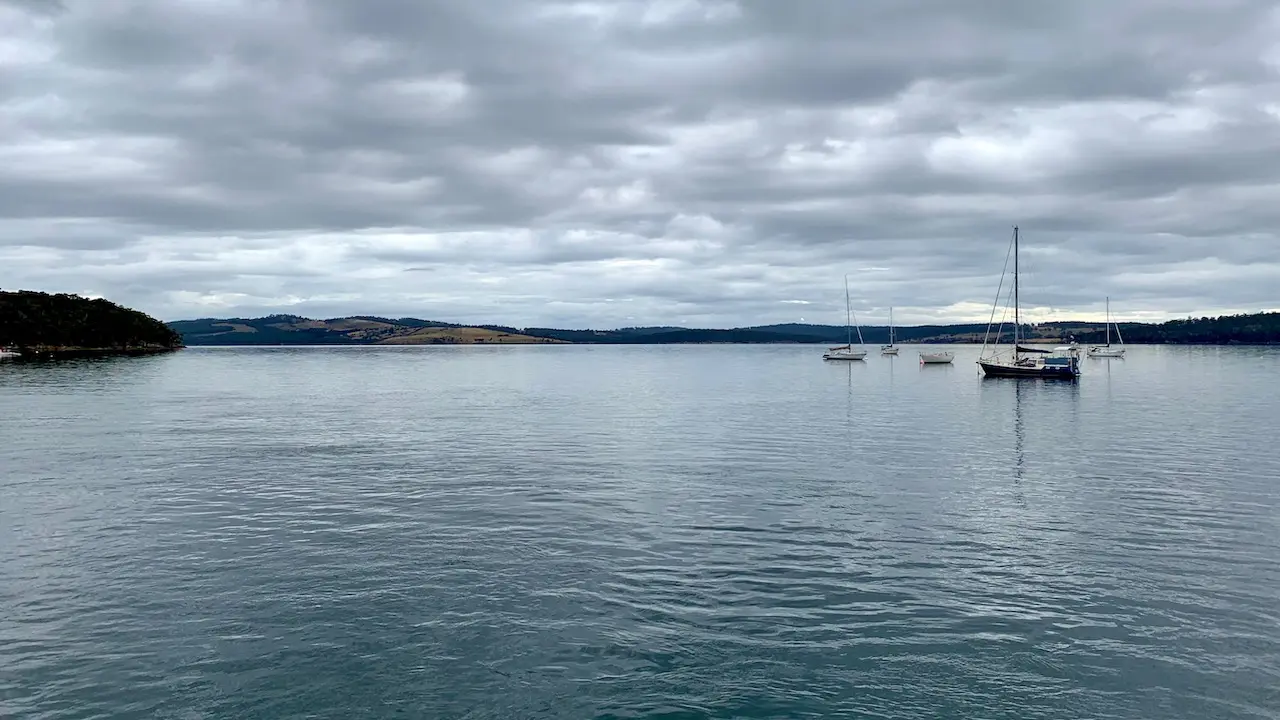
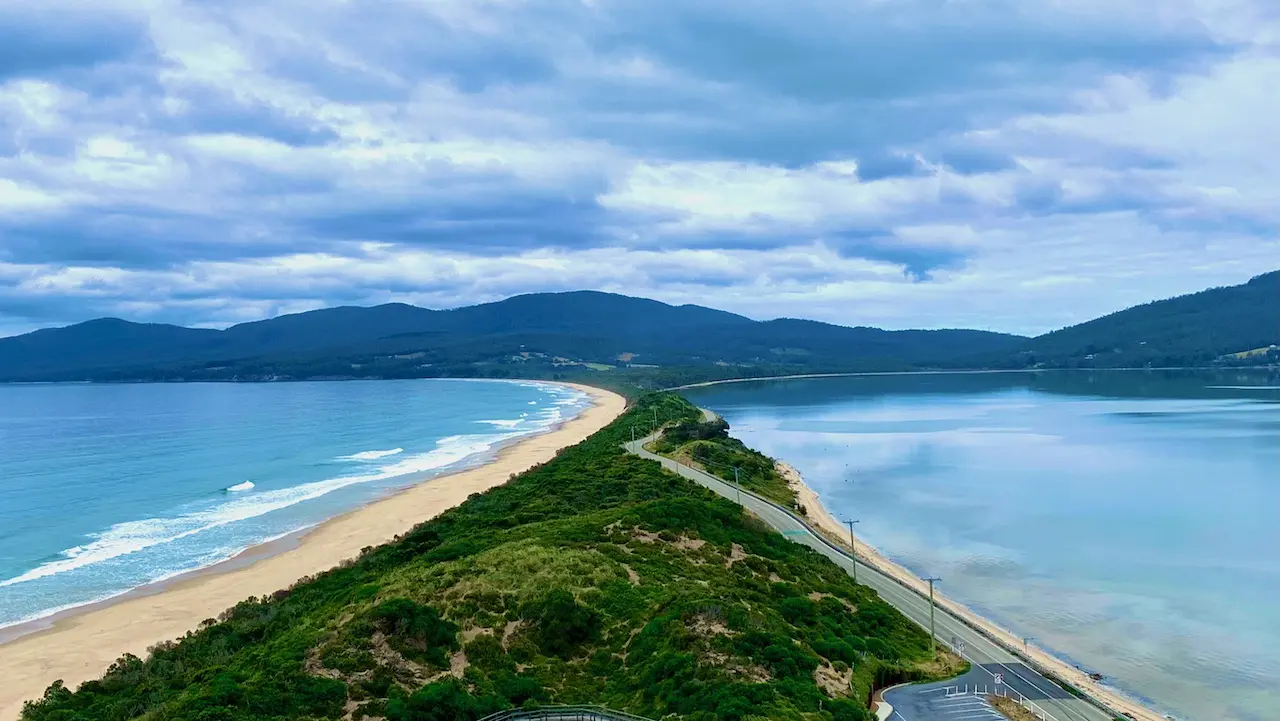
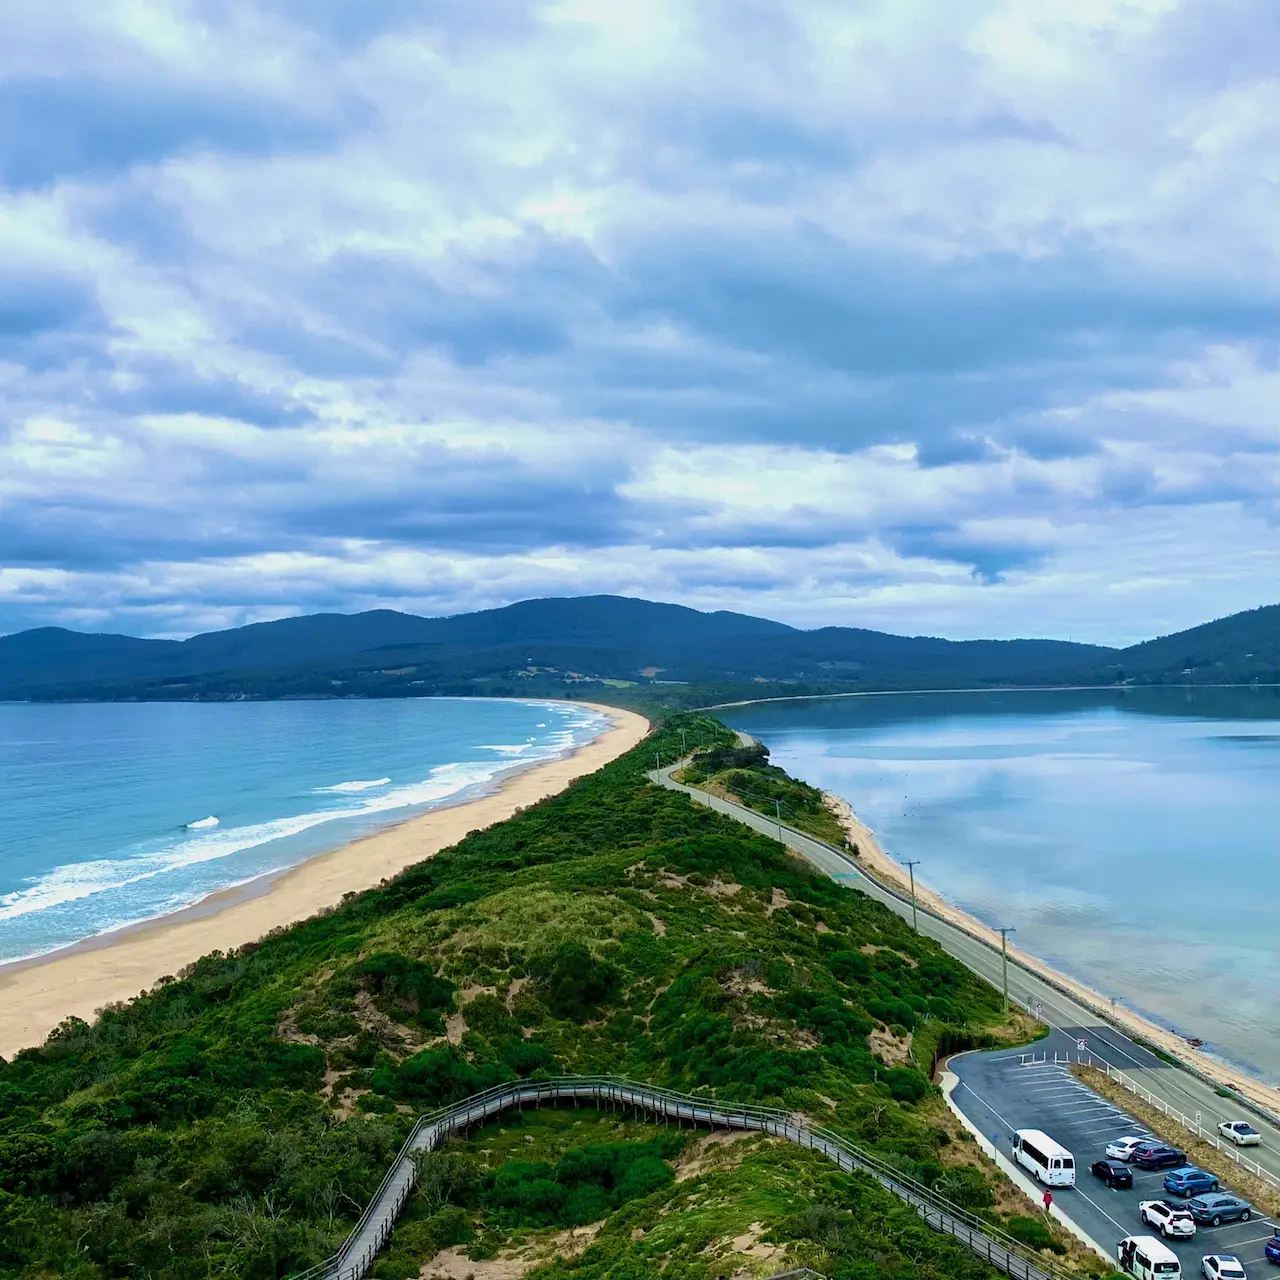
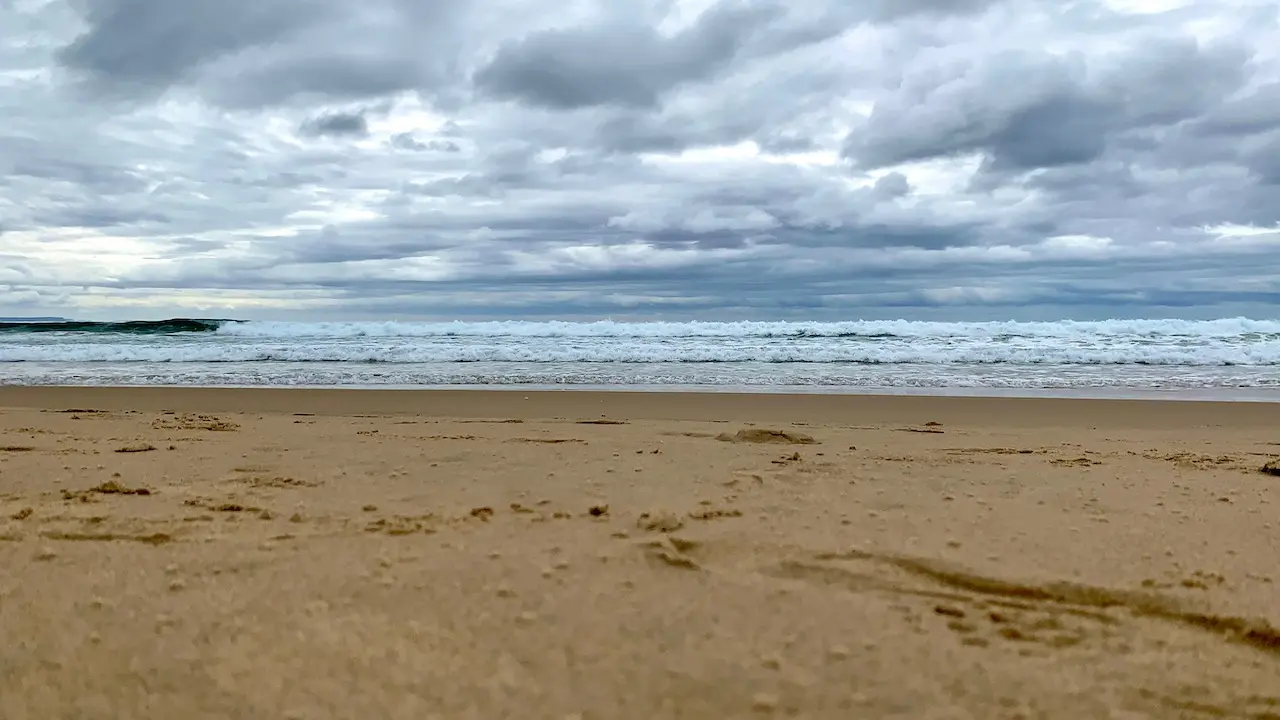
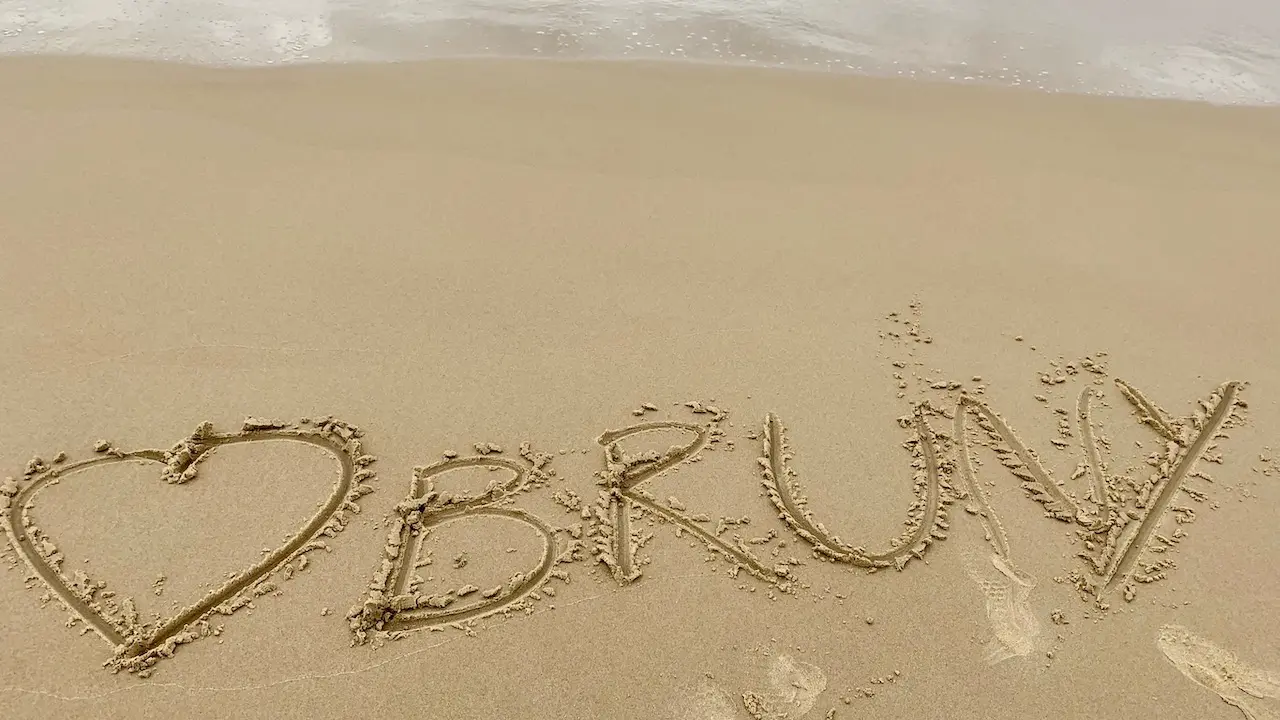
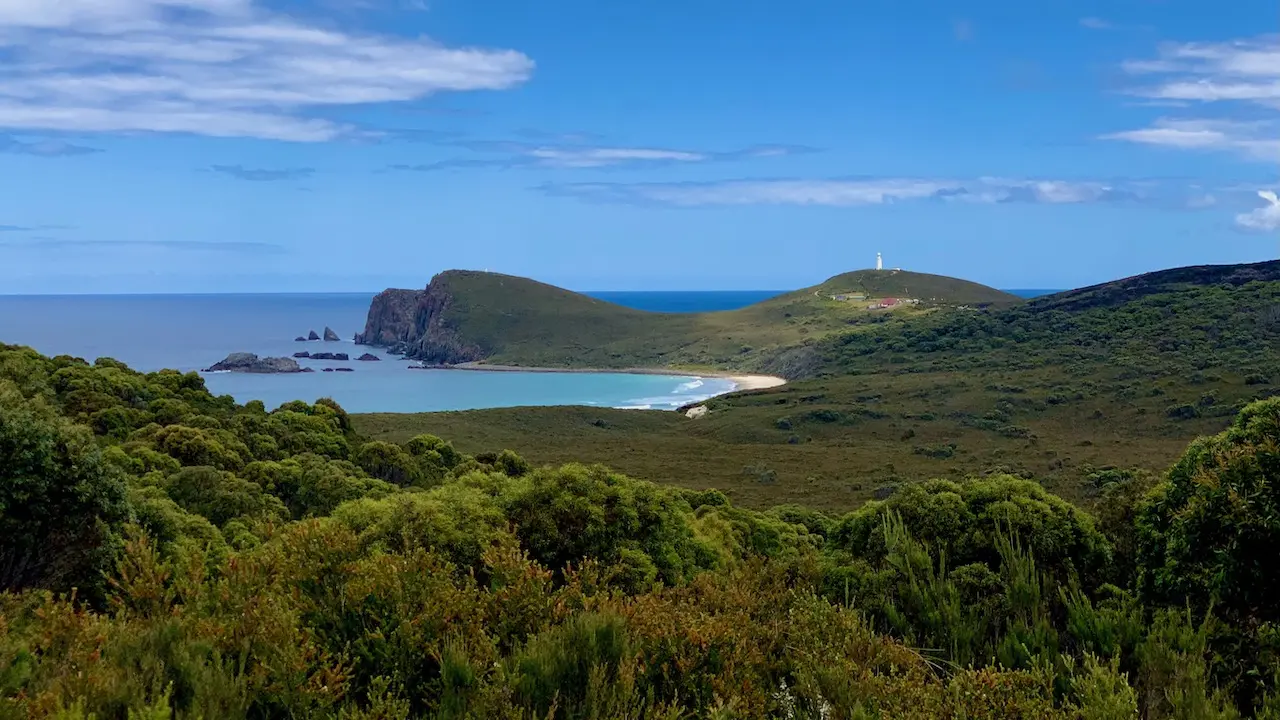
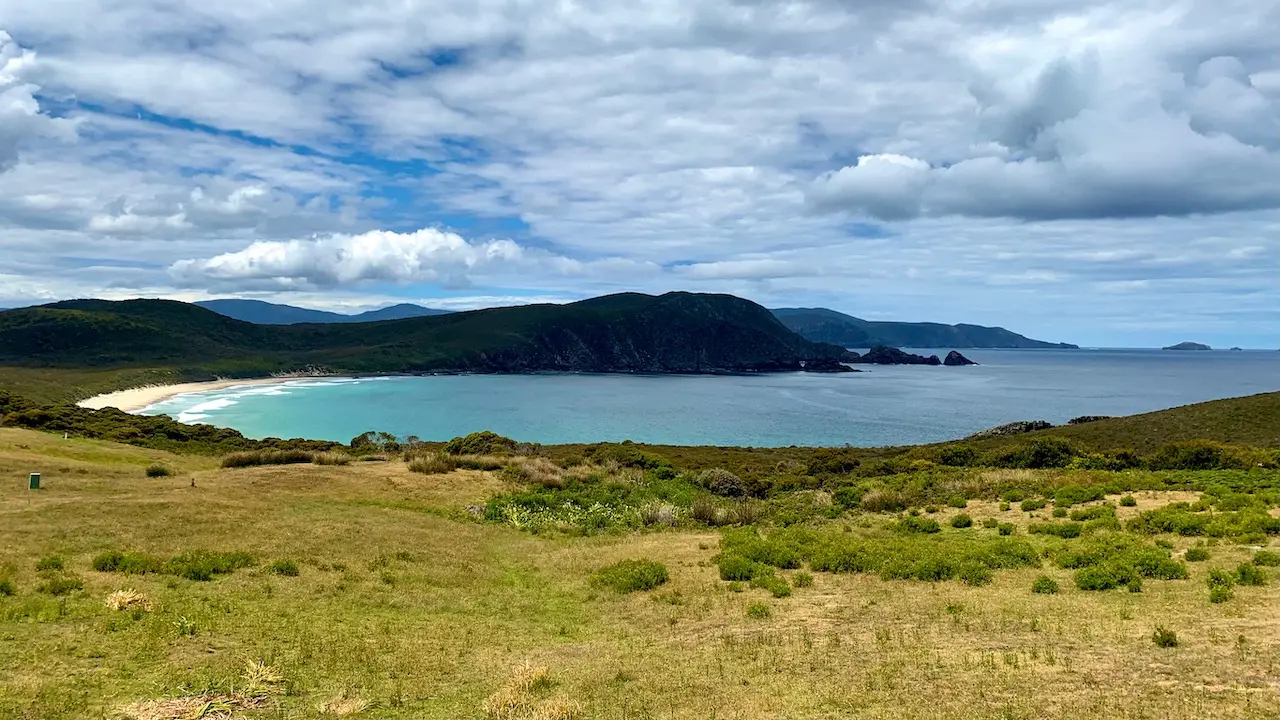
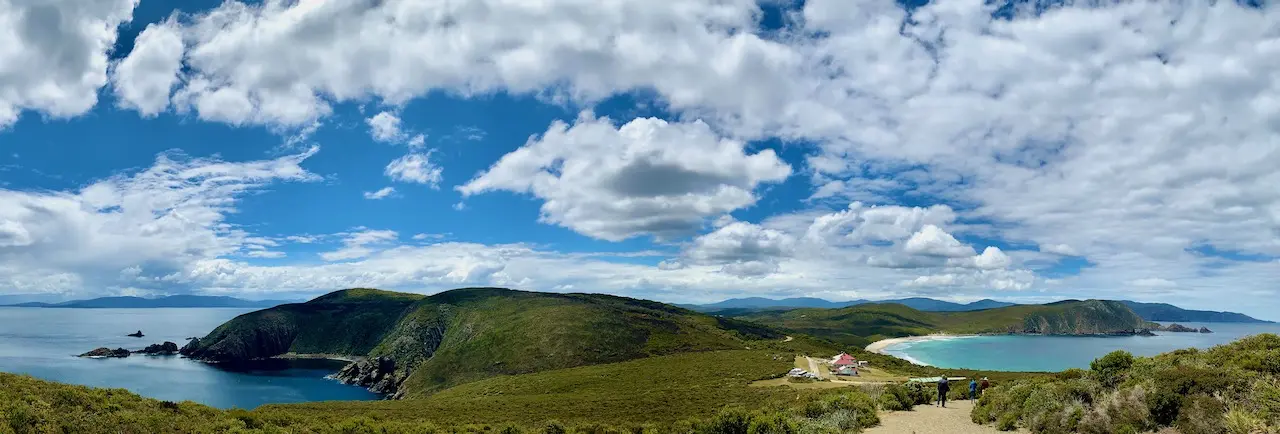
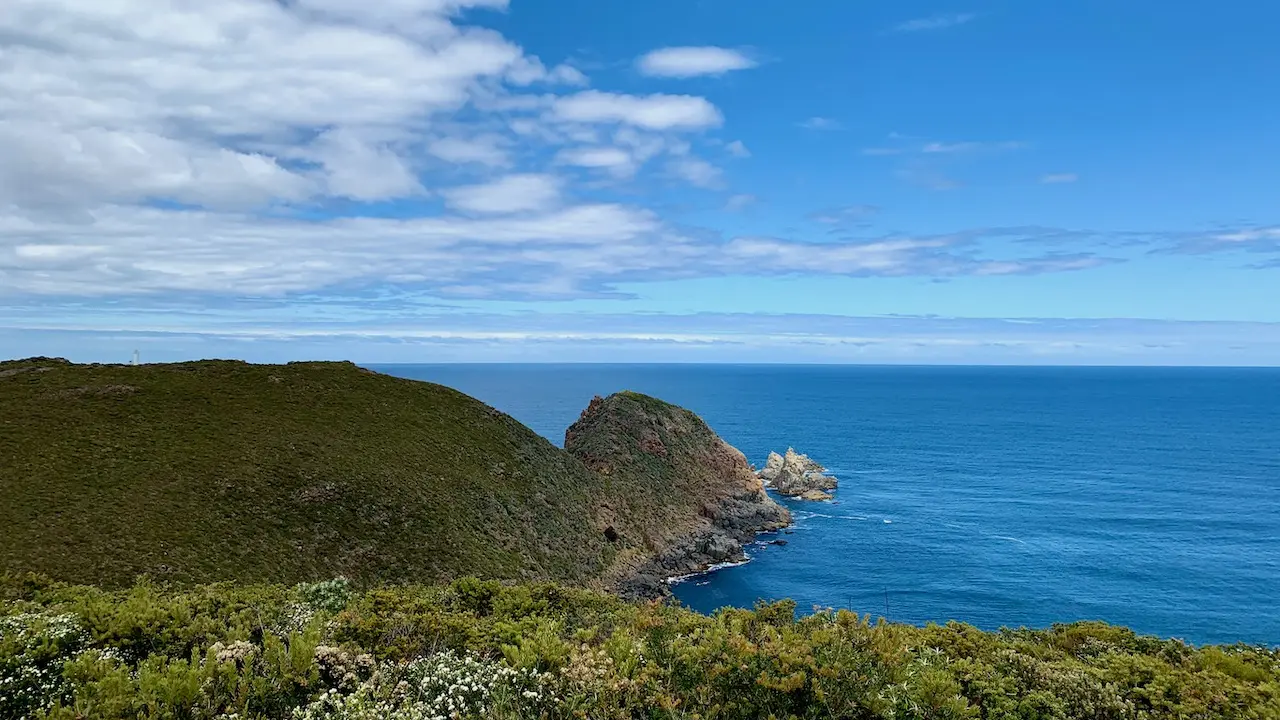
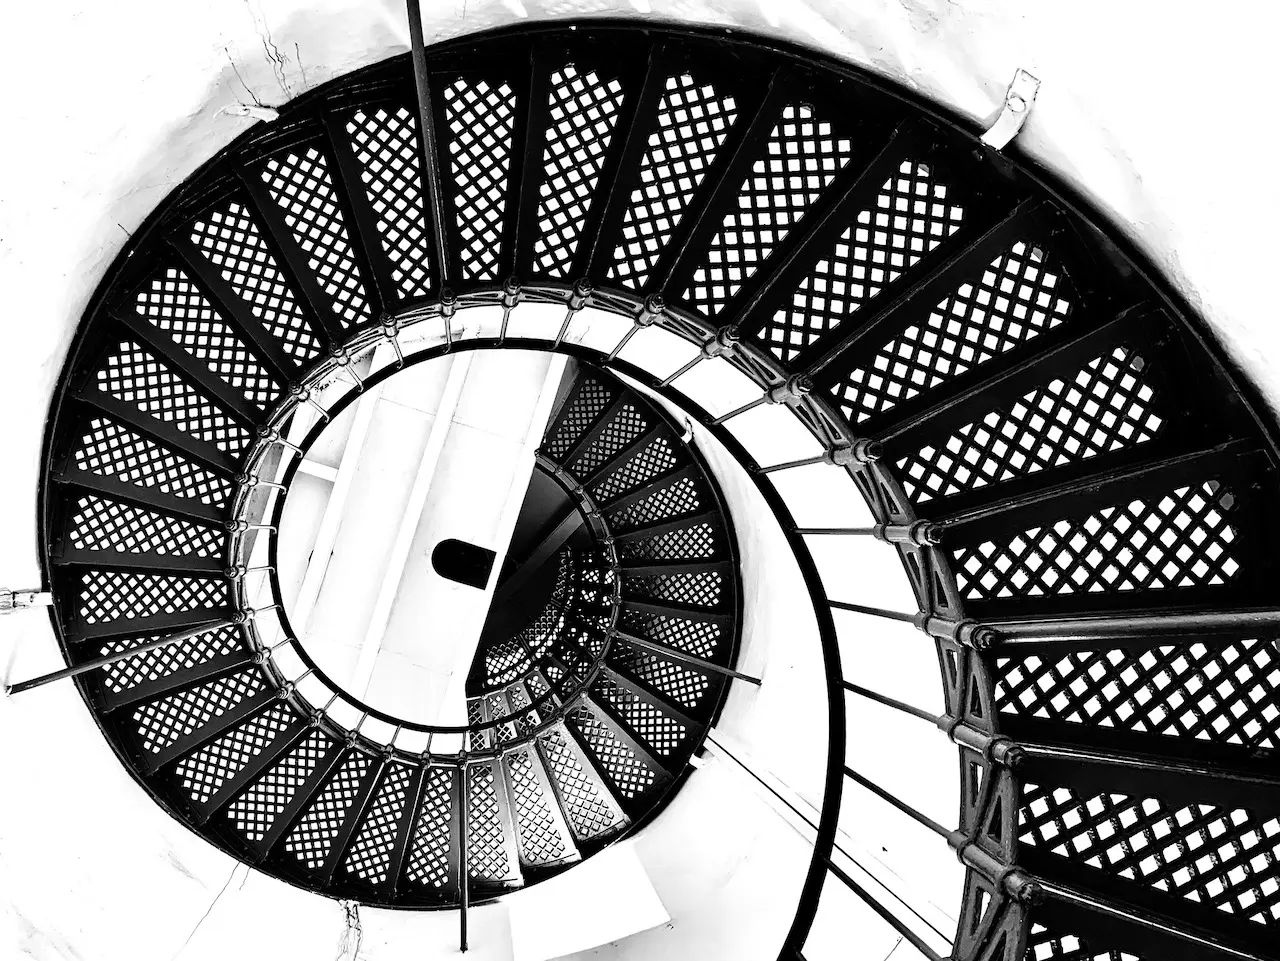
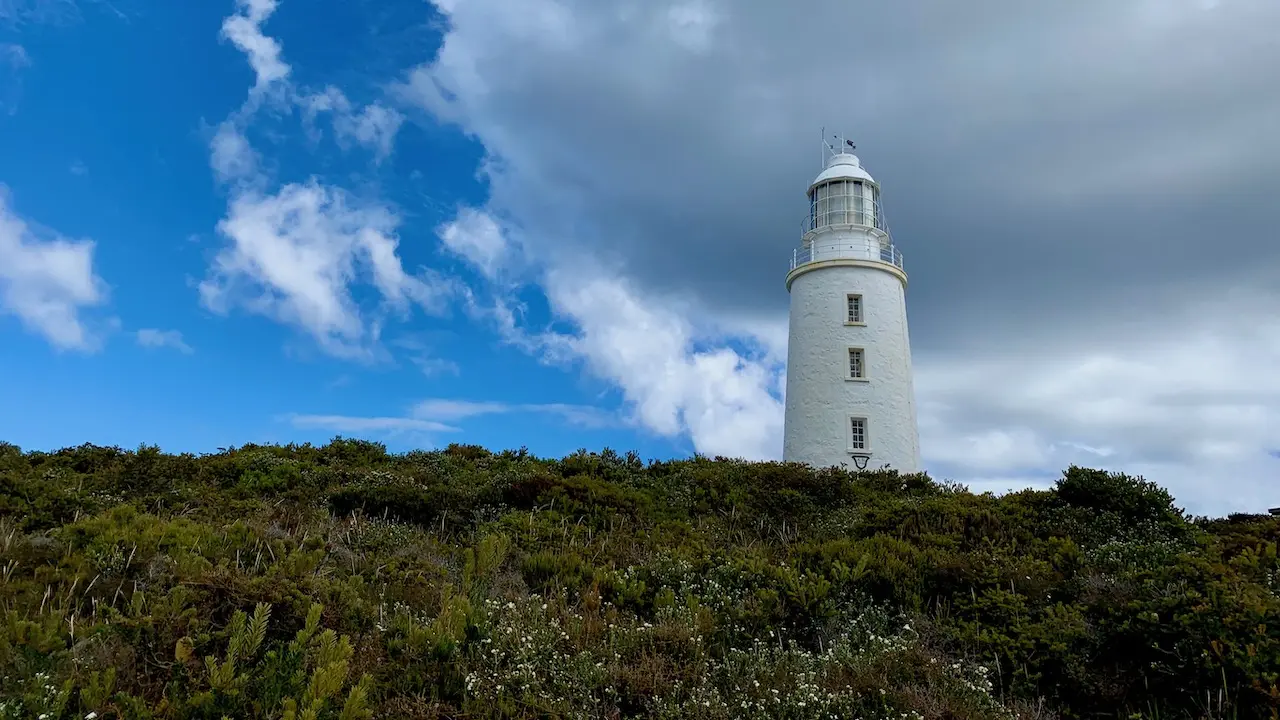
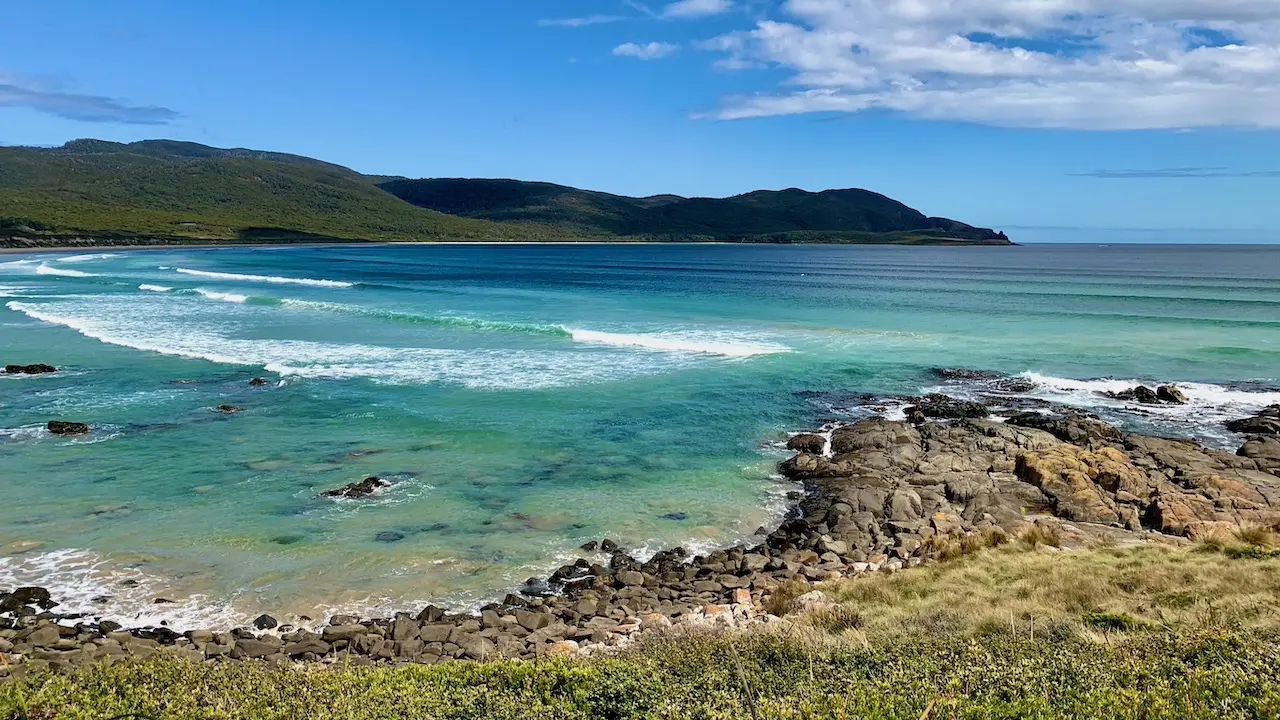
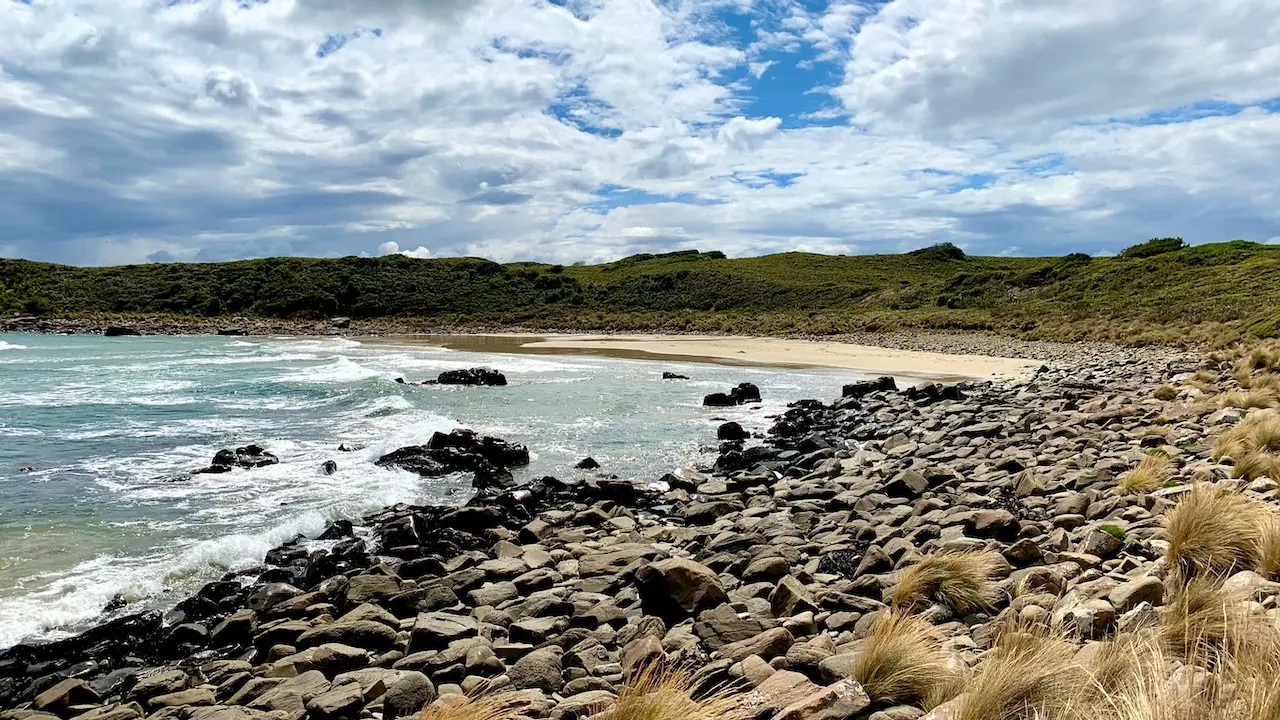
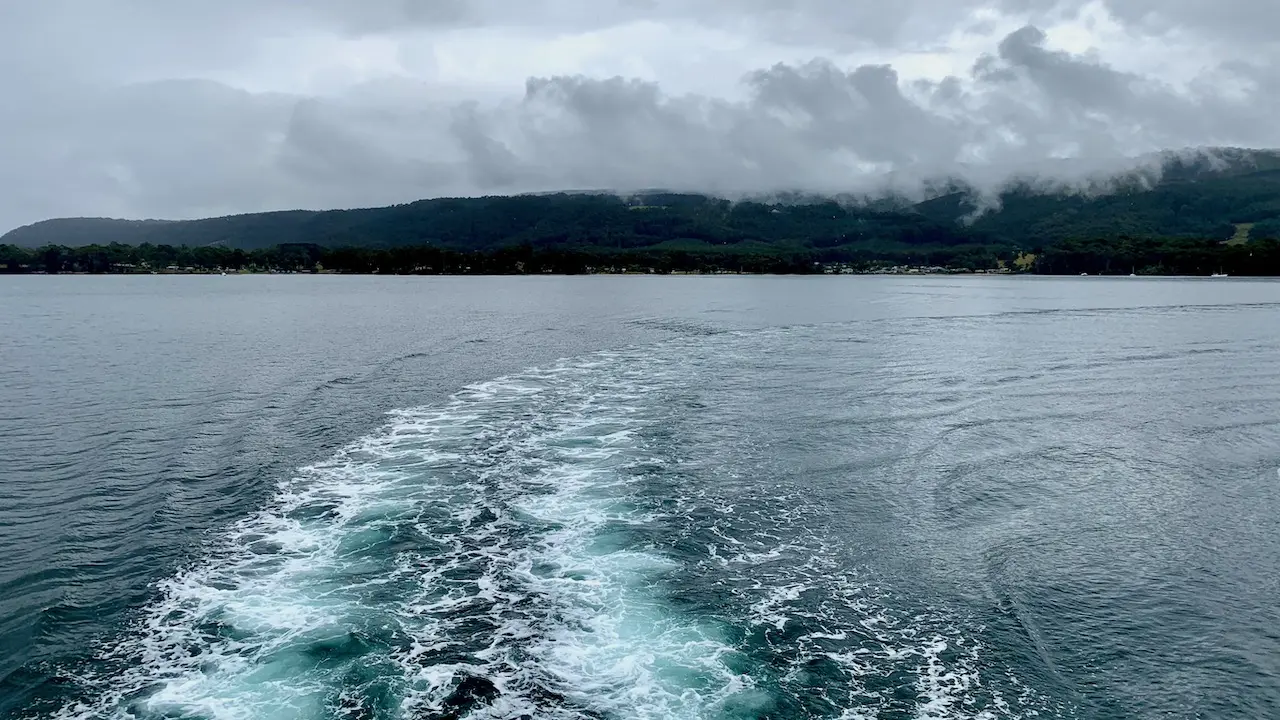
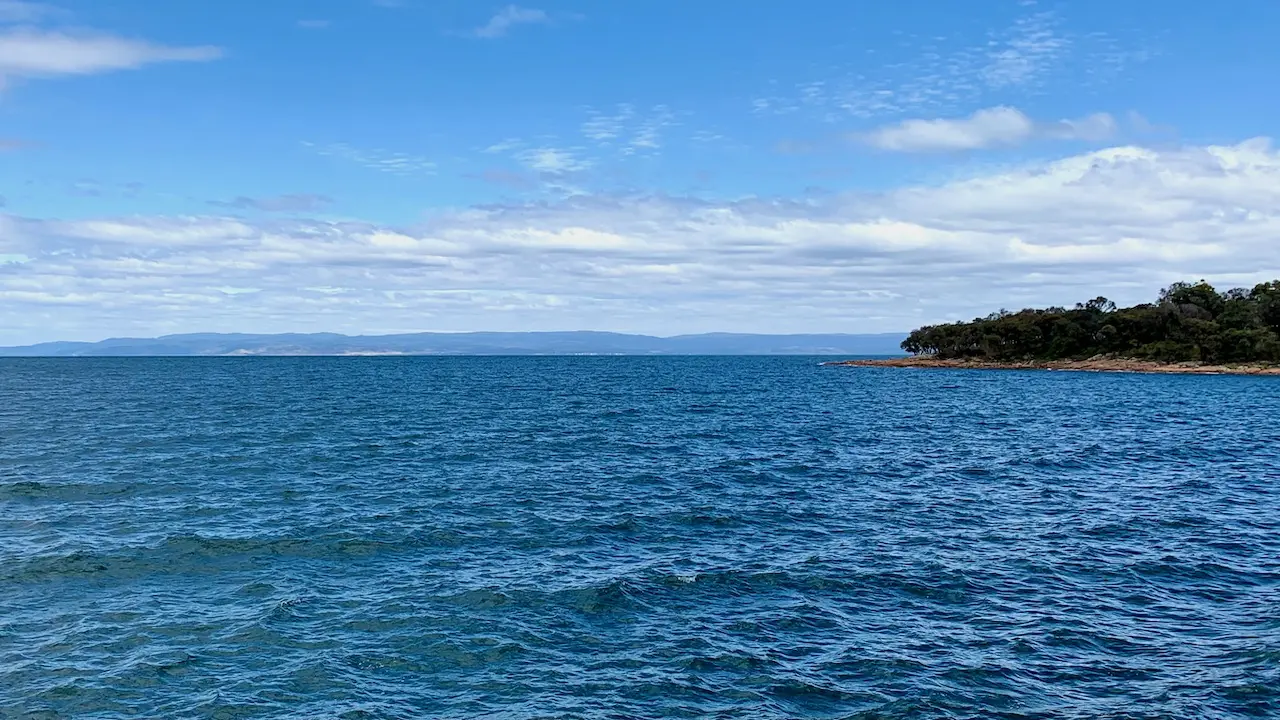
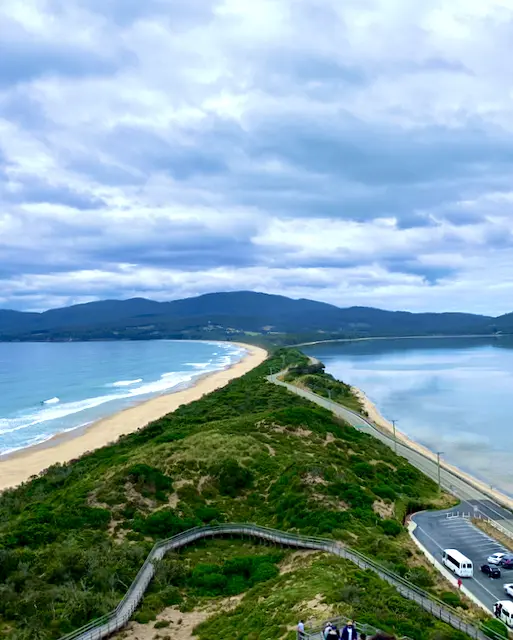
Bruny Island


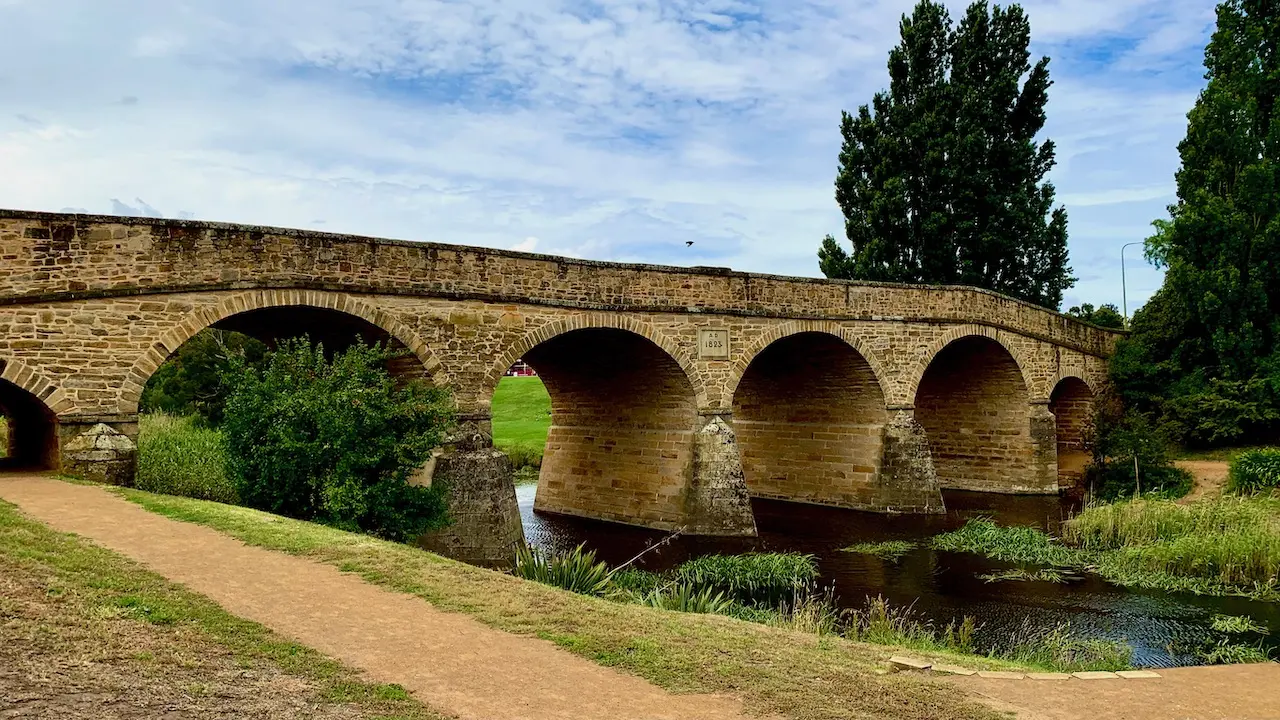
Richmond


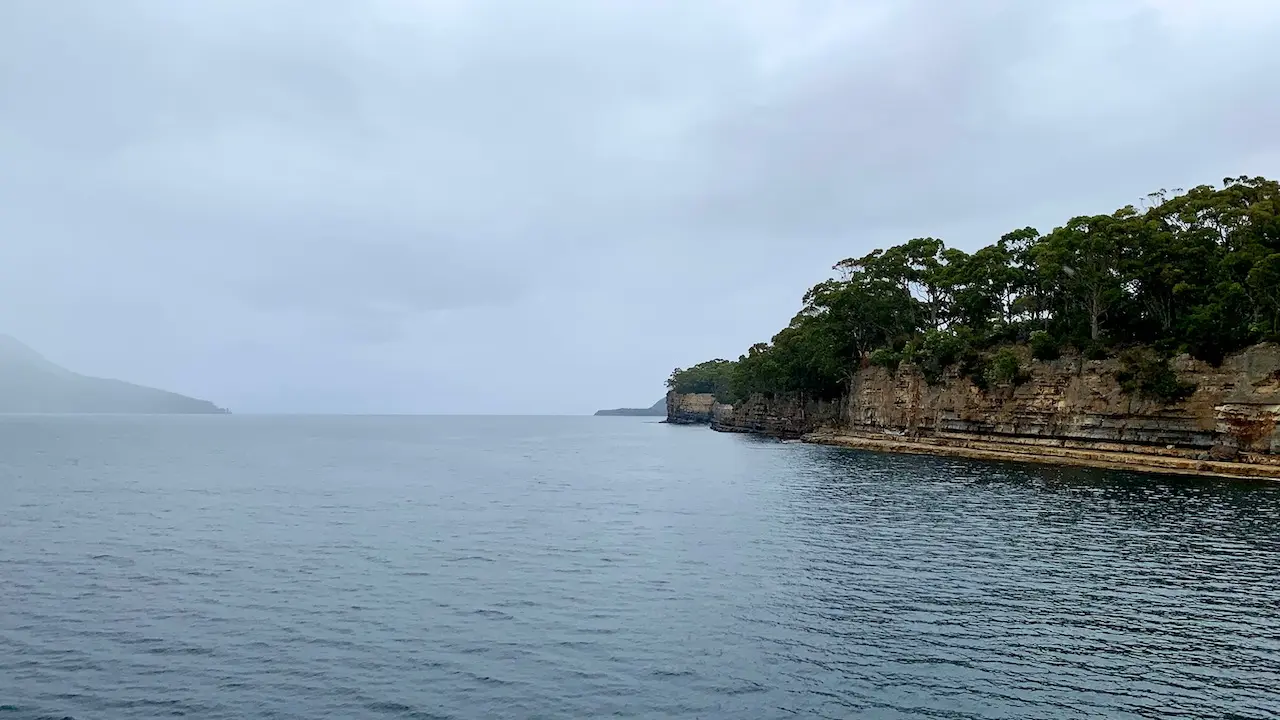
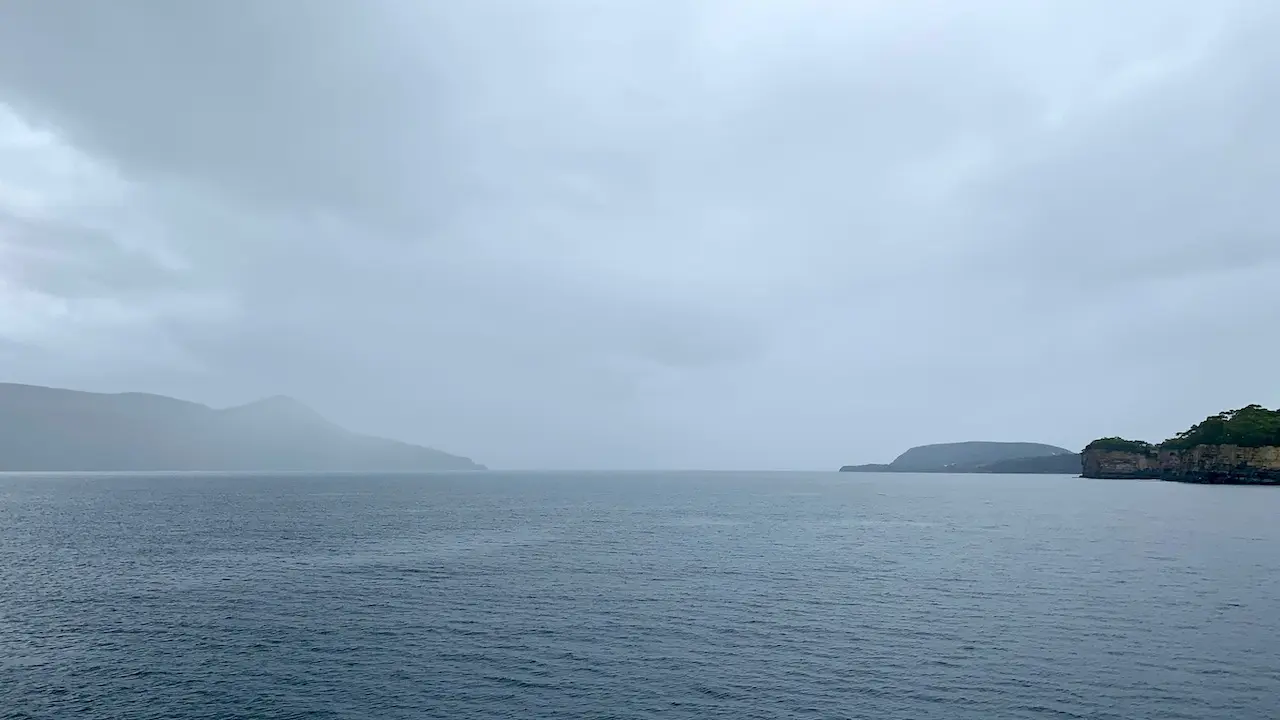
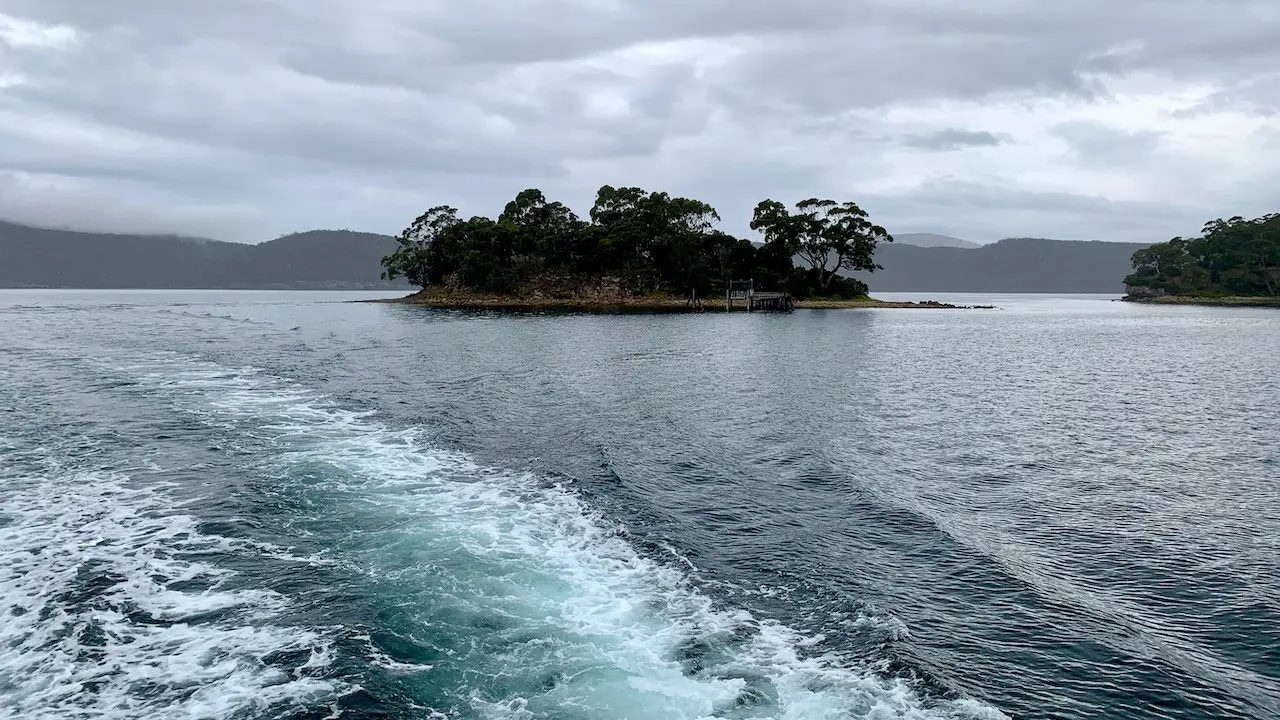
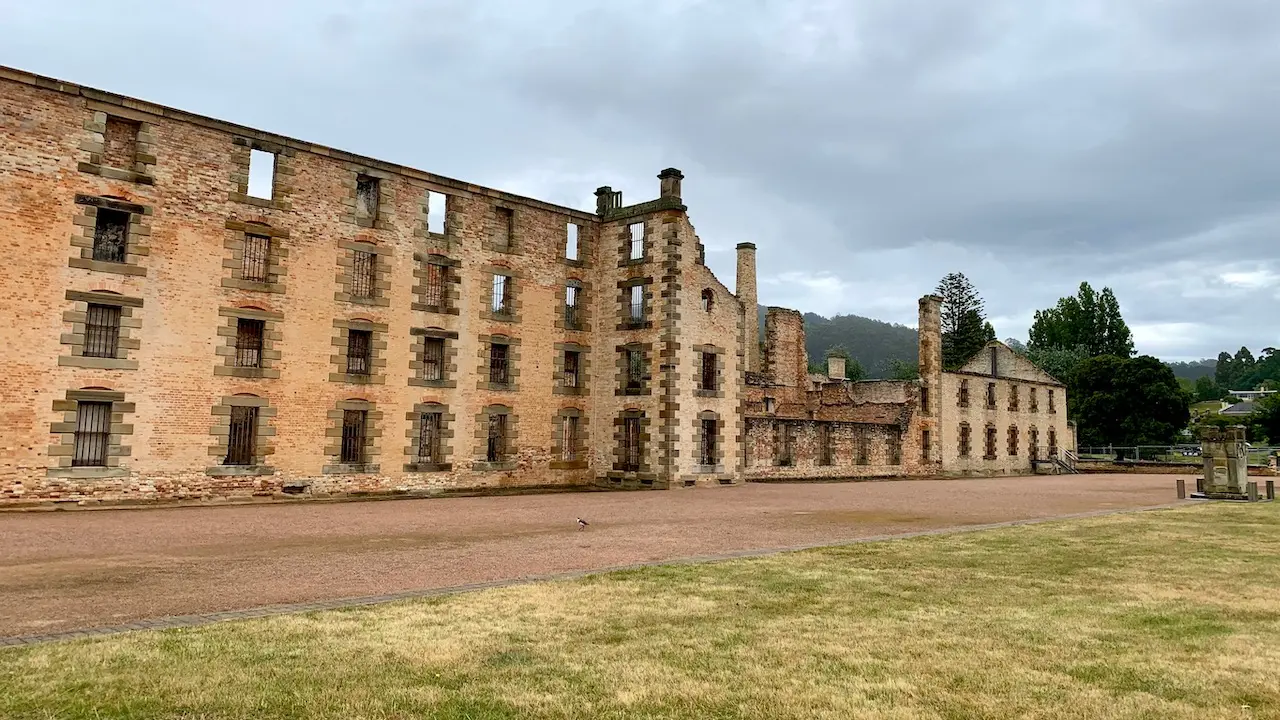
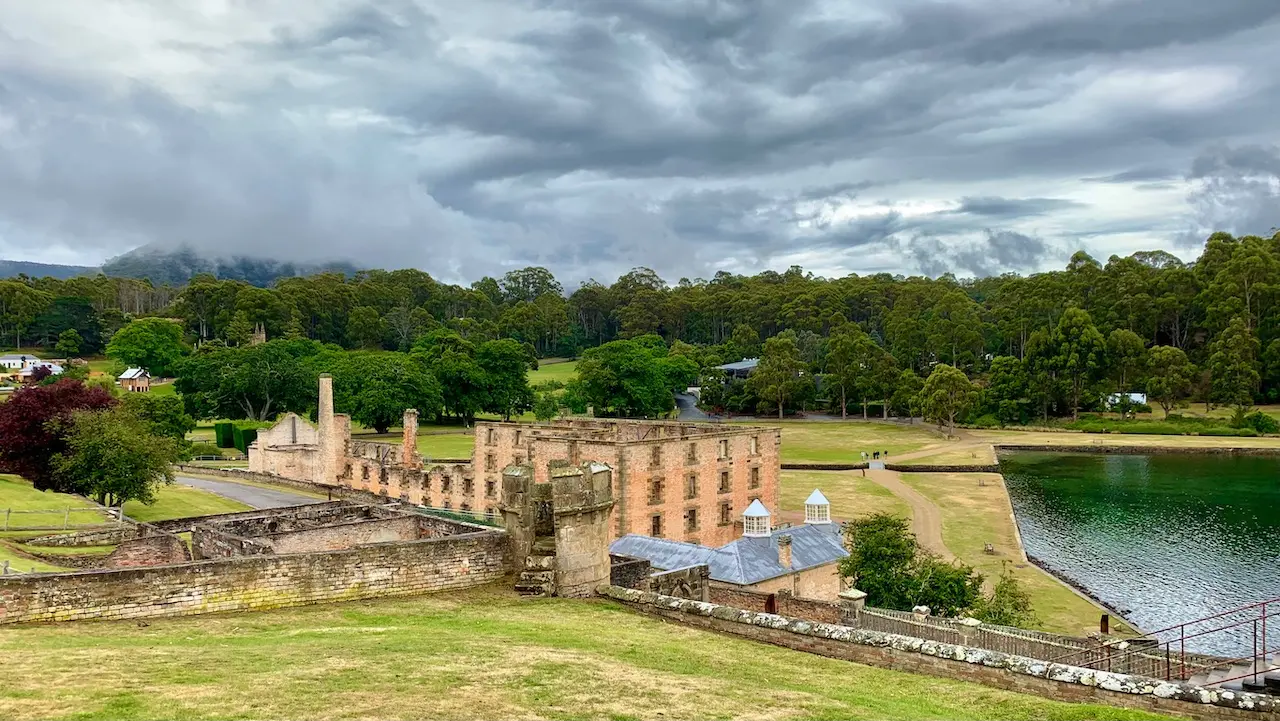
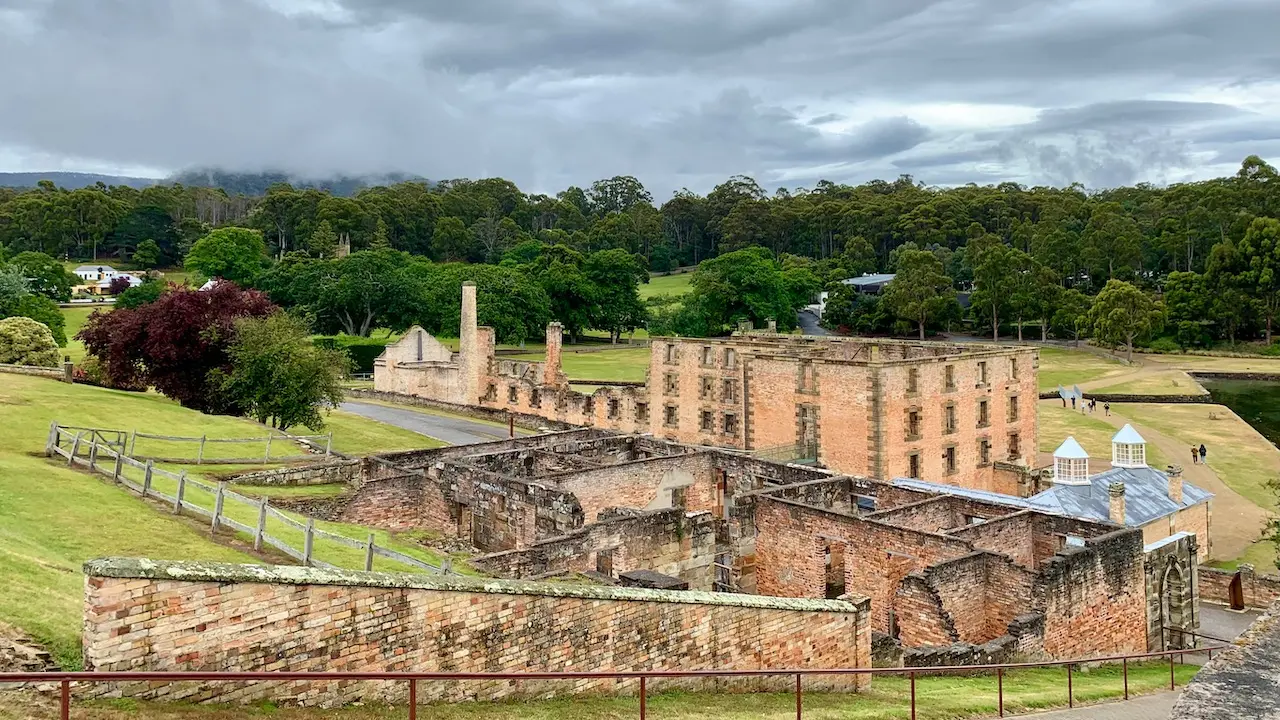
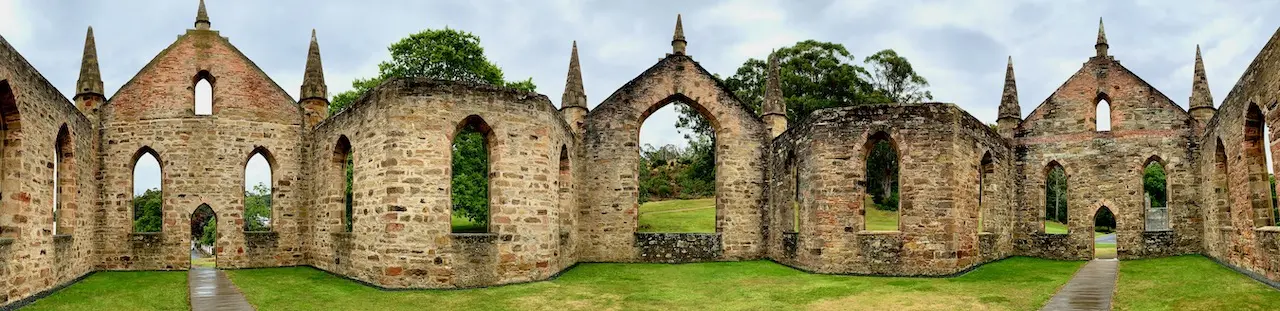
Port Arthur


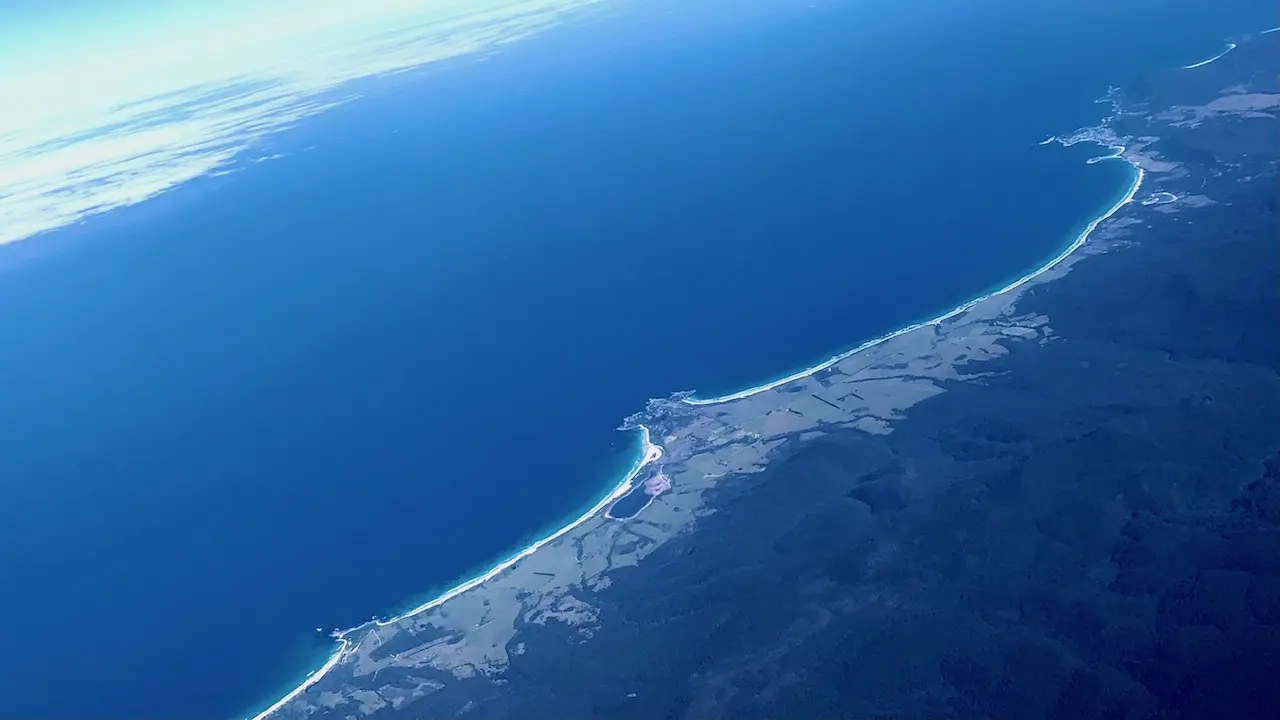
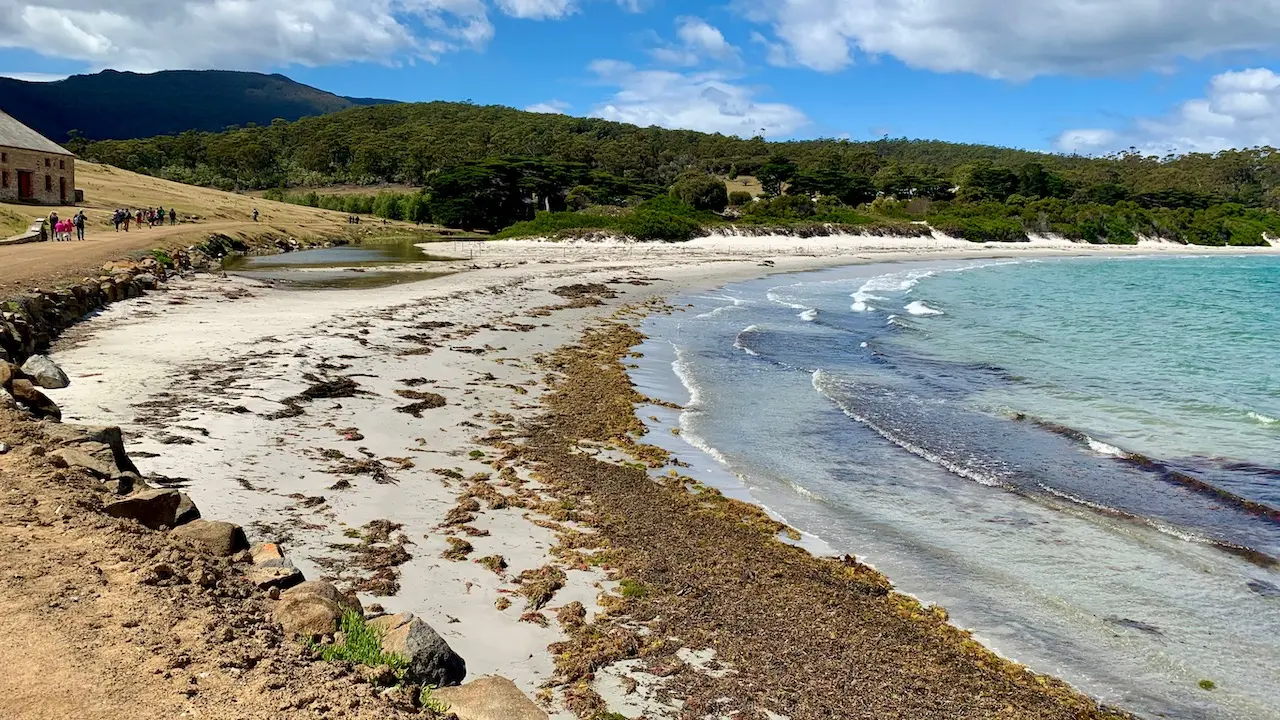
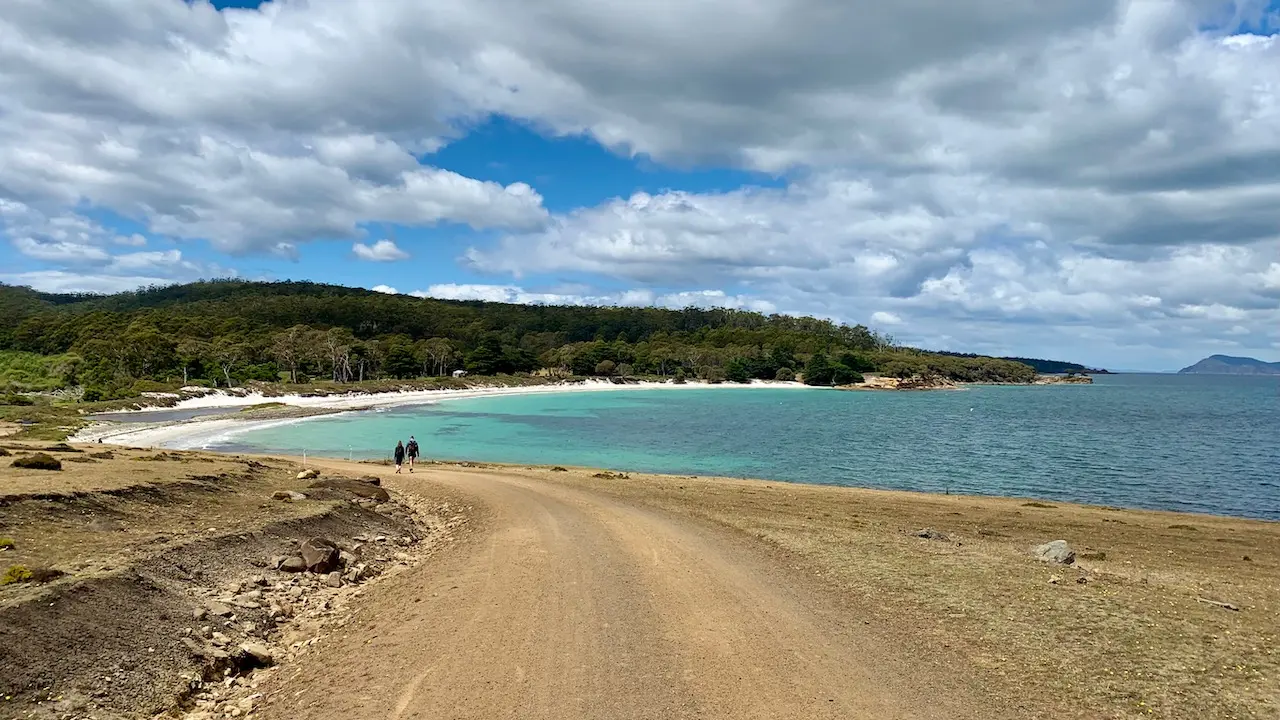
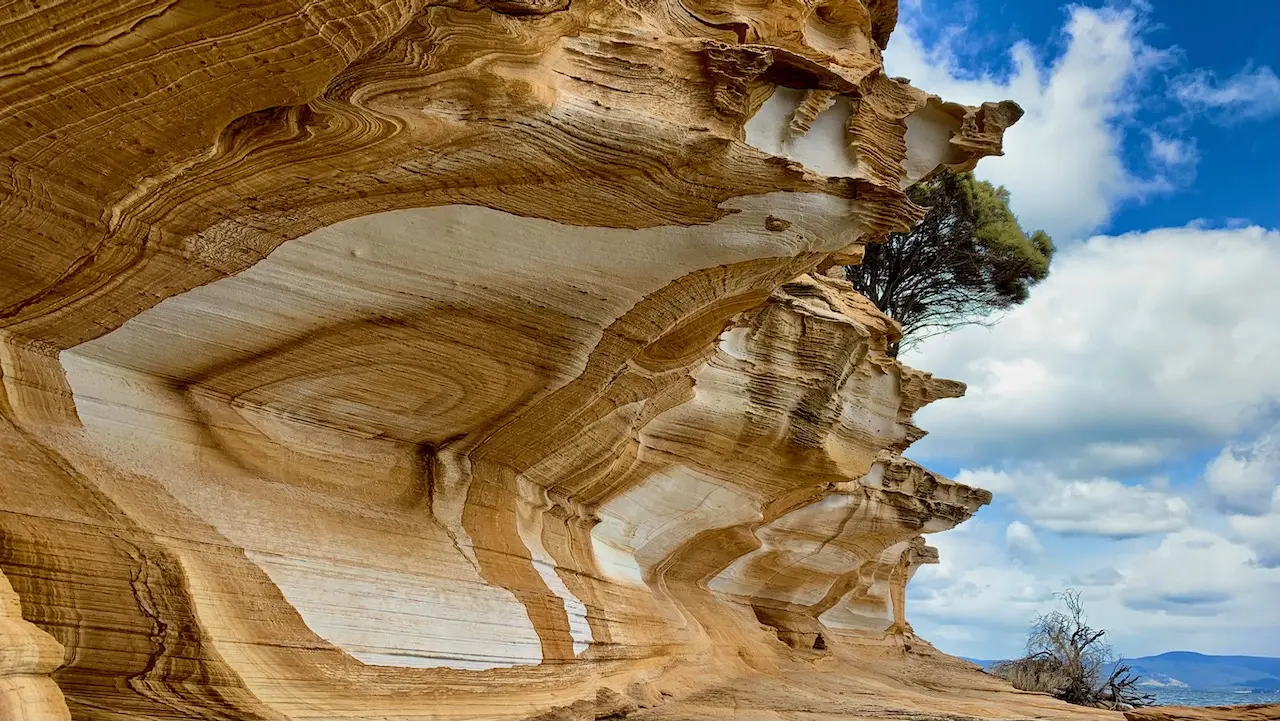
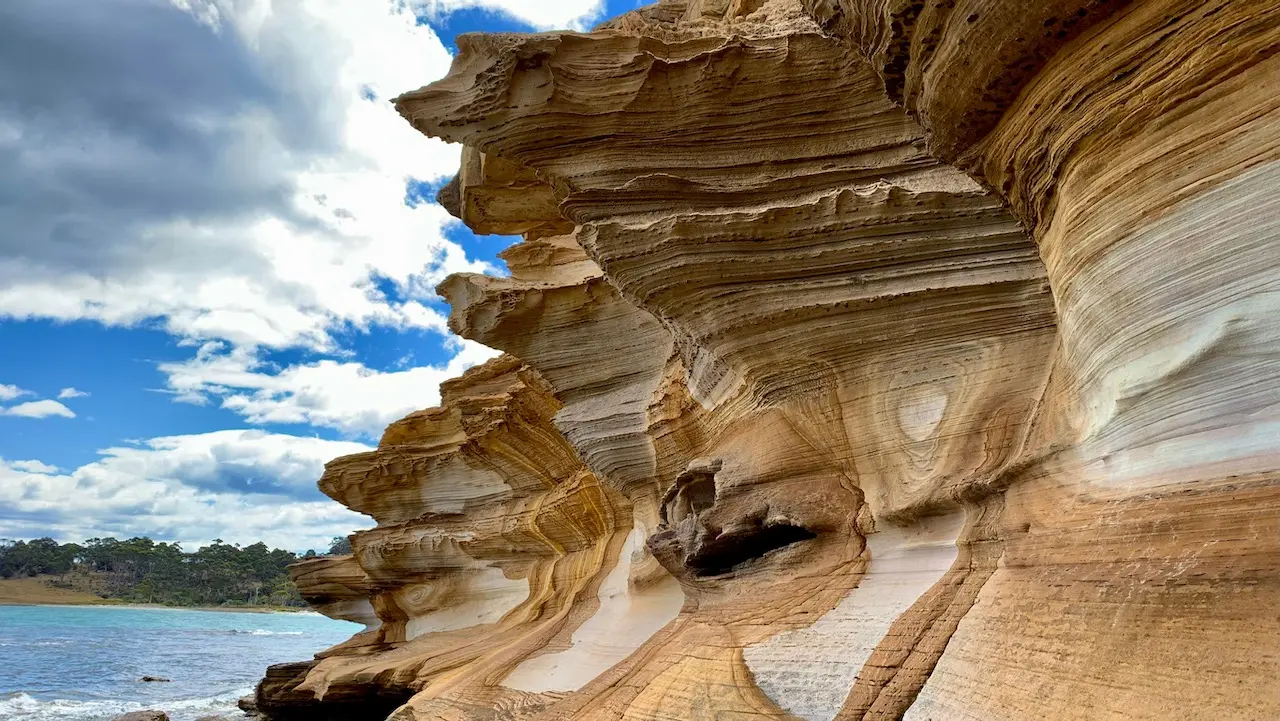
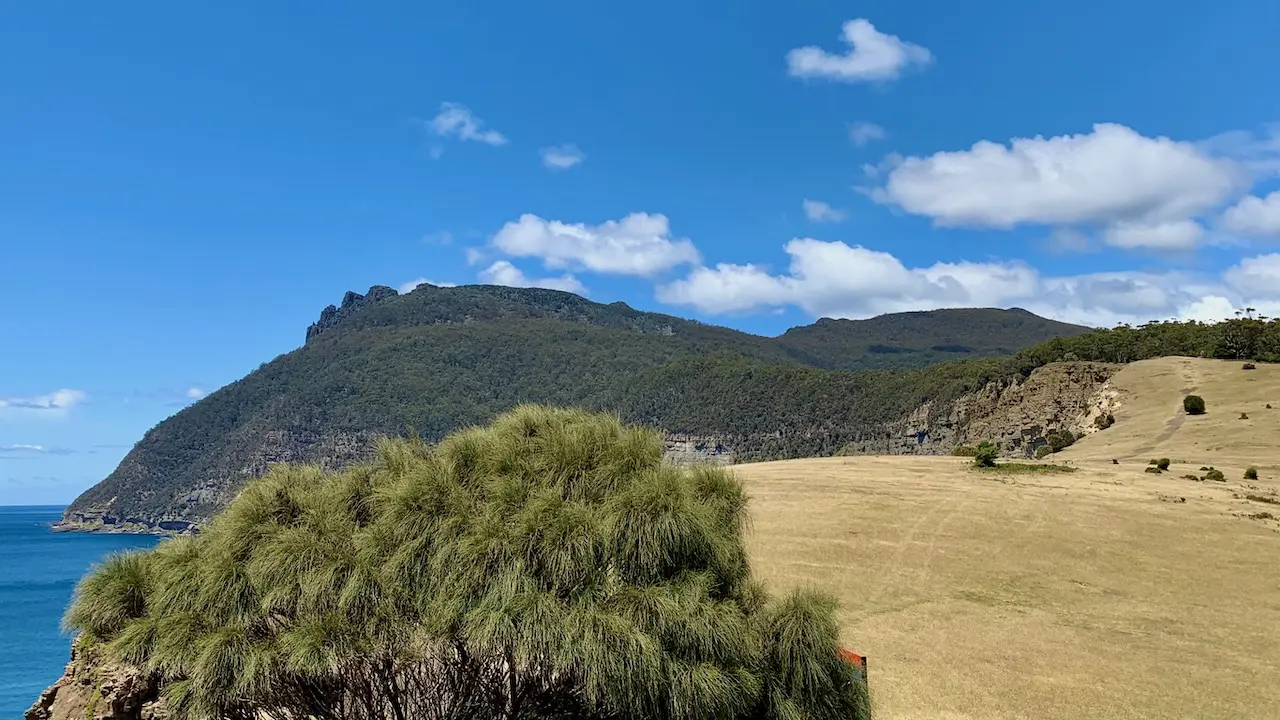
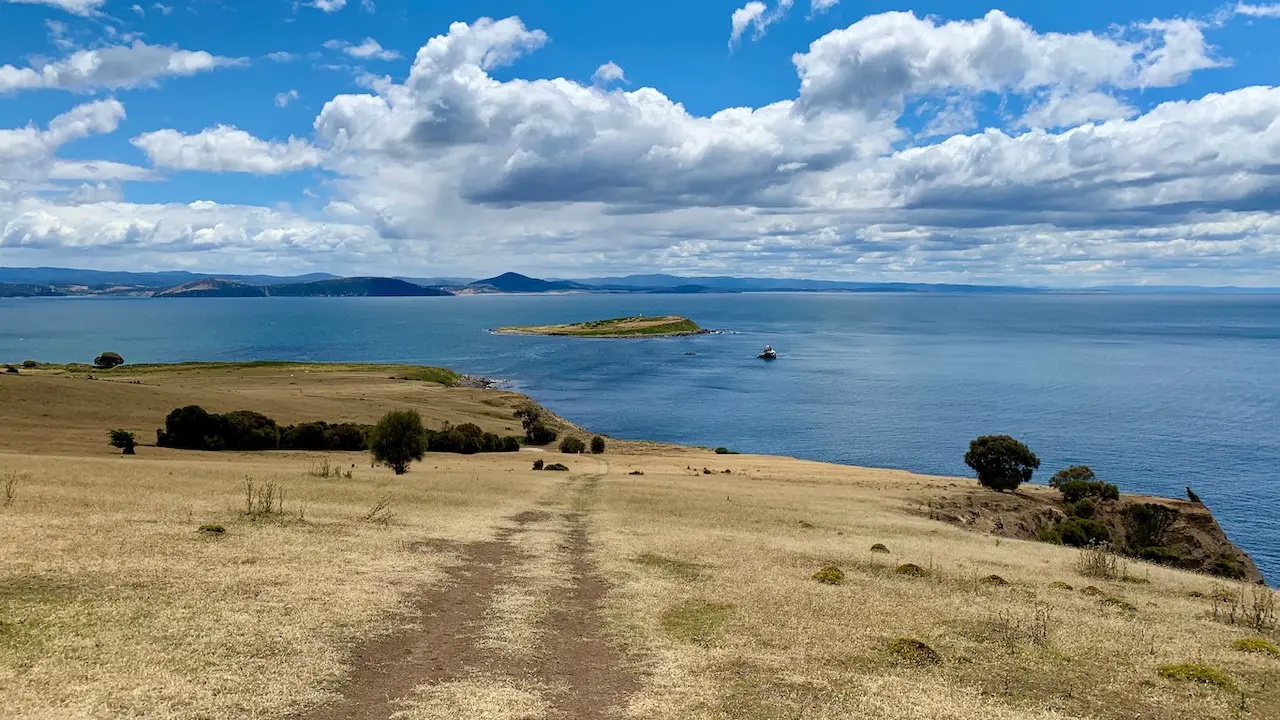
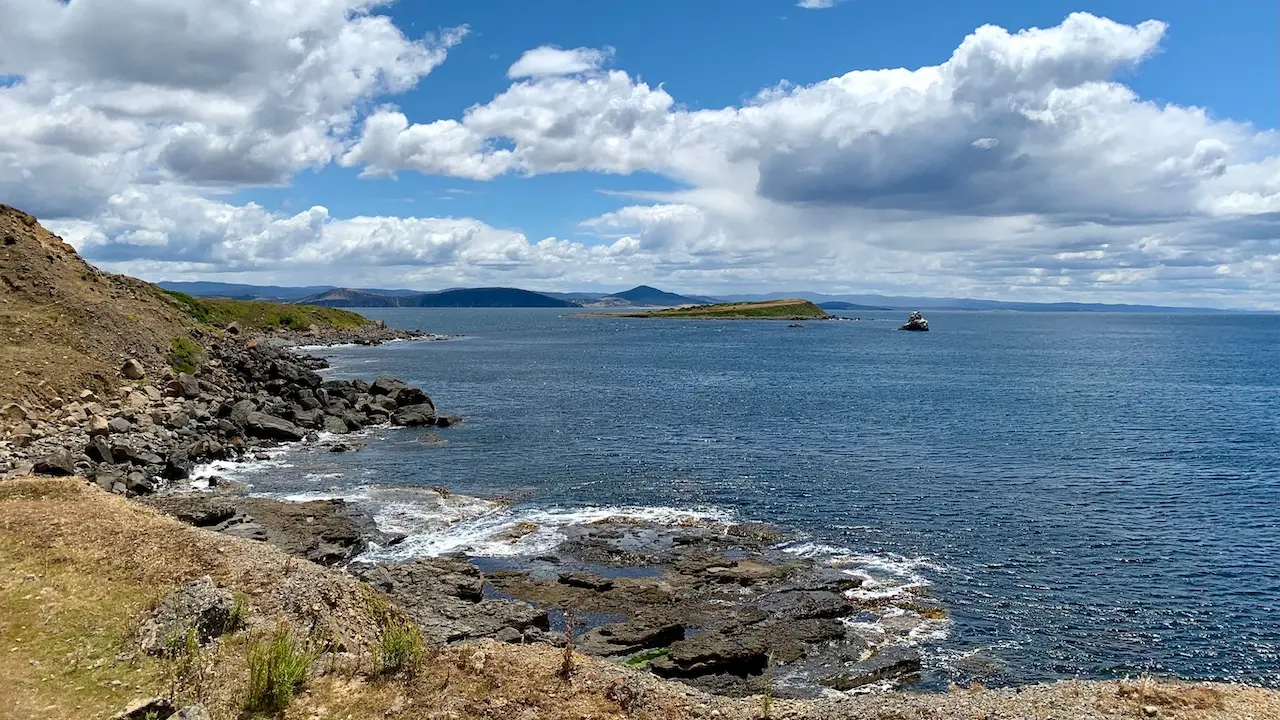
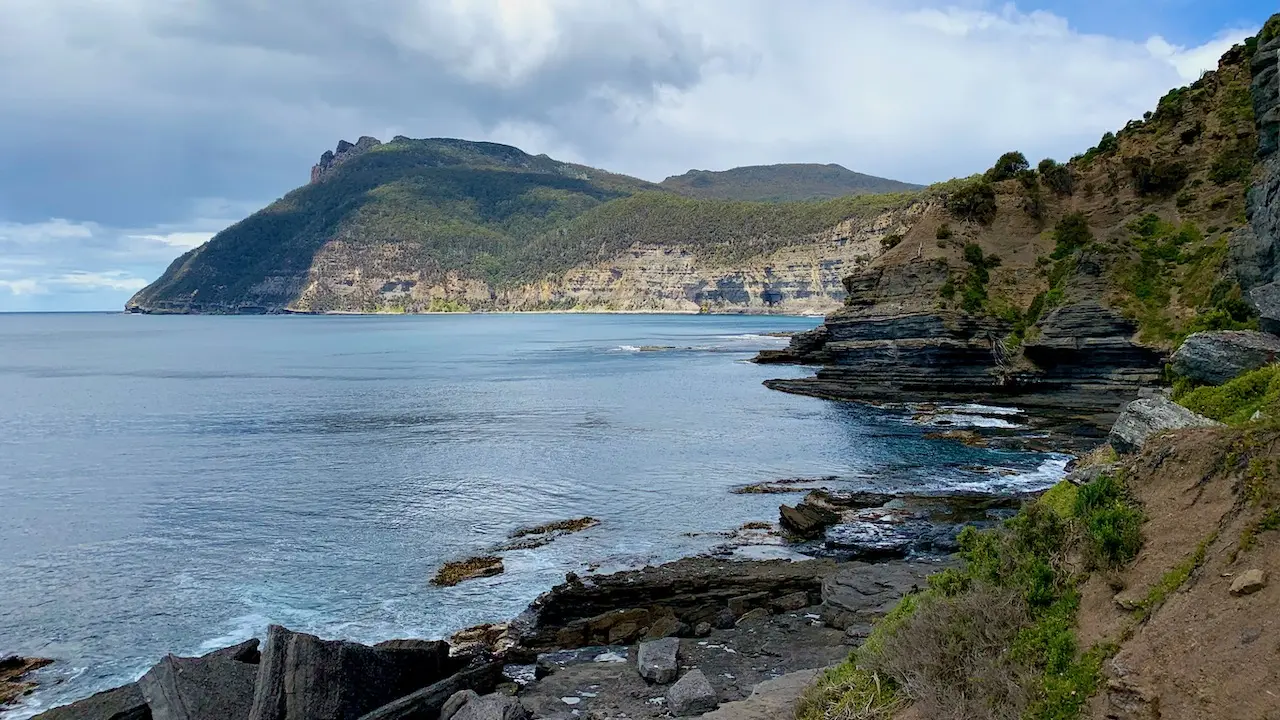
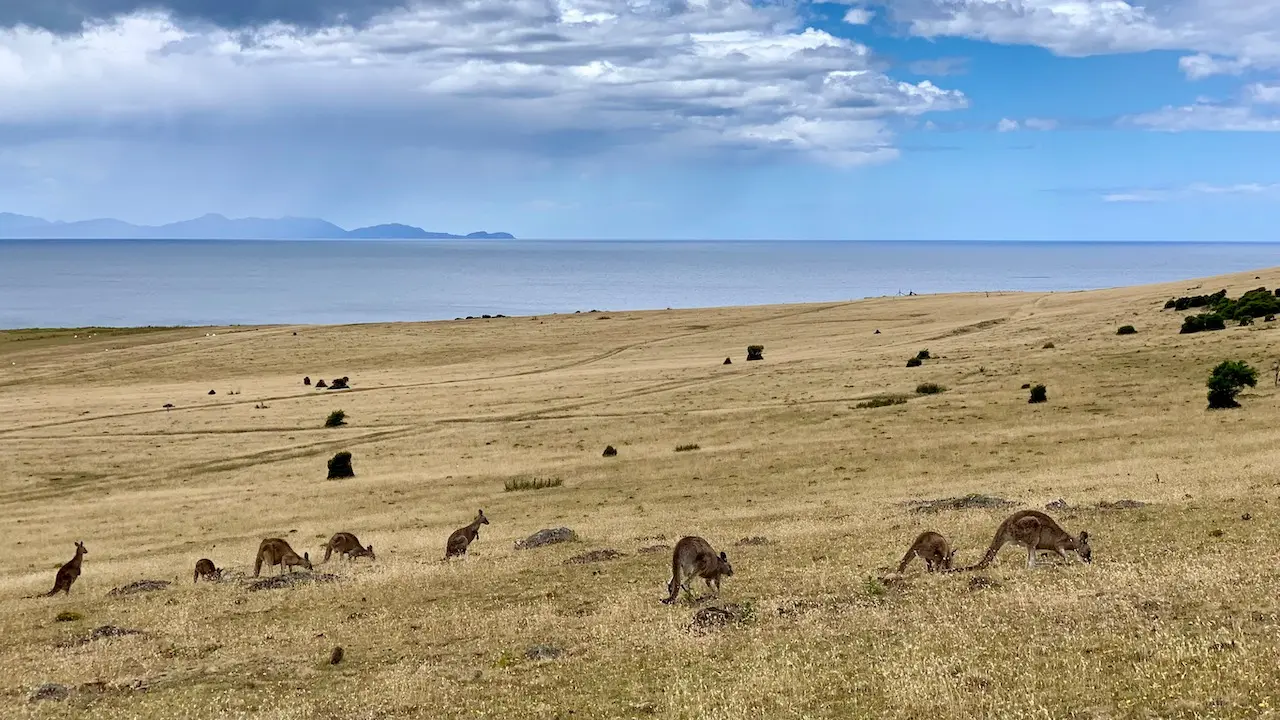
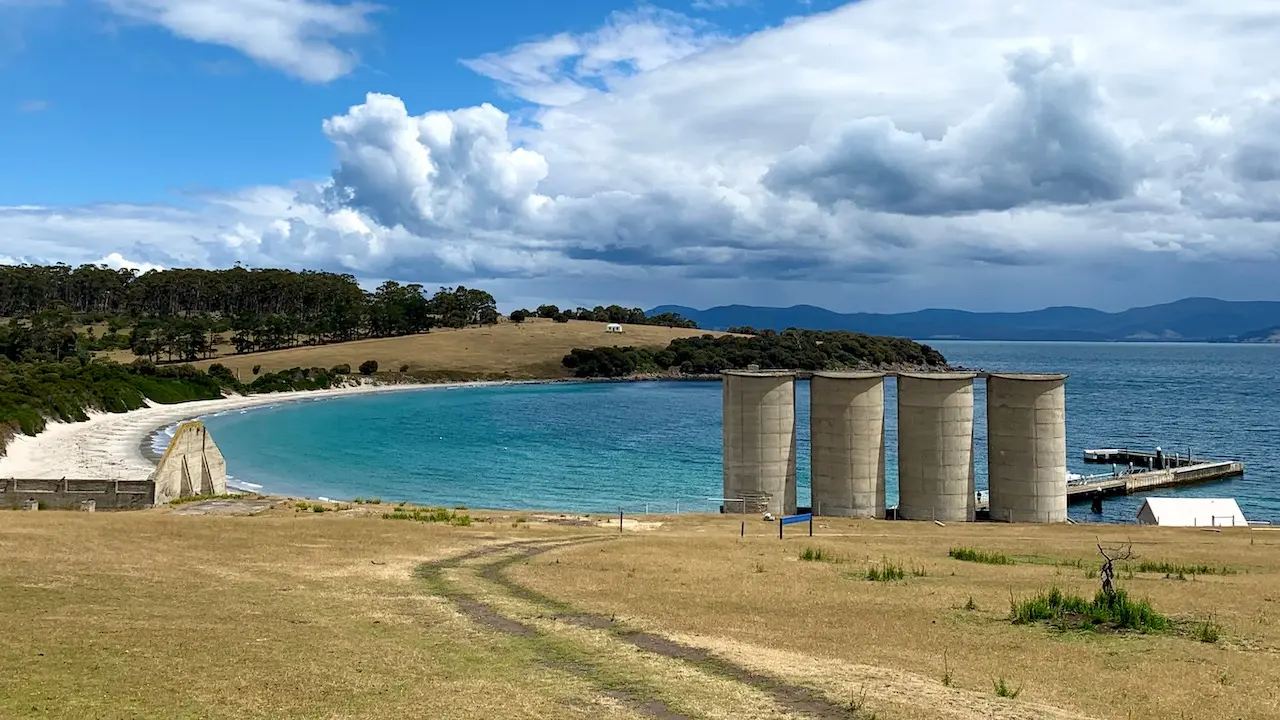
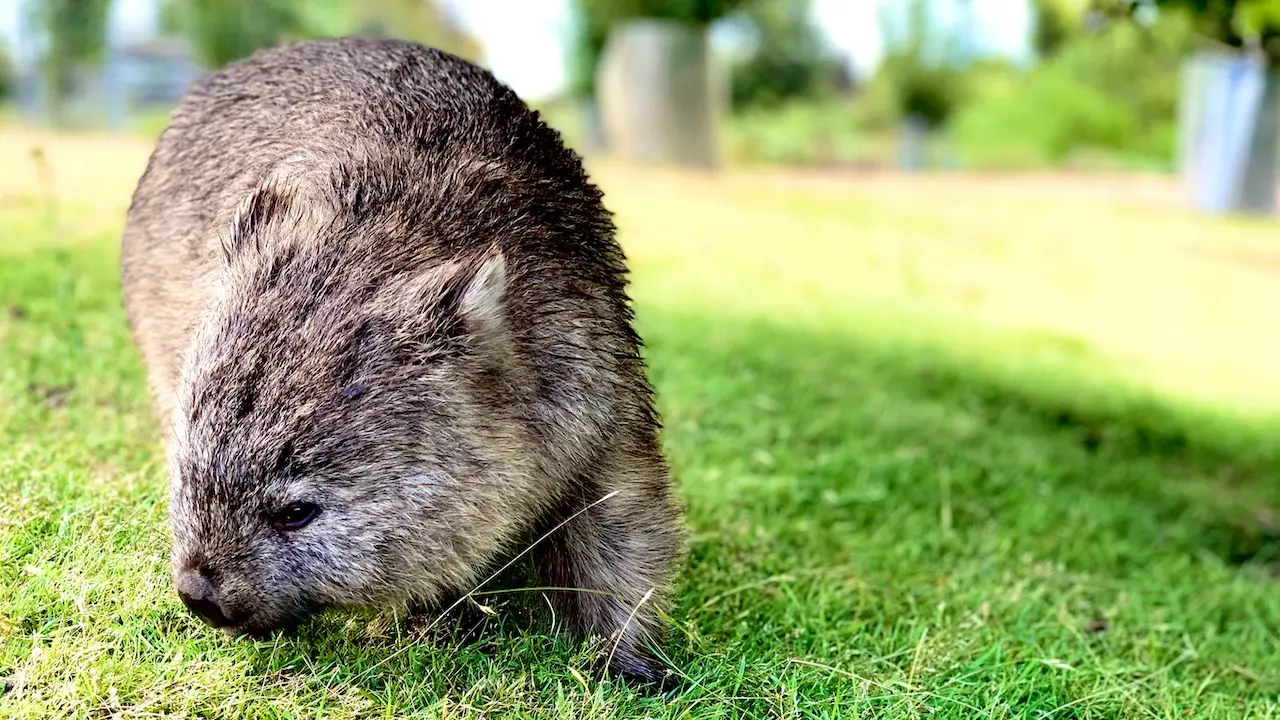
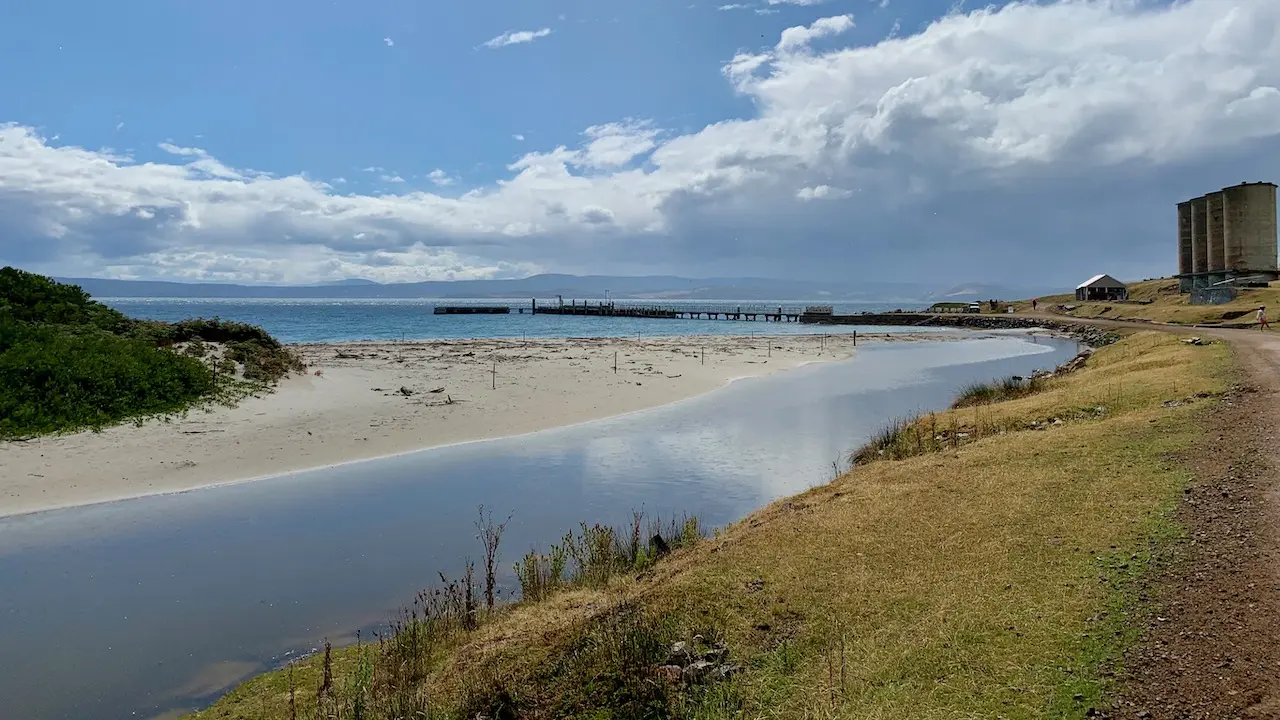
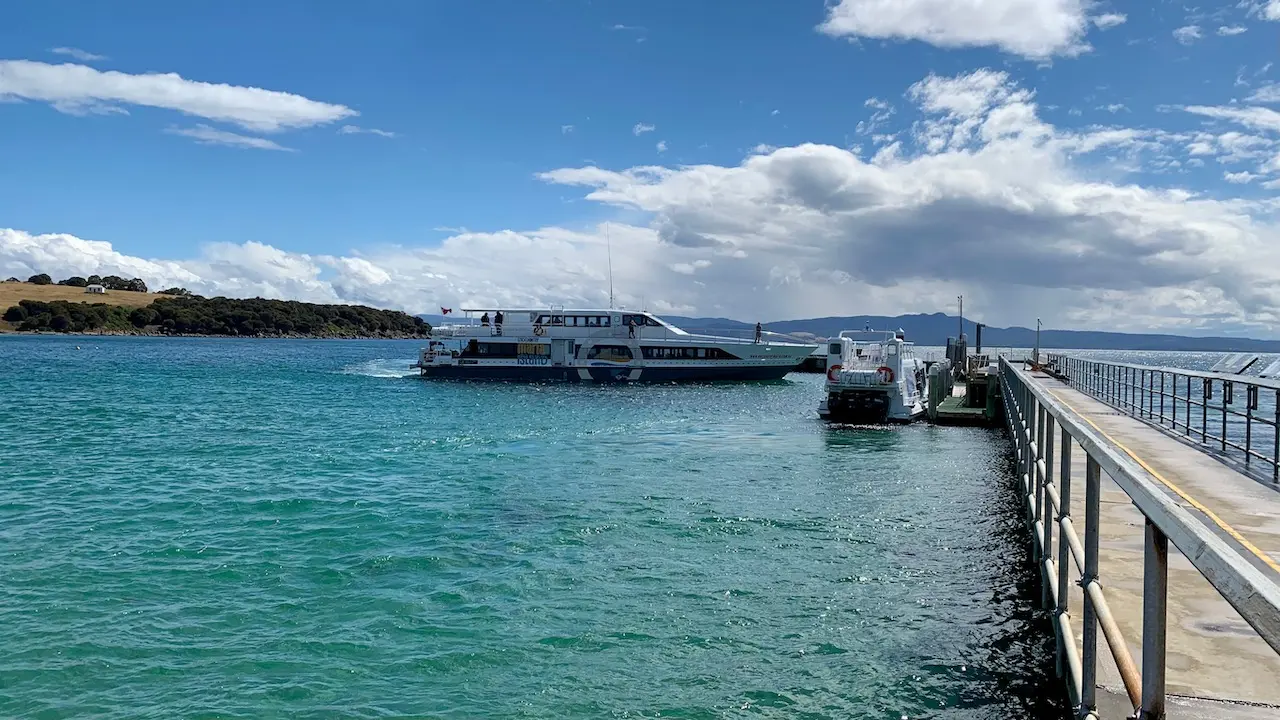
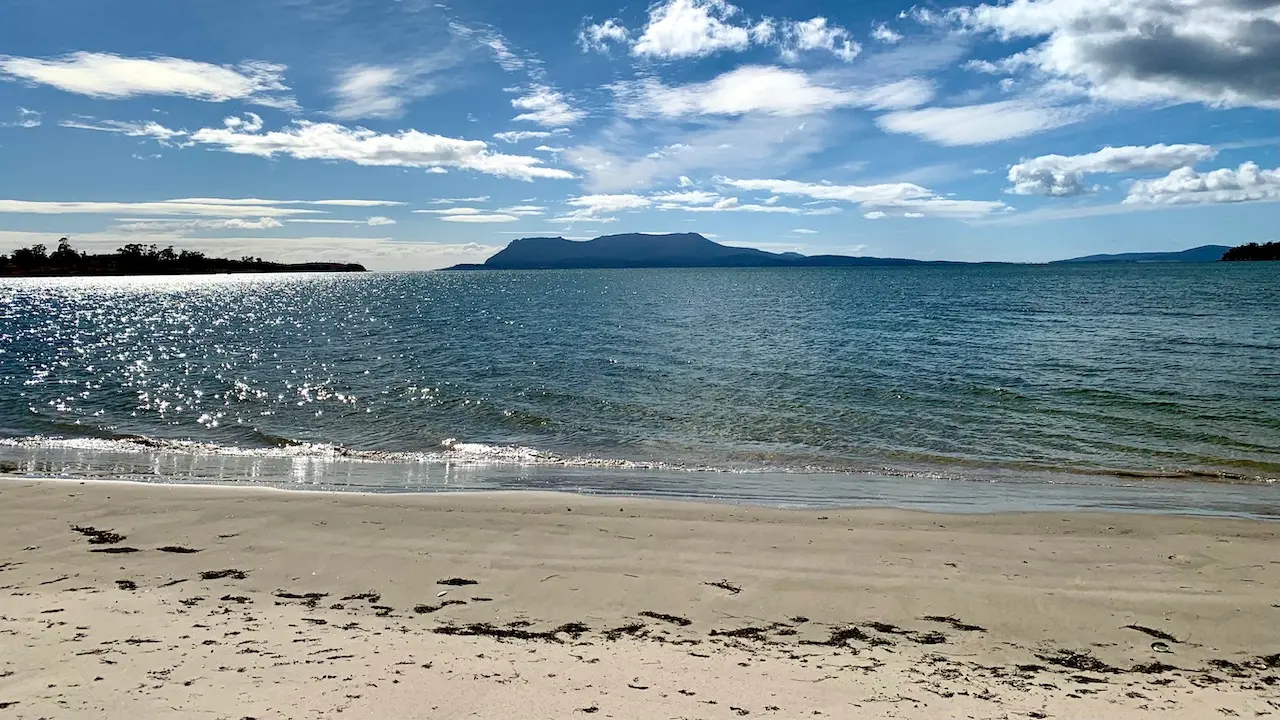
Maria Island

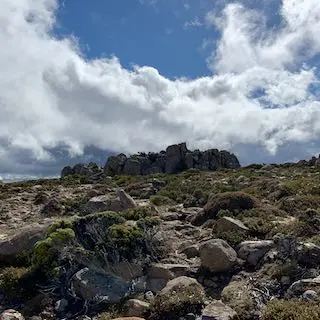
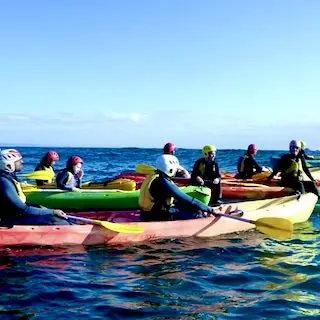
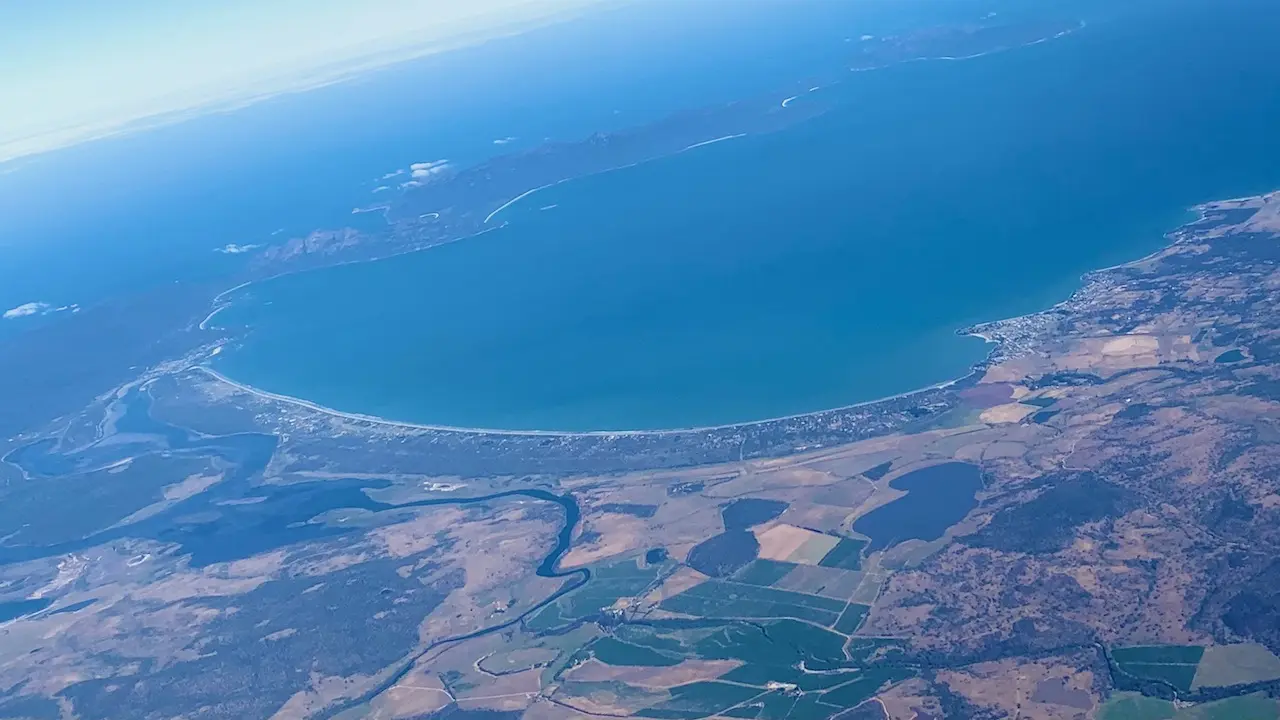
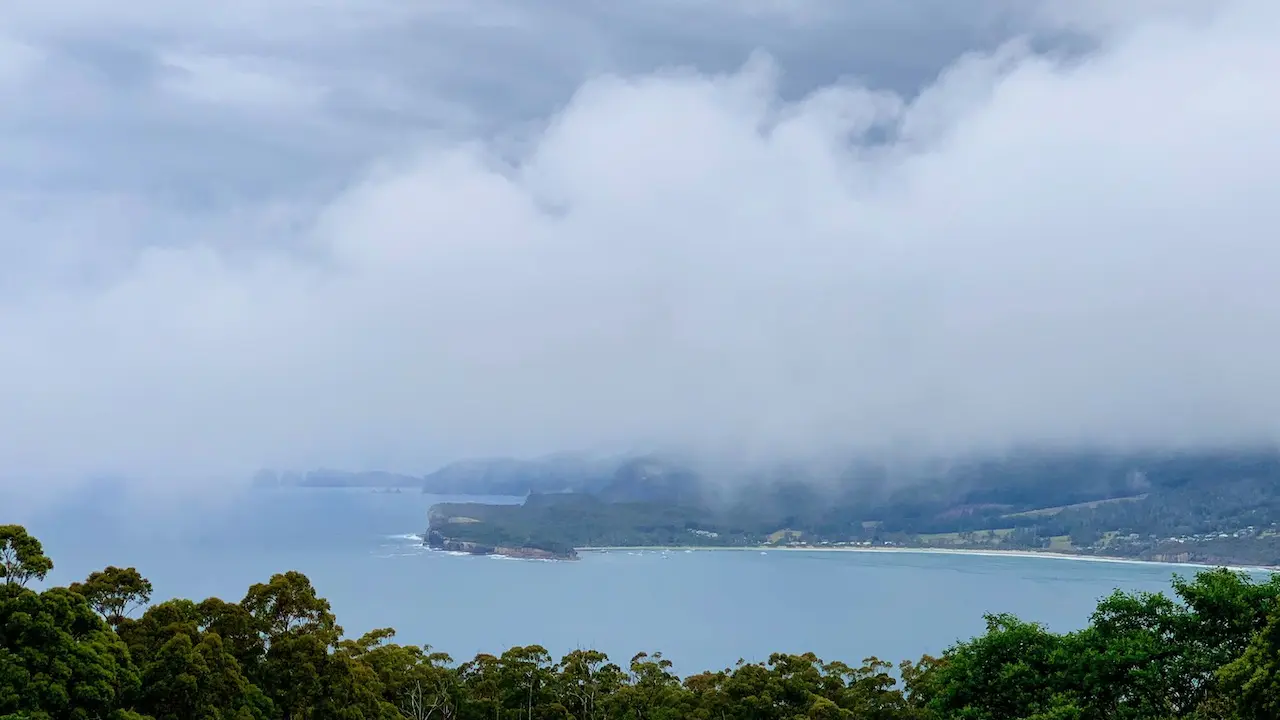
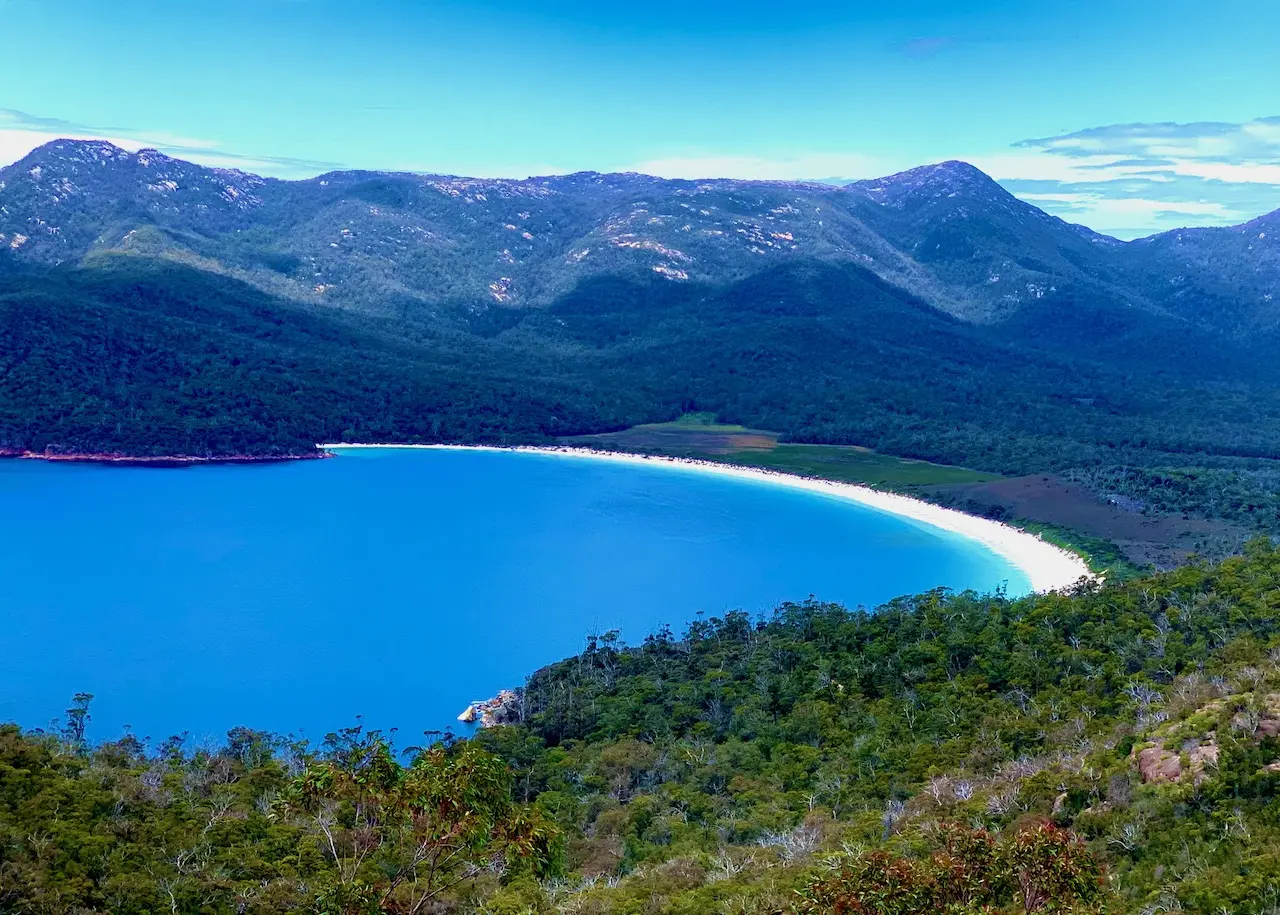
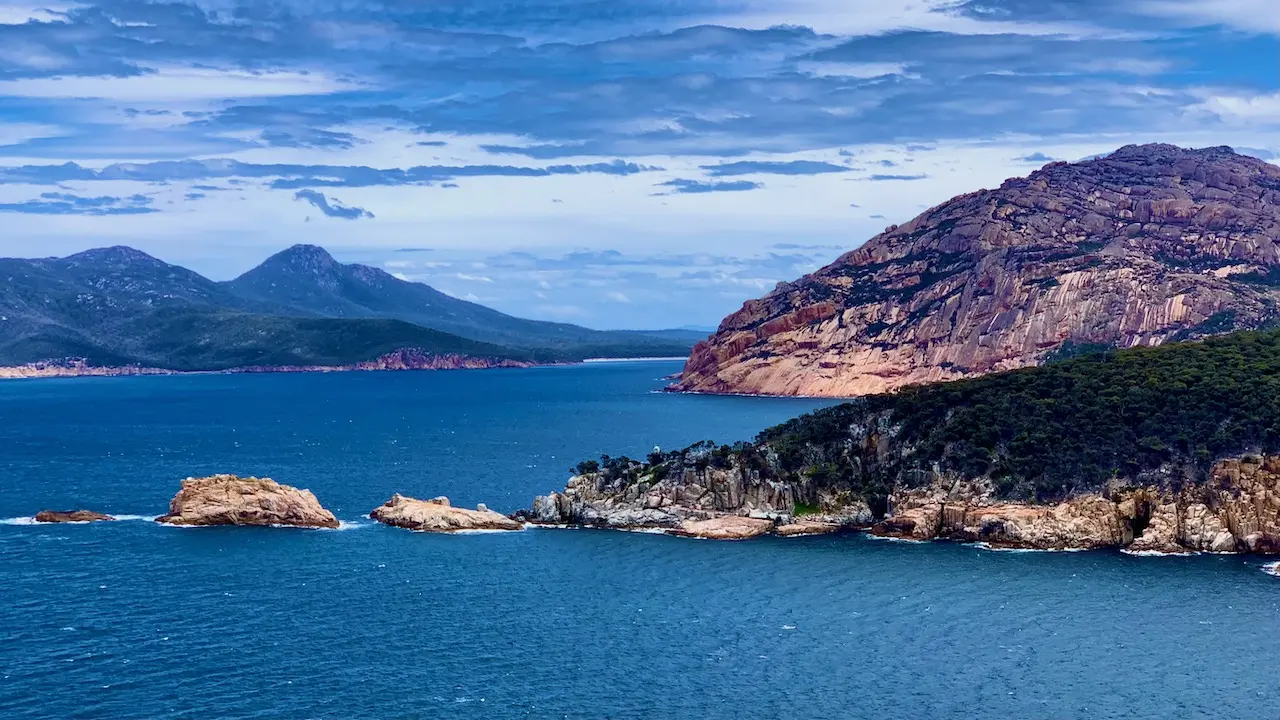
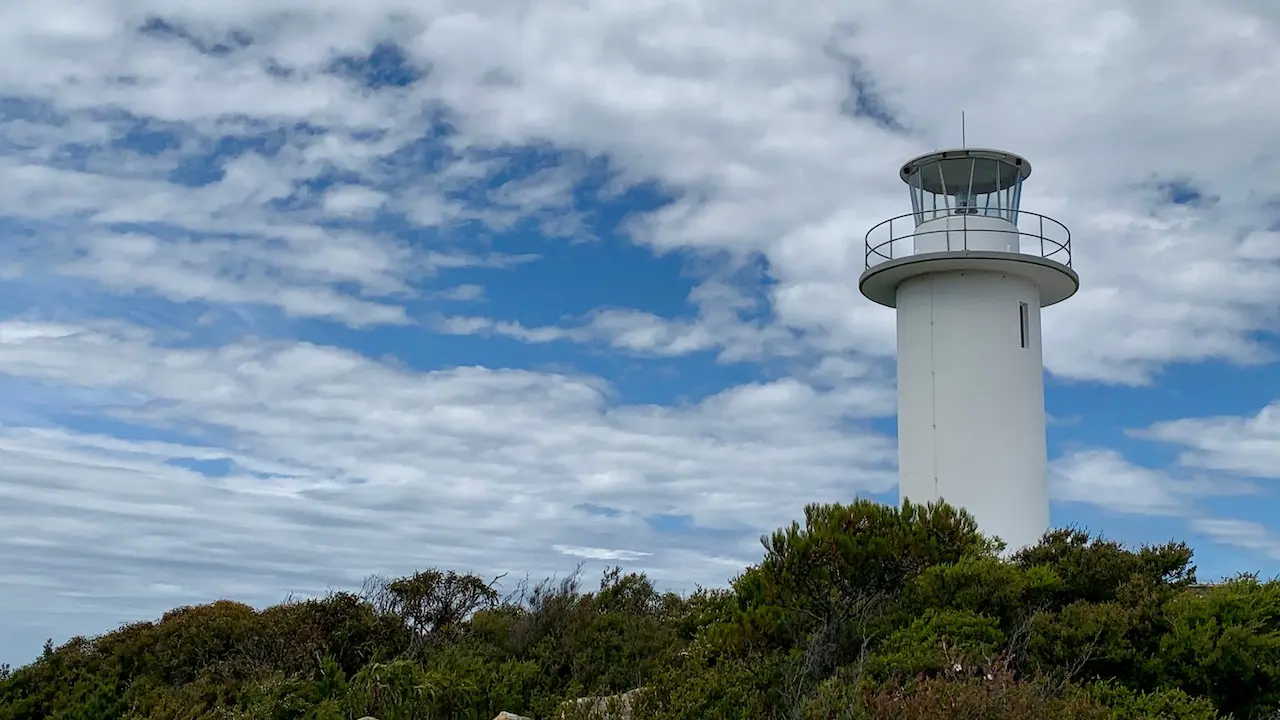
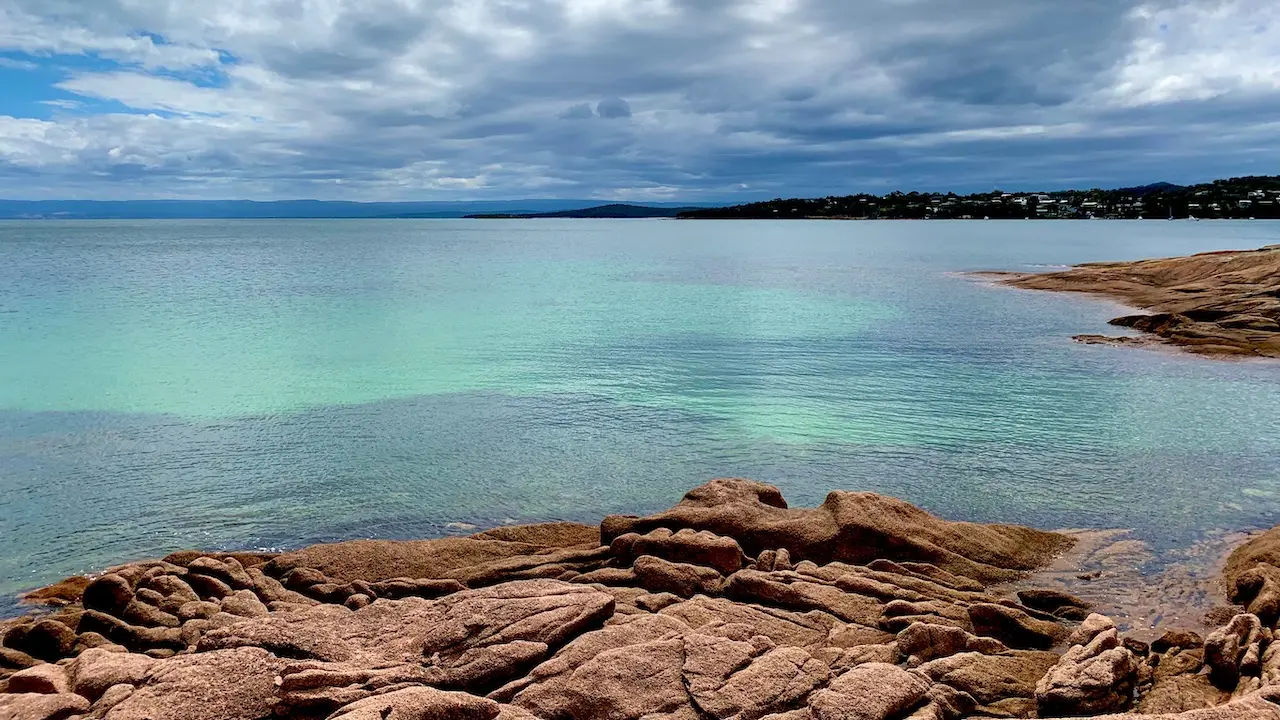
Wineglass Bay


Launceston
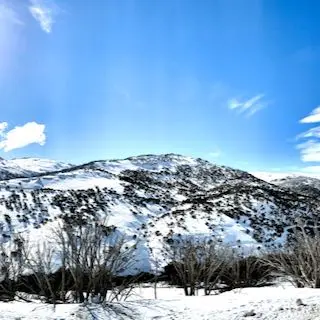
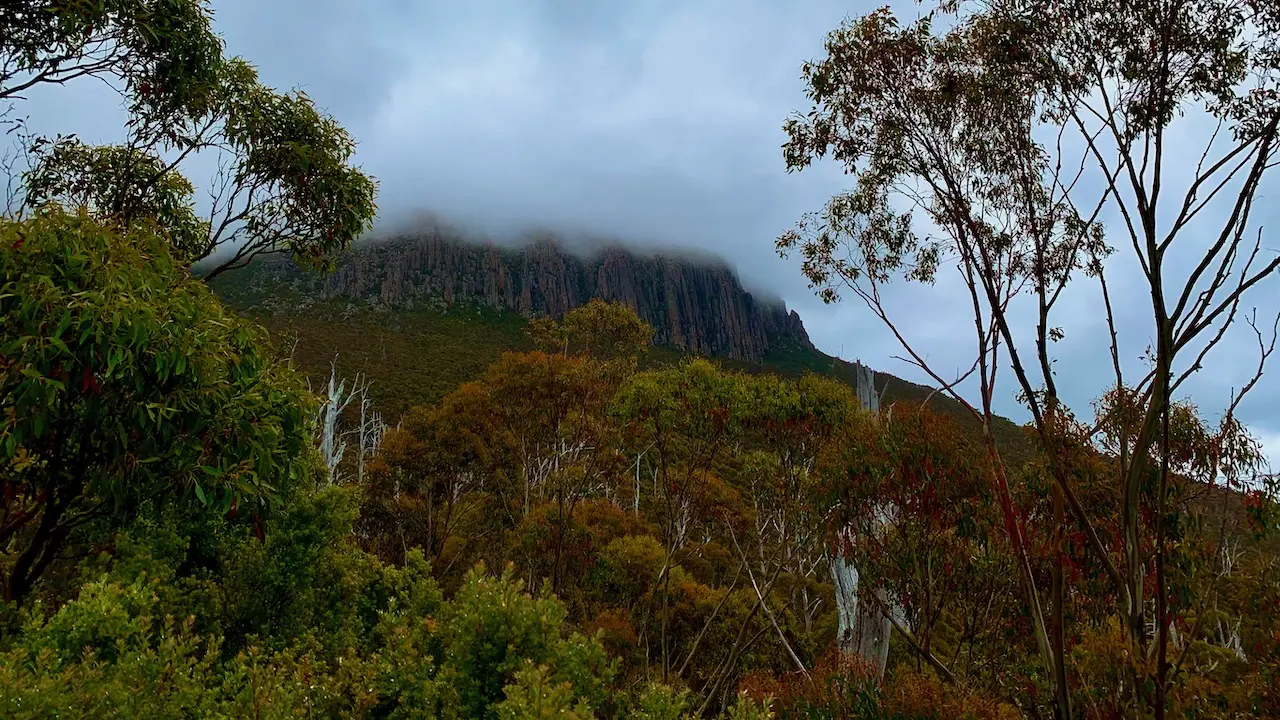
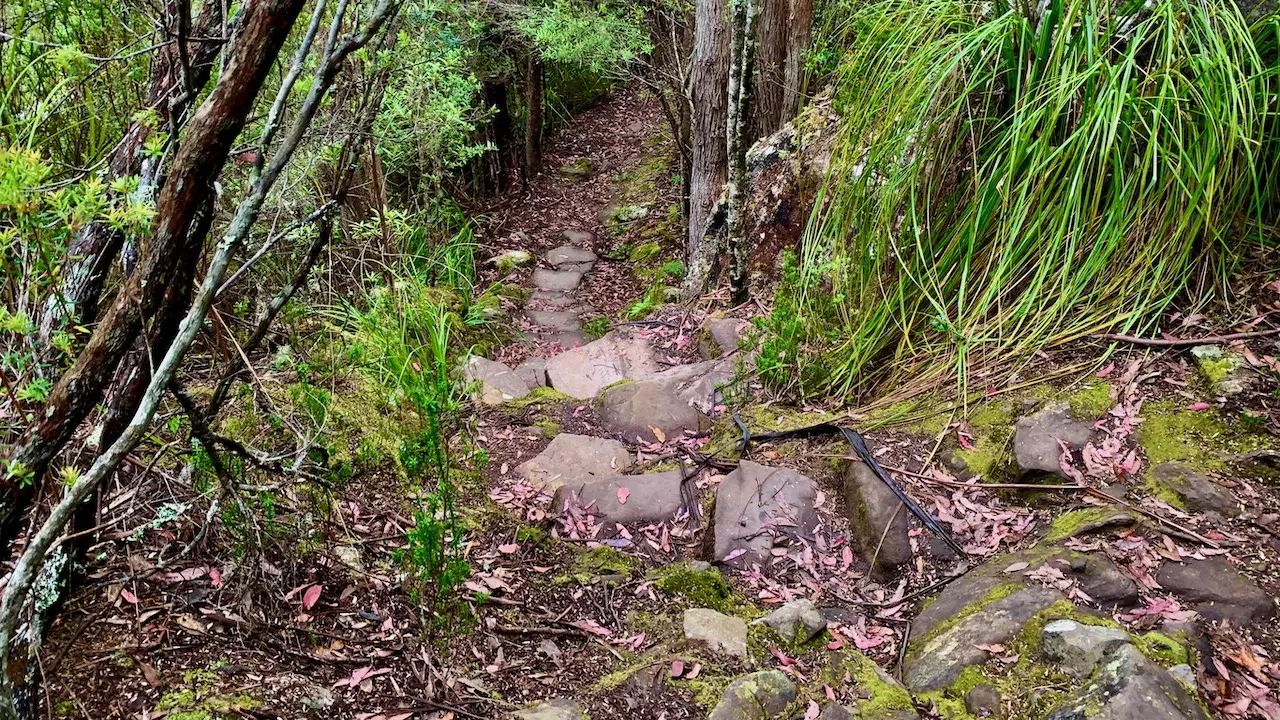
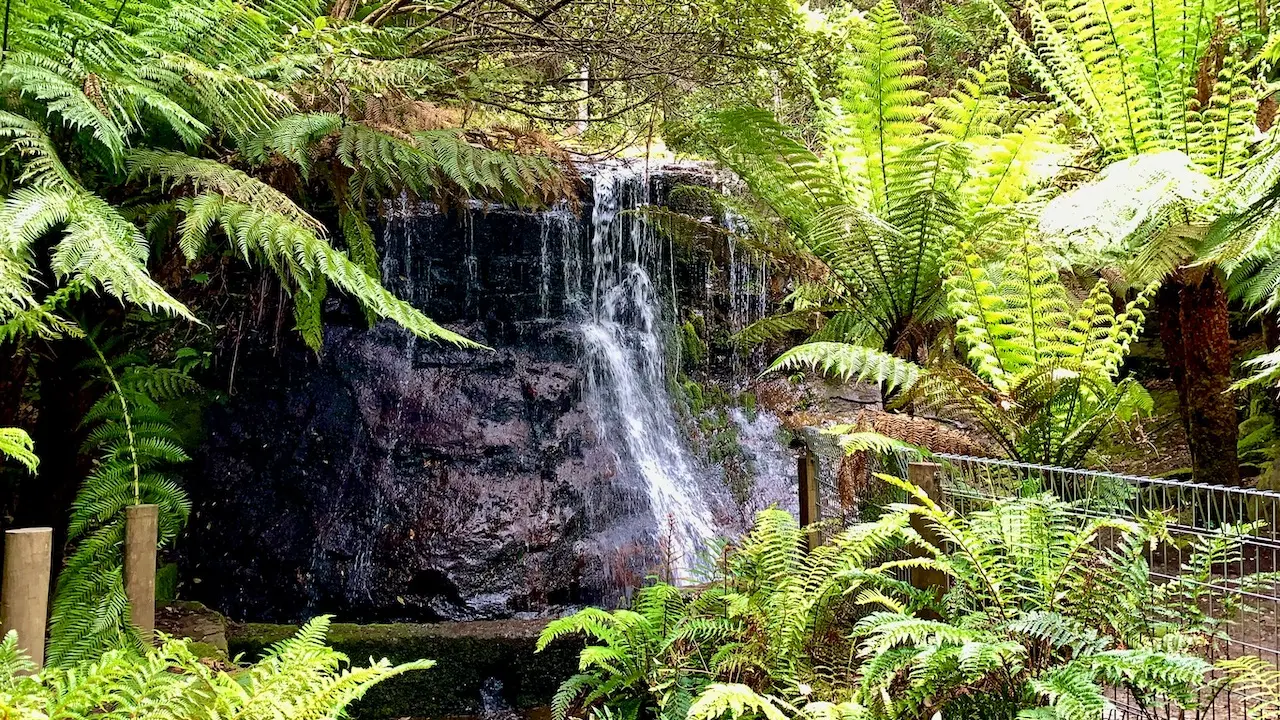
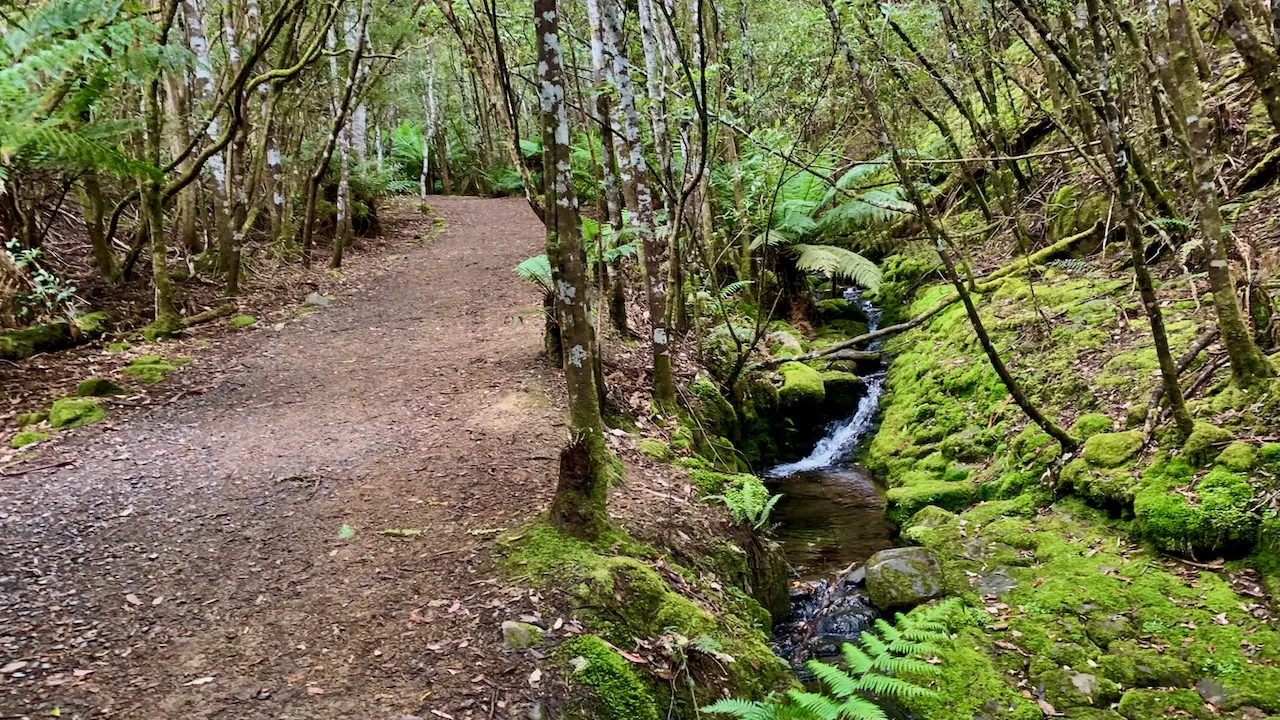
Cradle Mountain
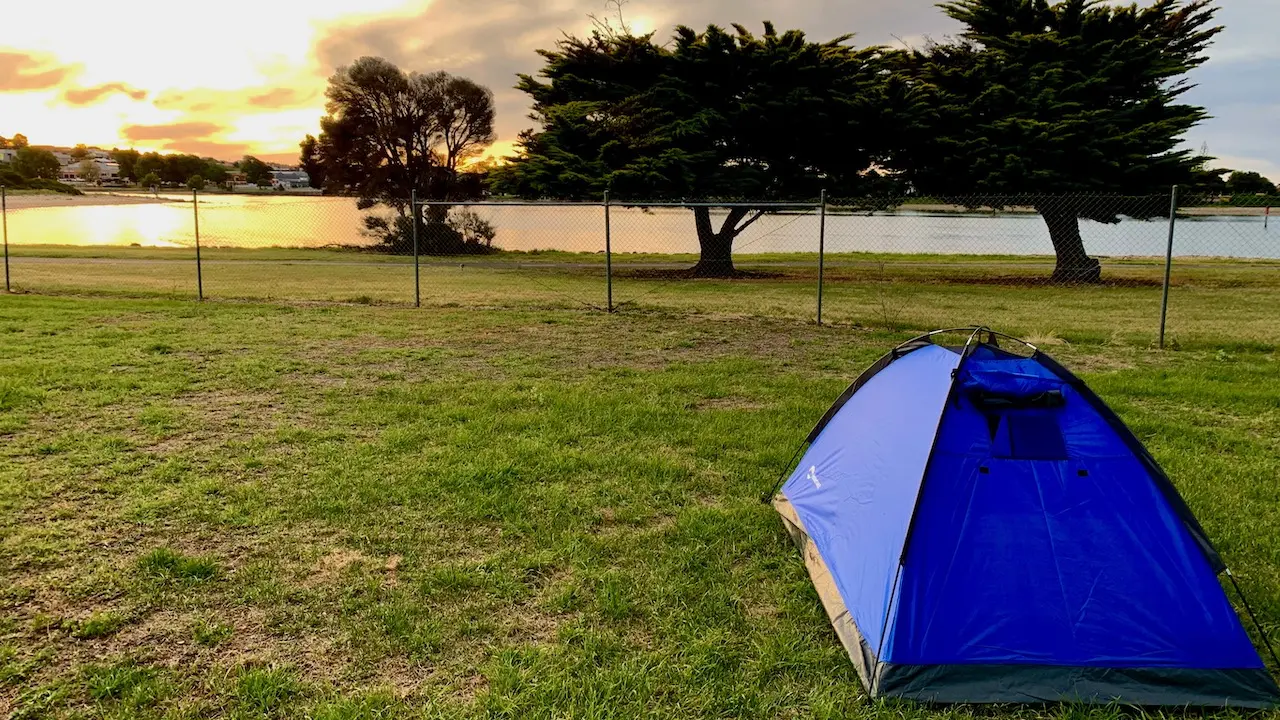
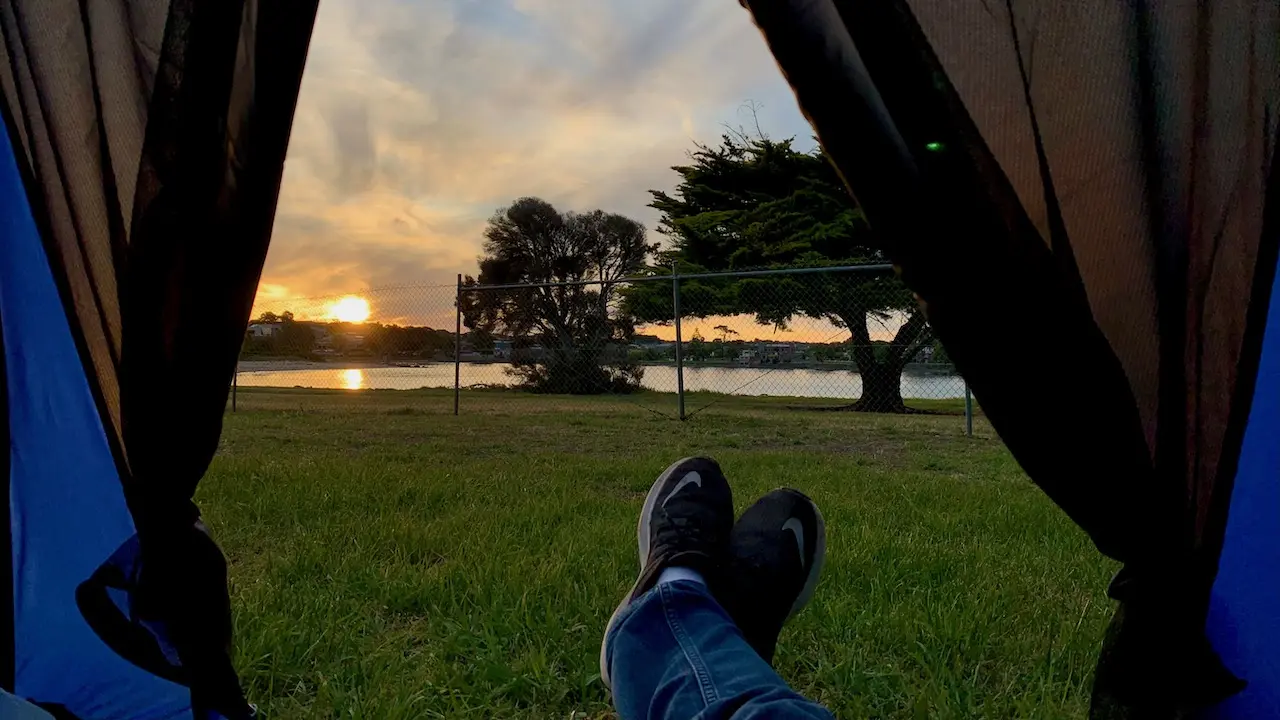
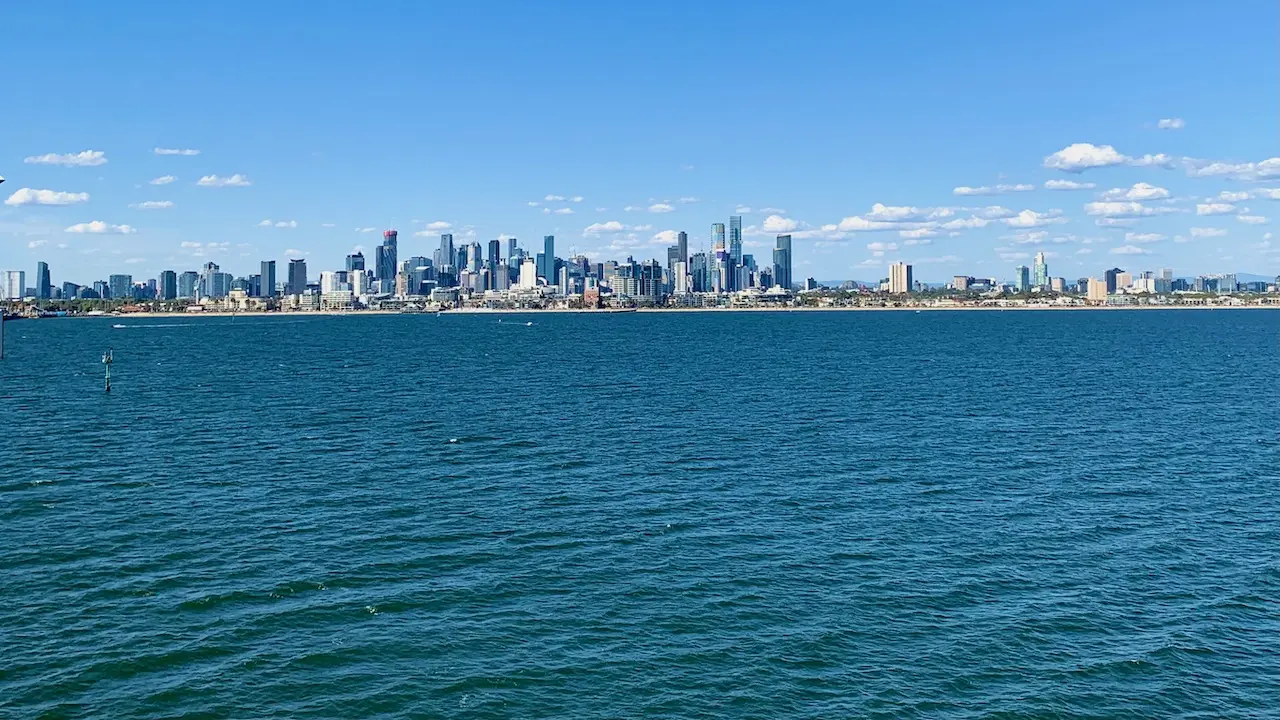
Devonport
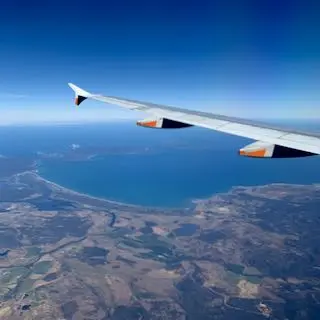
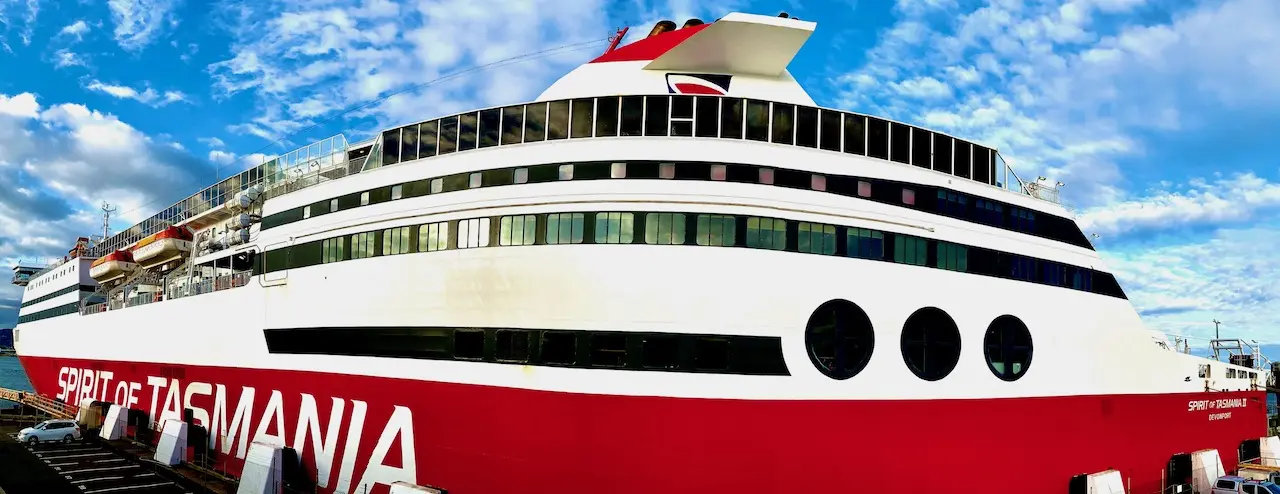
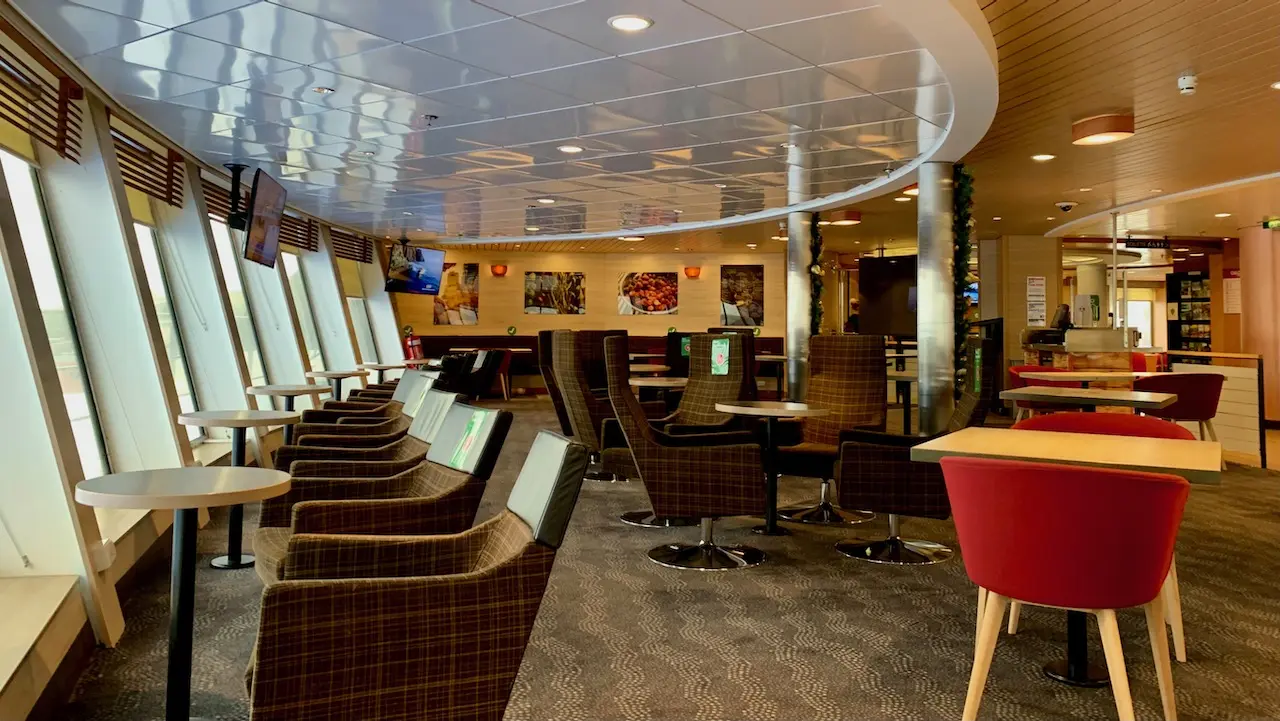
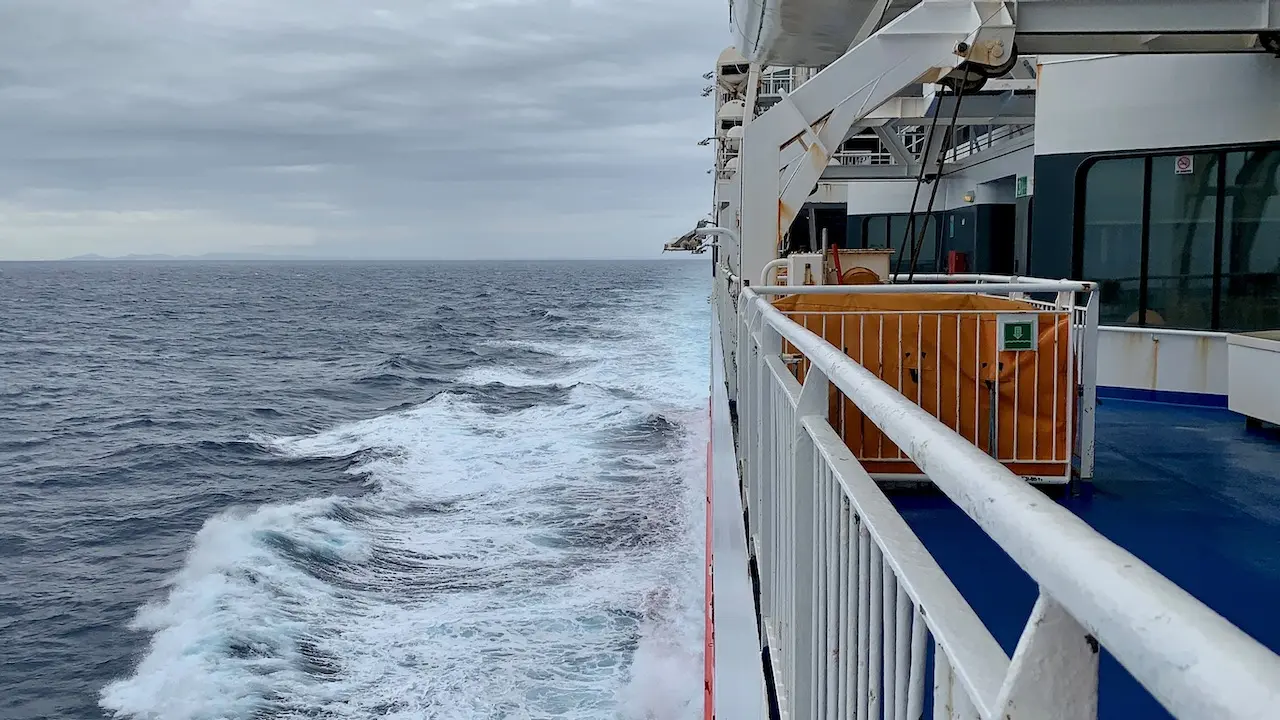
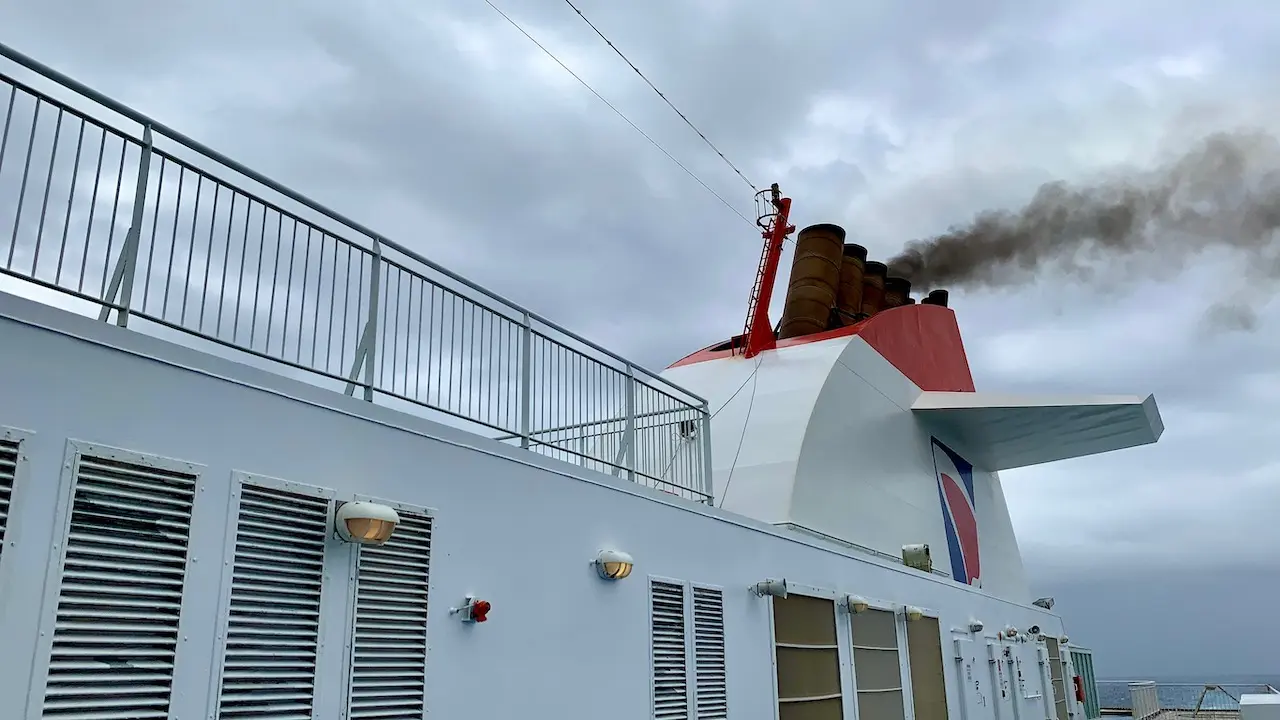
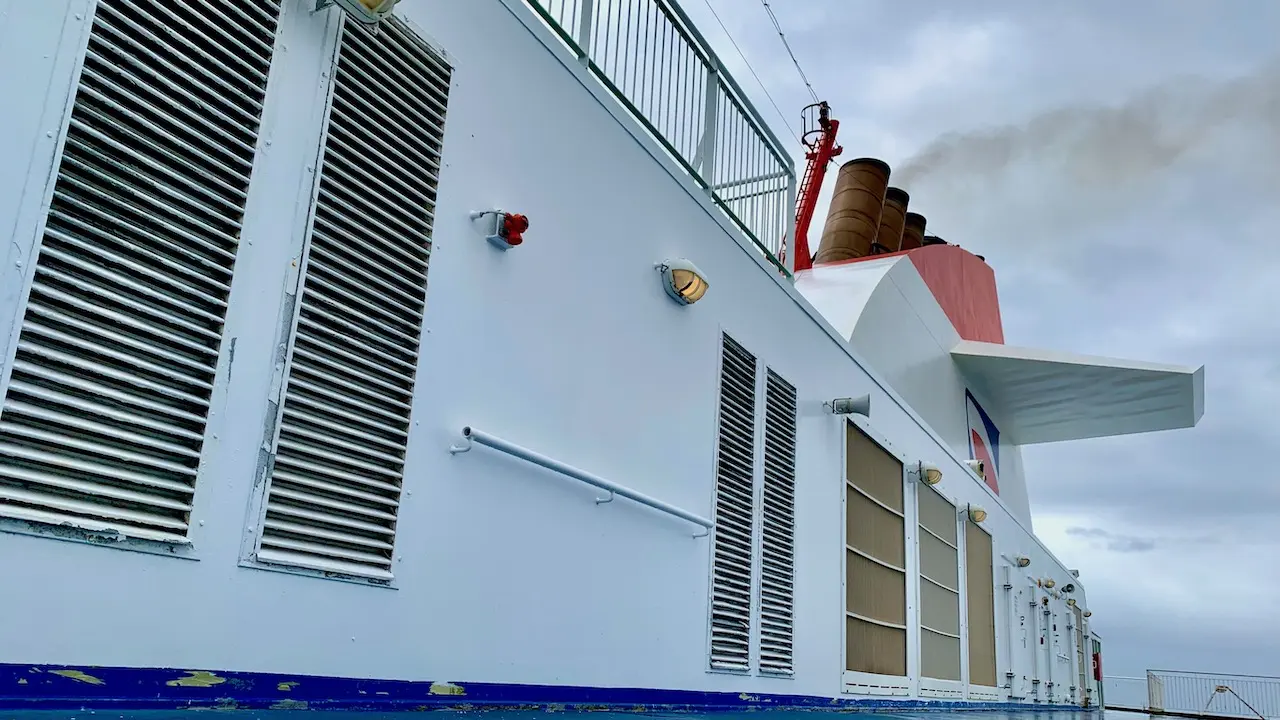
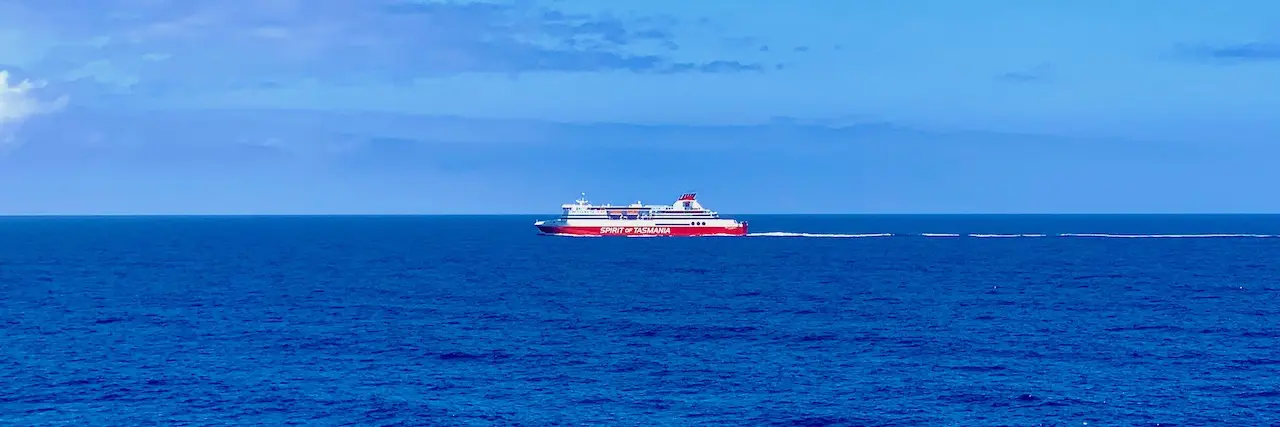
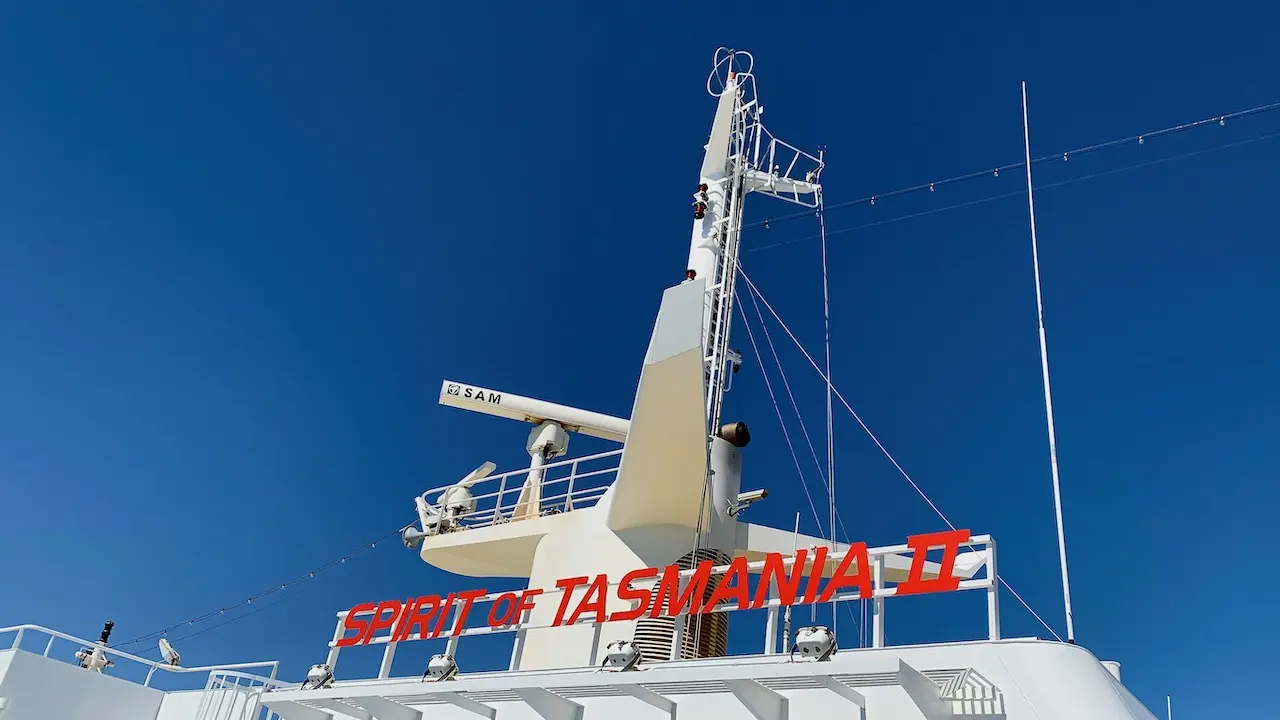
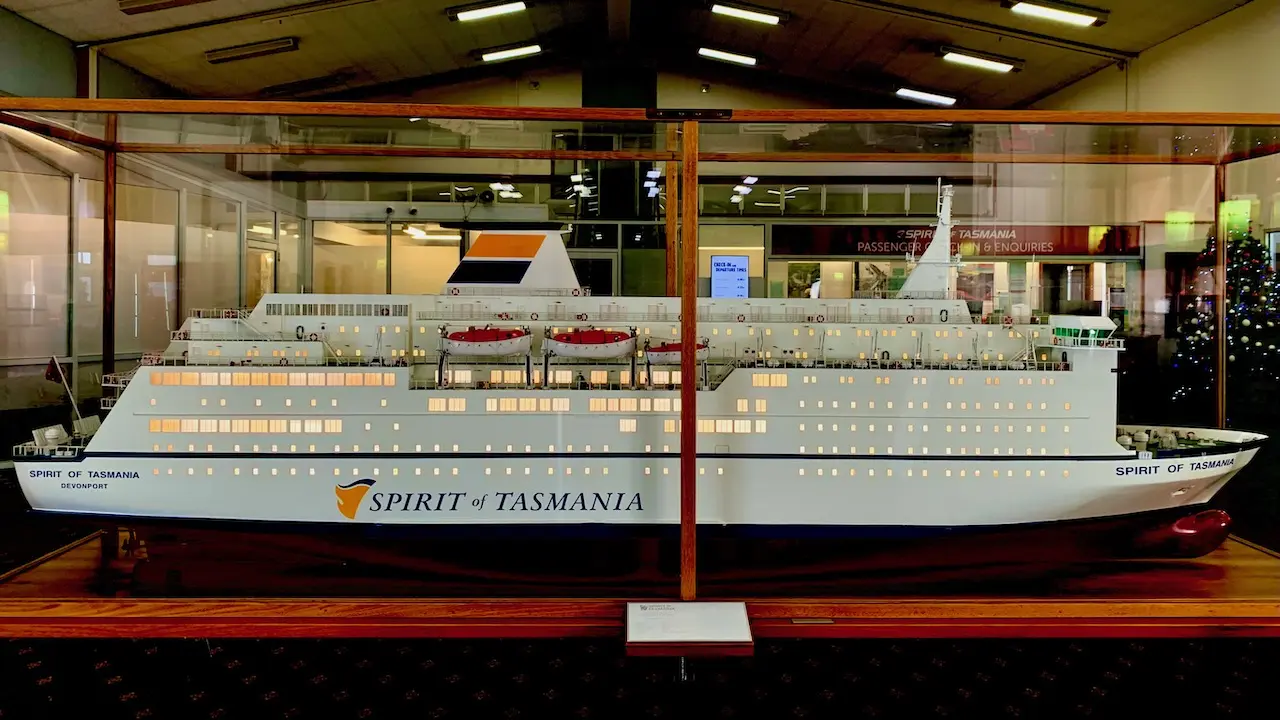
Spirit of Tasmania


Popular Travel Guides
Our Most Popular Destinations
Latest from the Blog
Find Travel Inspiration