All Photos from South Australia
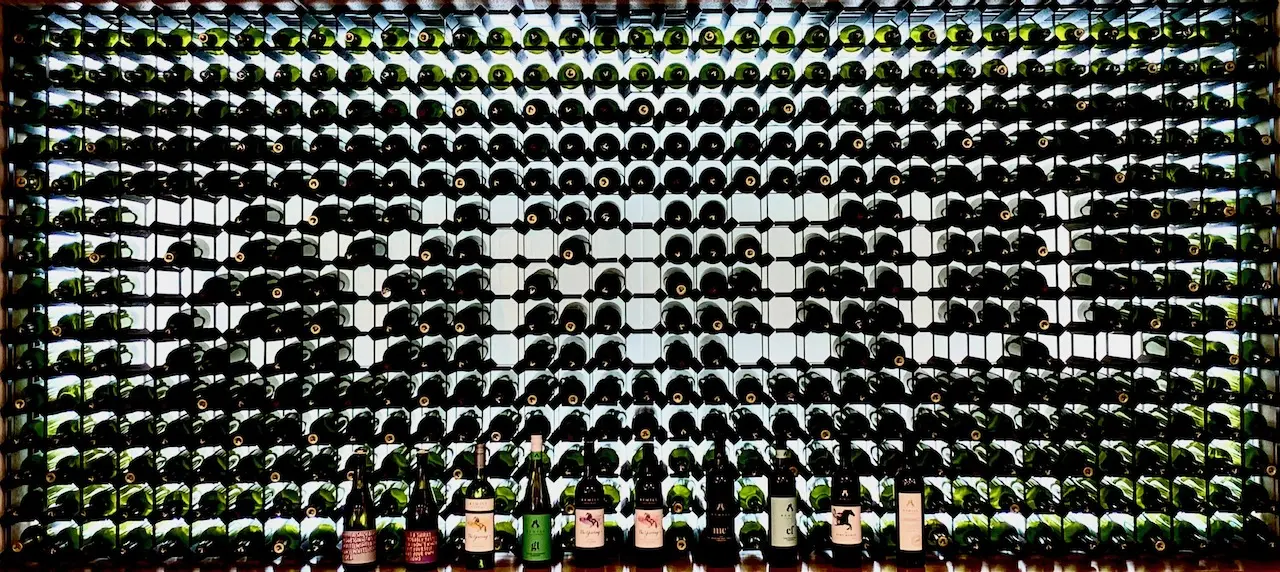
Coonawarra
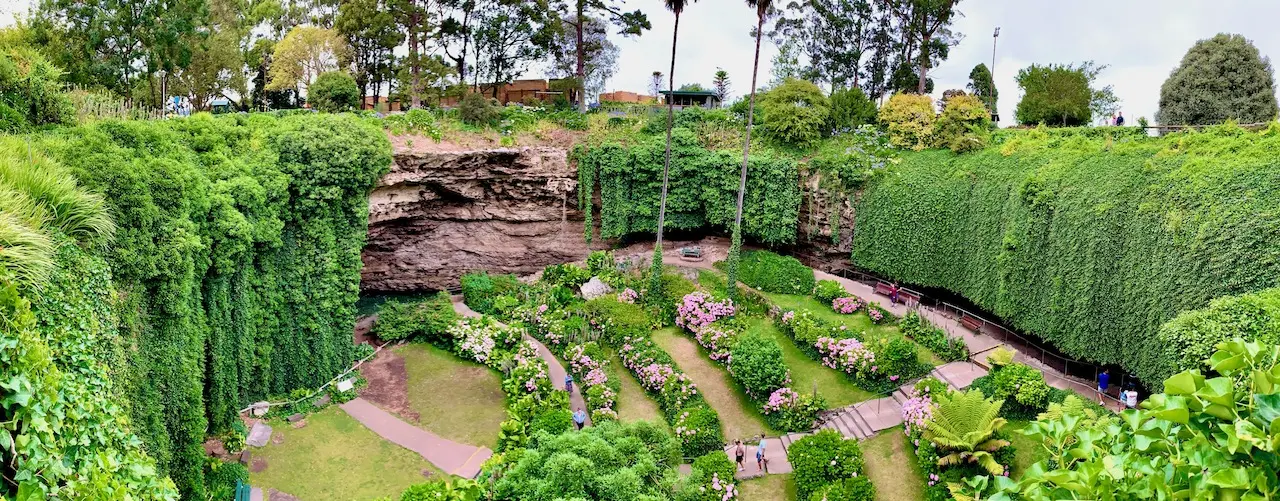
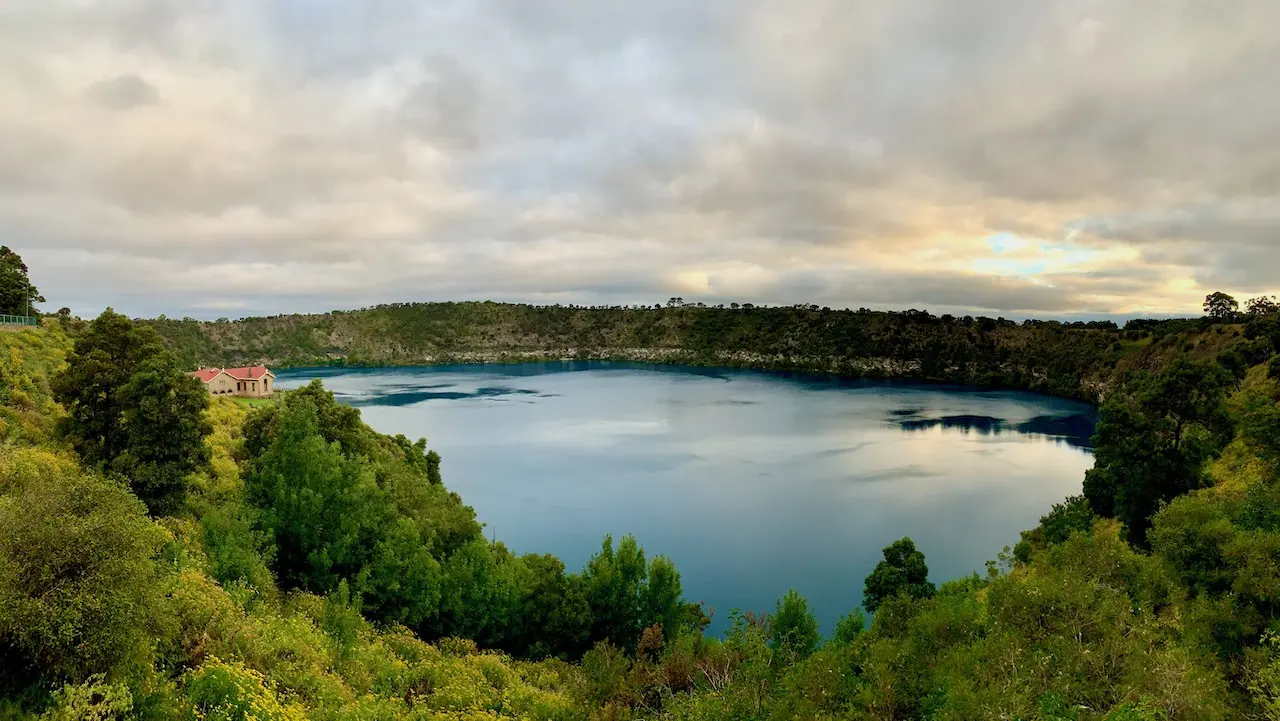
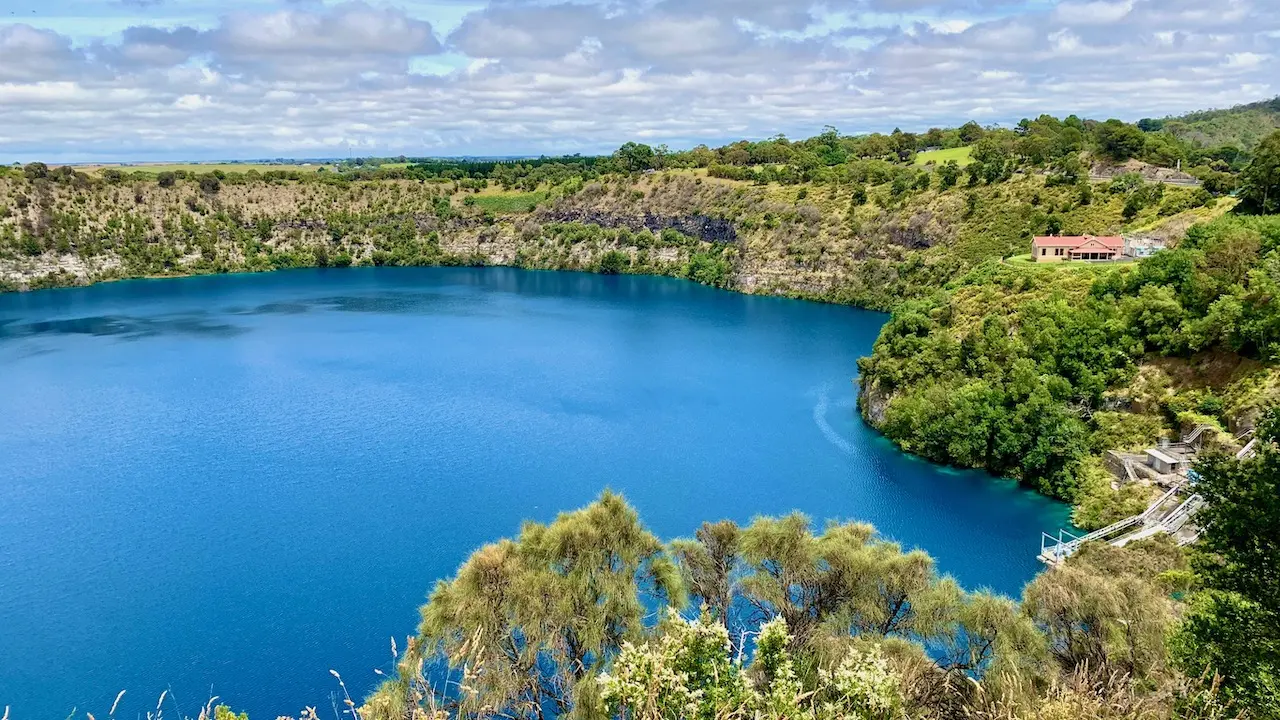
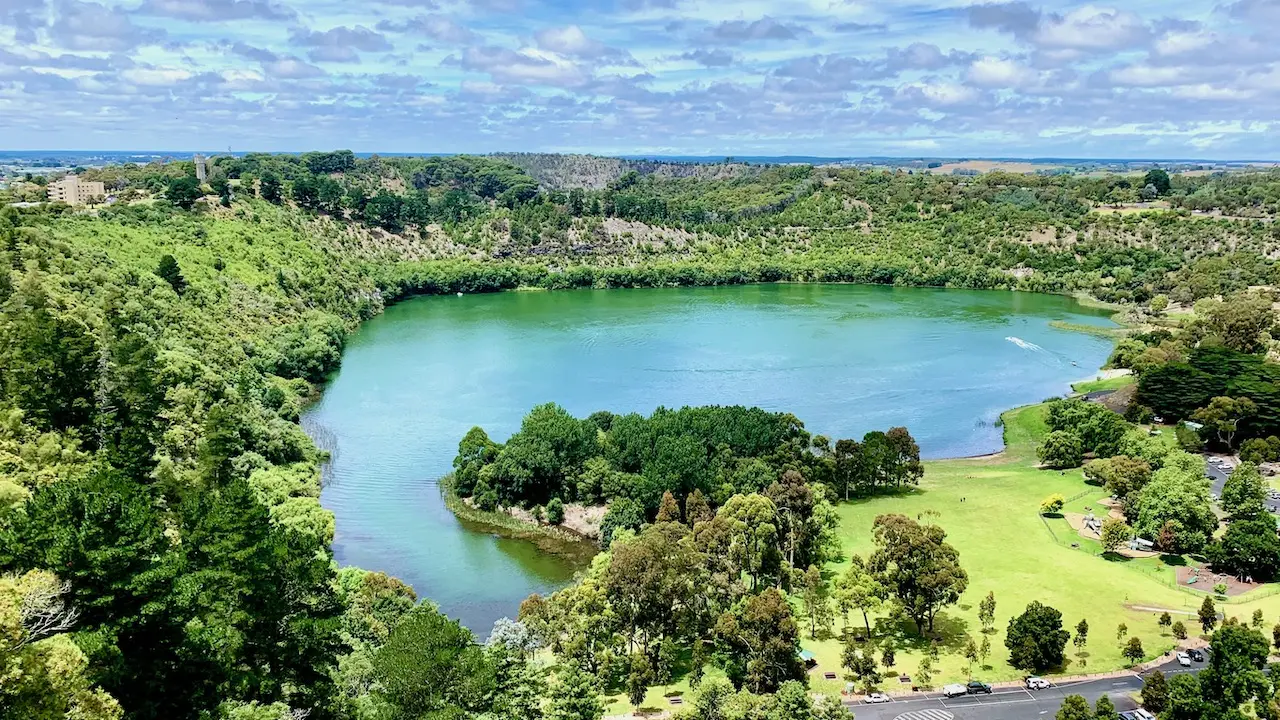
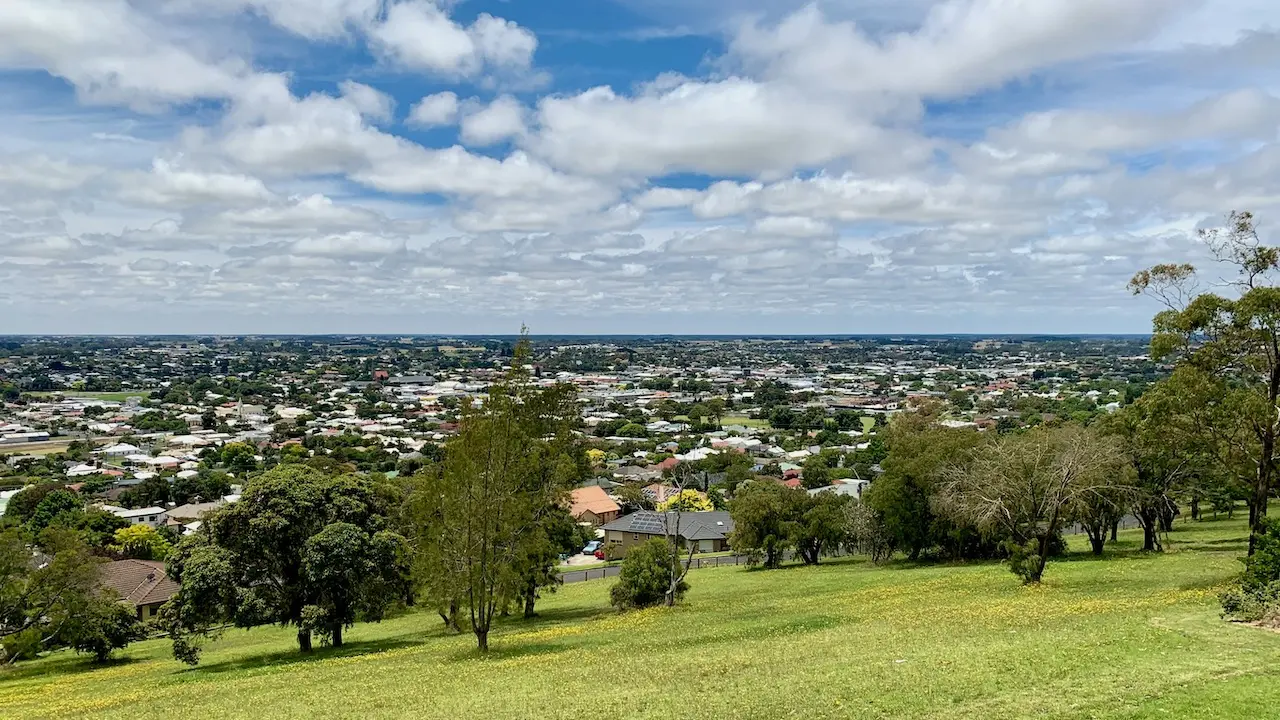
Mount Gambier

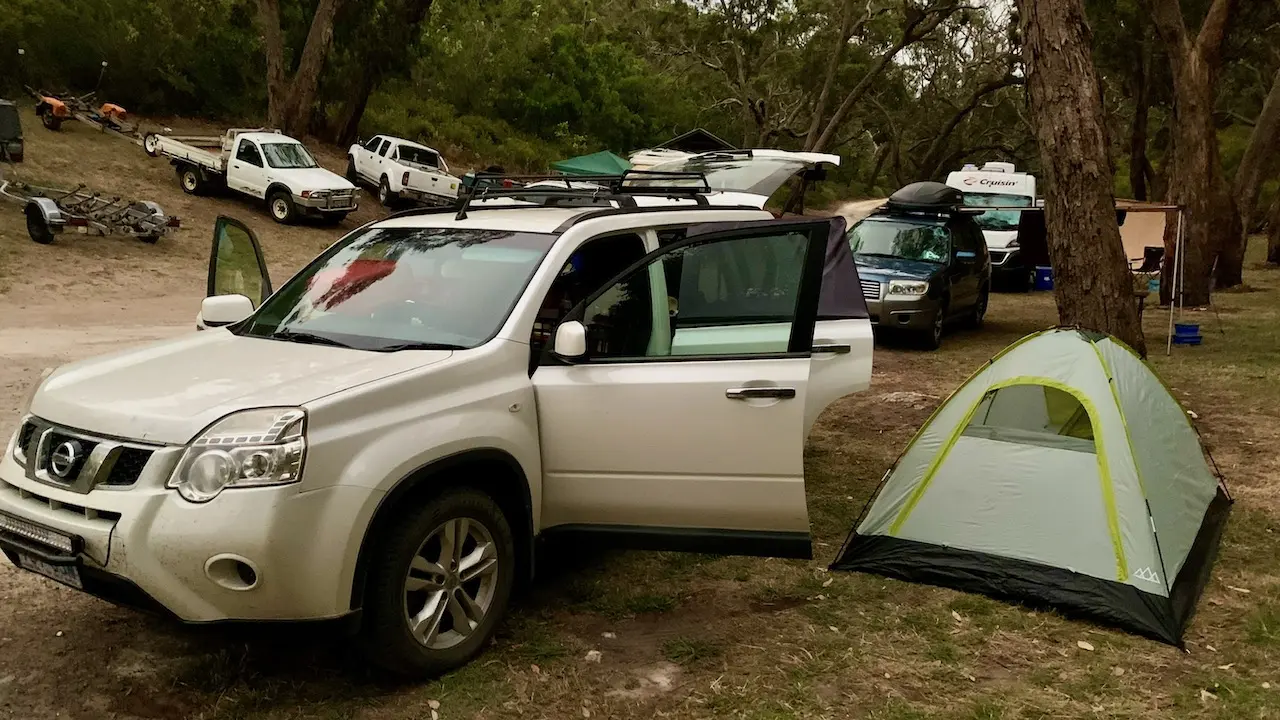
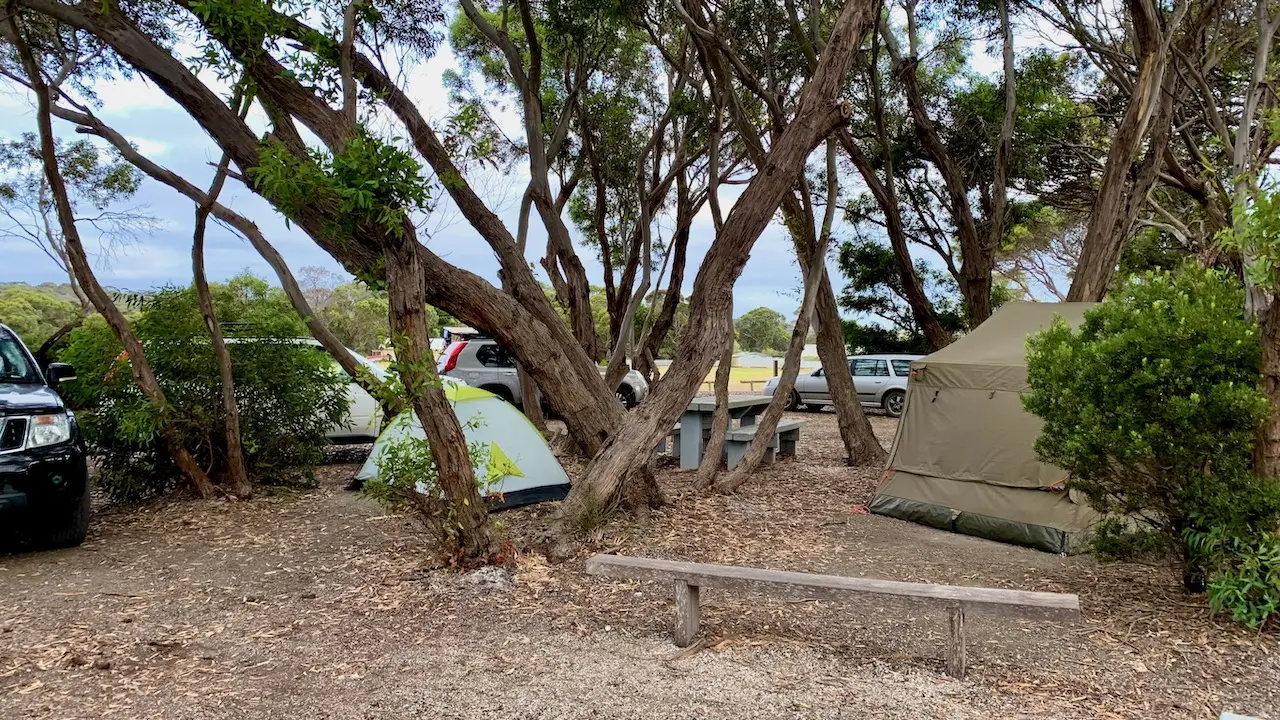
Dry Creek Campground

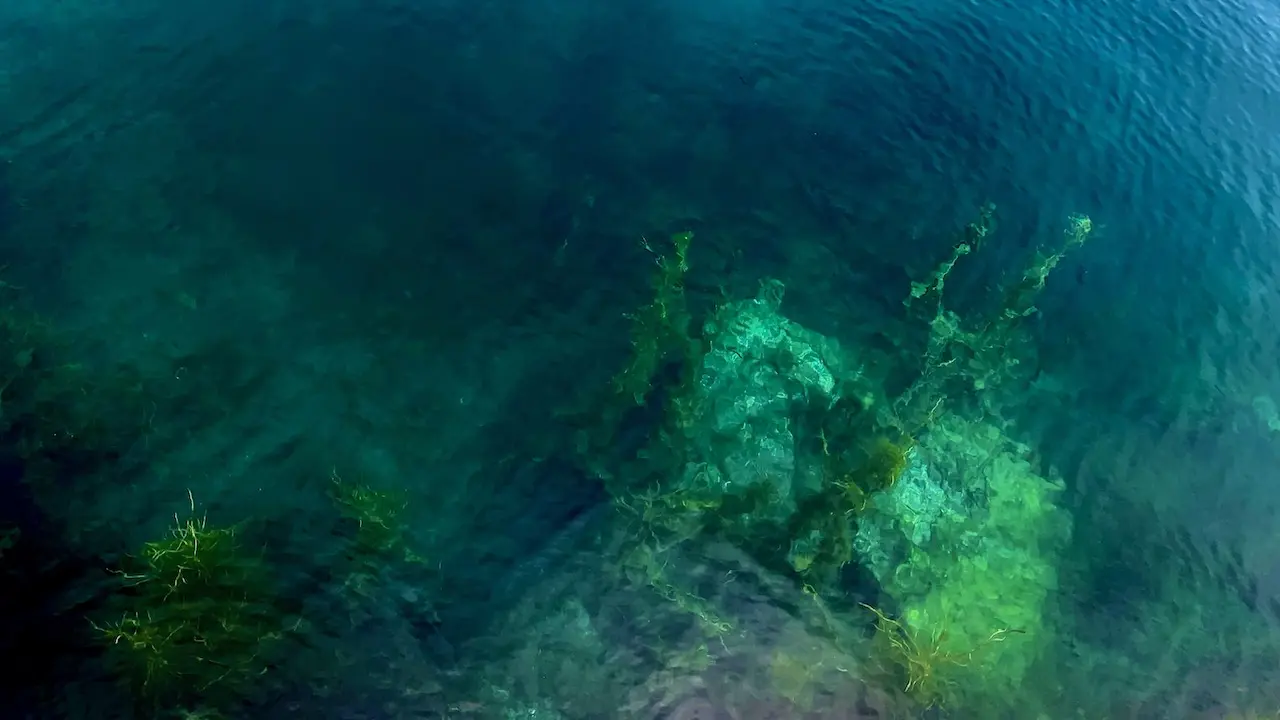
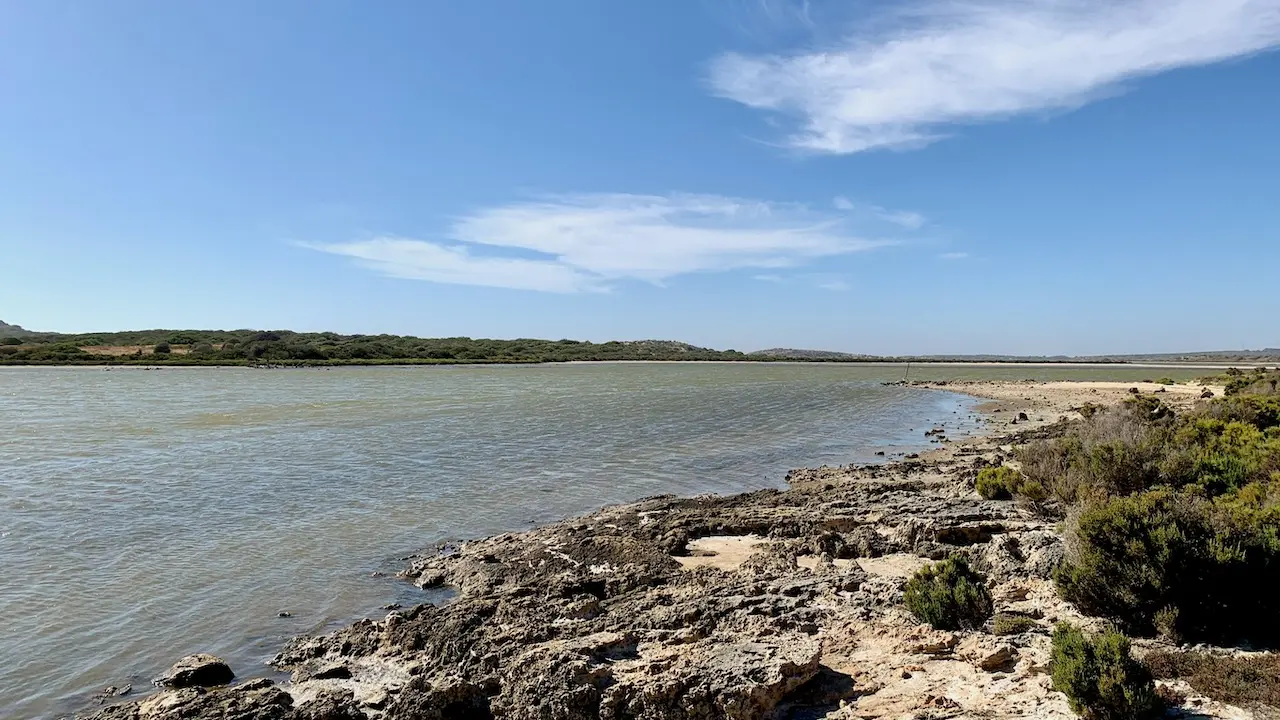
Piccaninnie Ponds

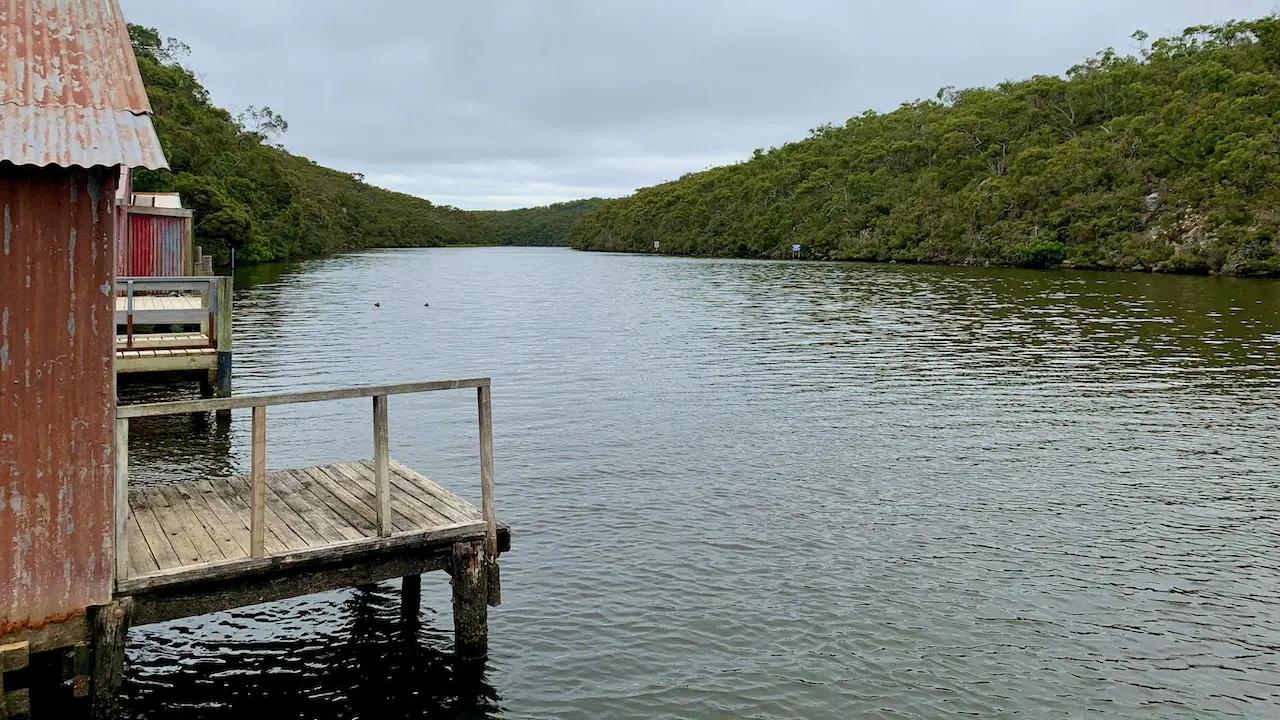
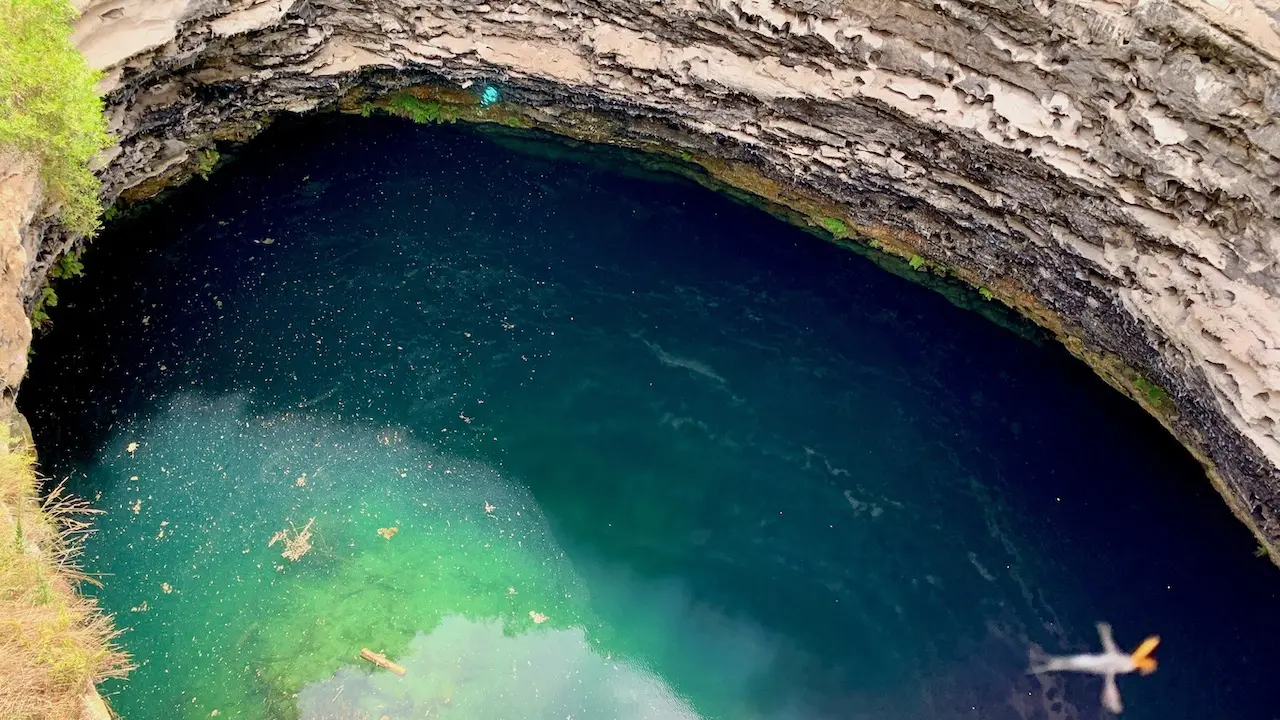
Hells Hole
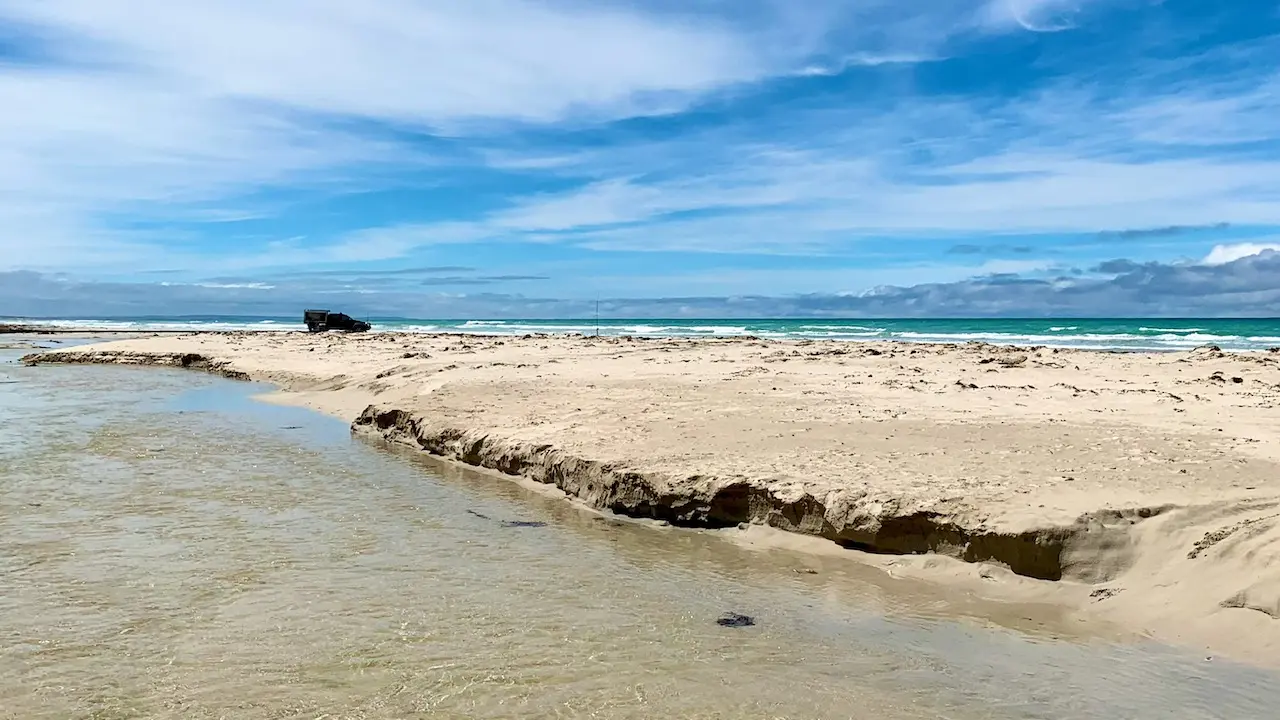
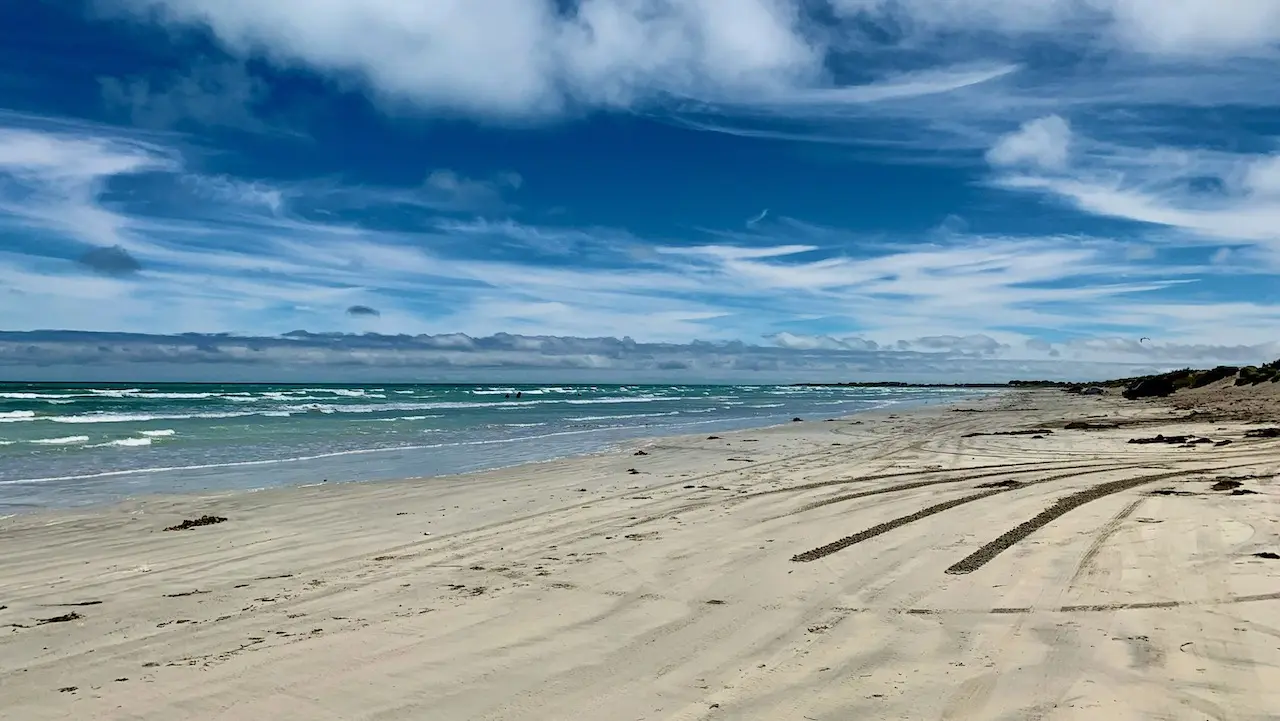
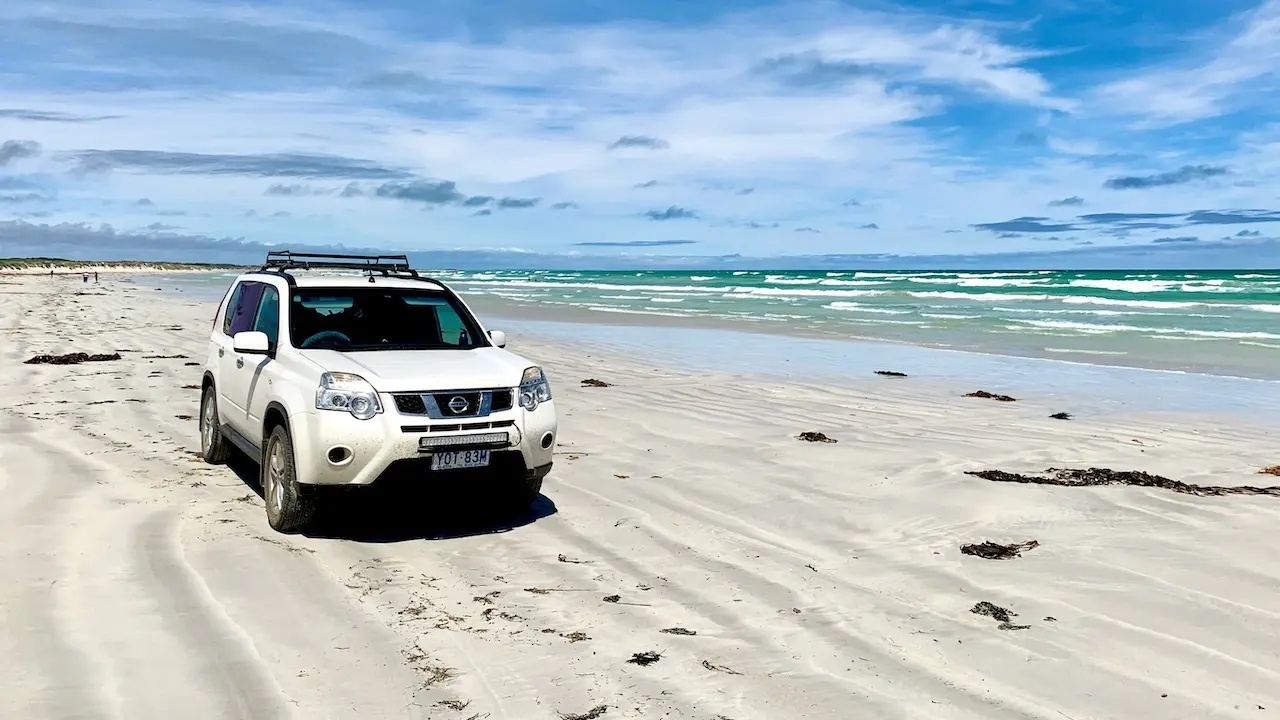
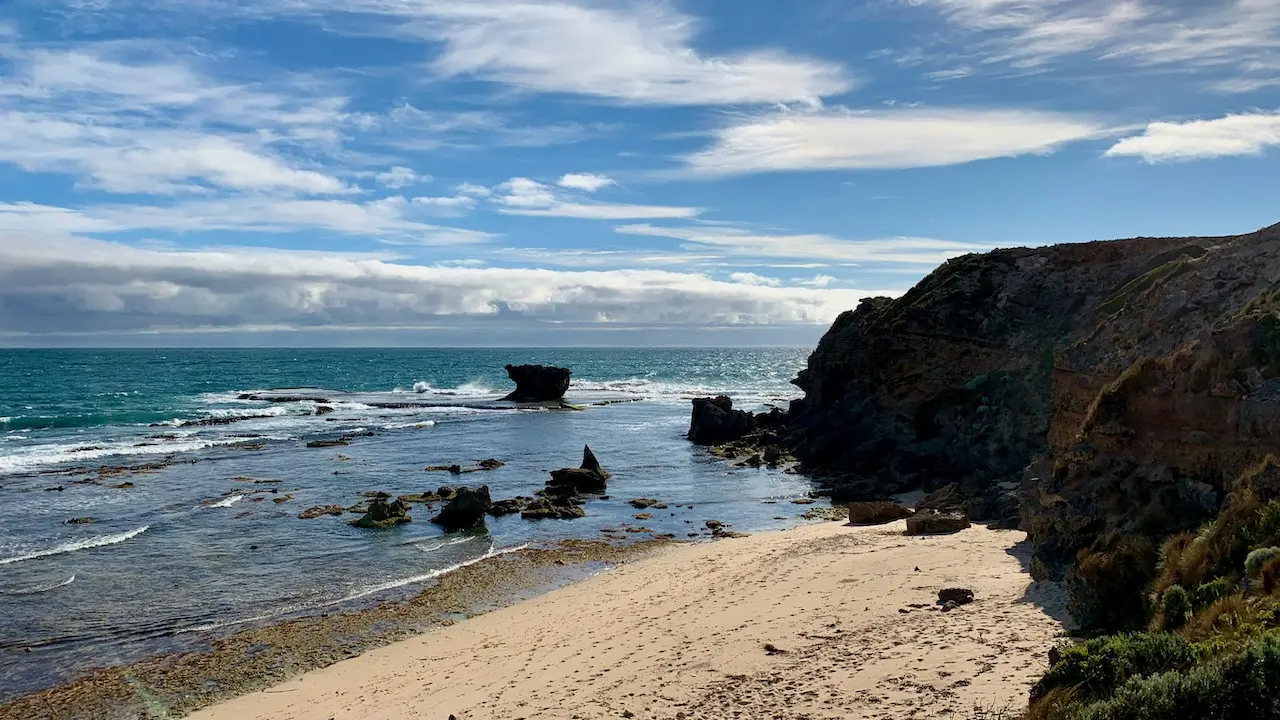
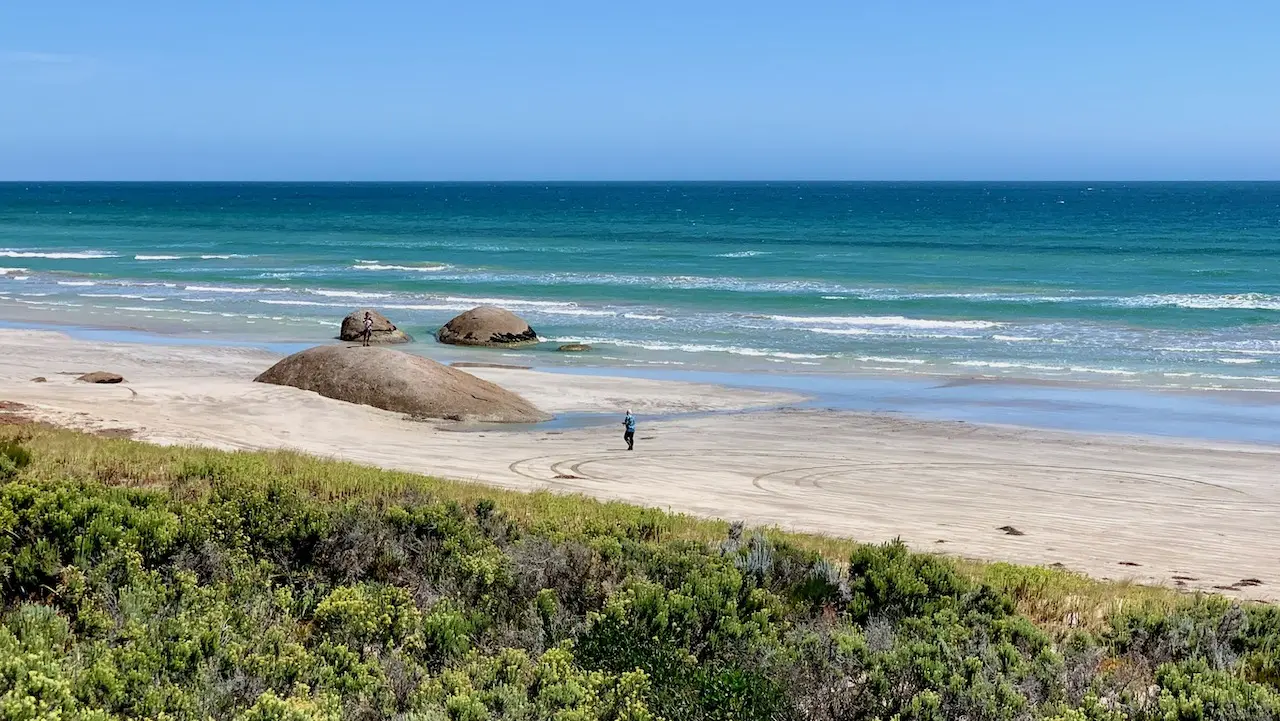
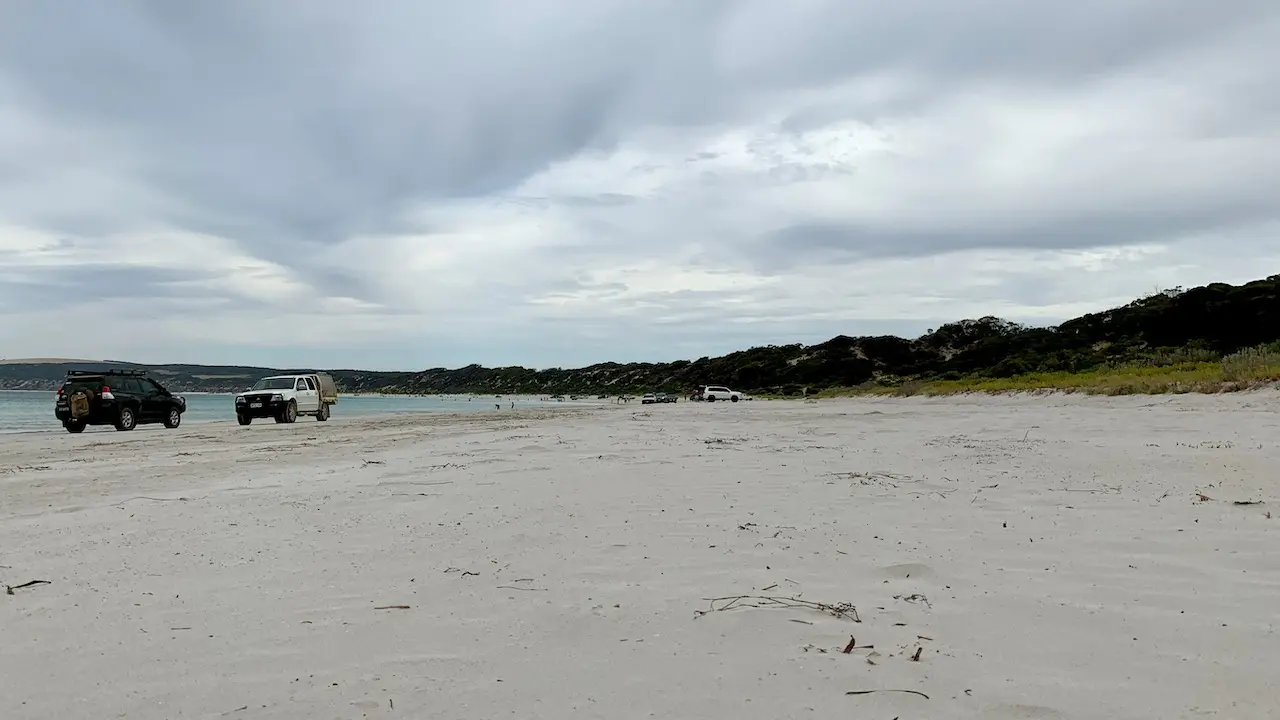
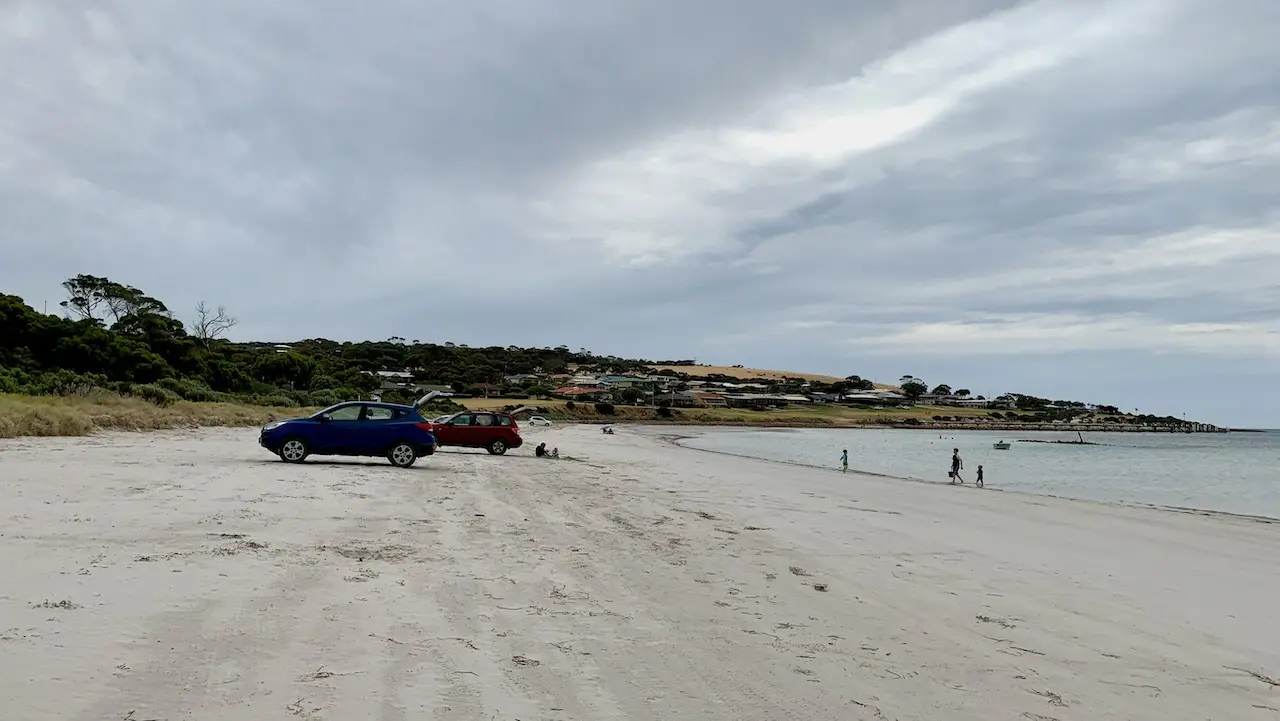
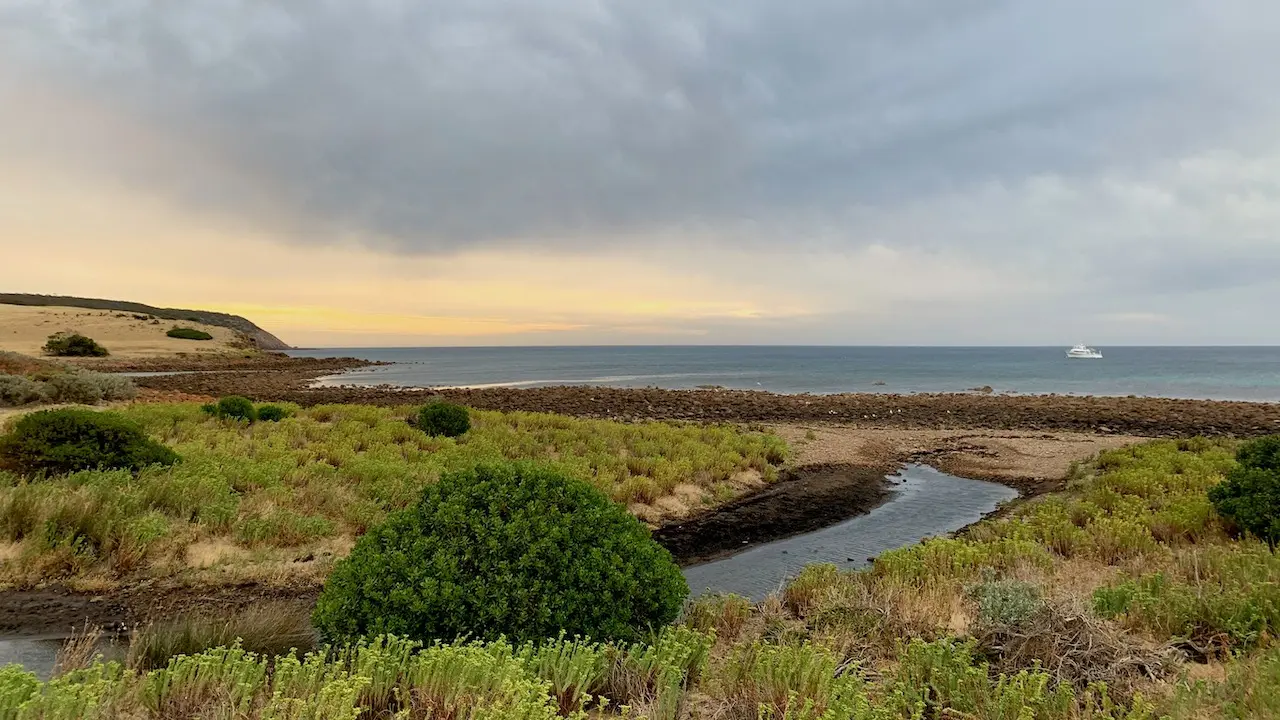
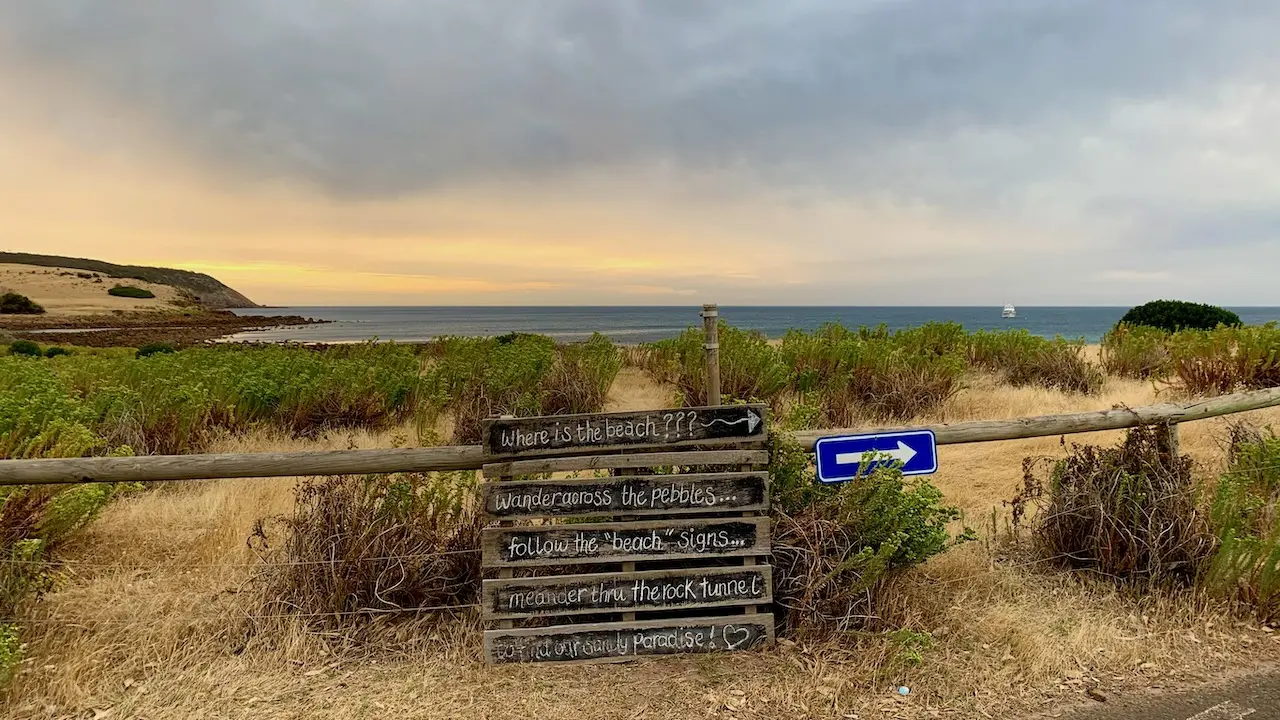
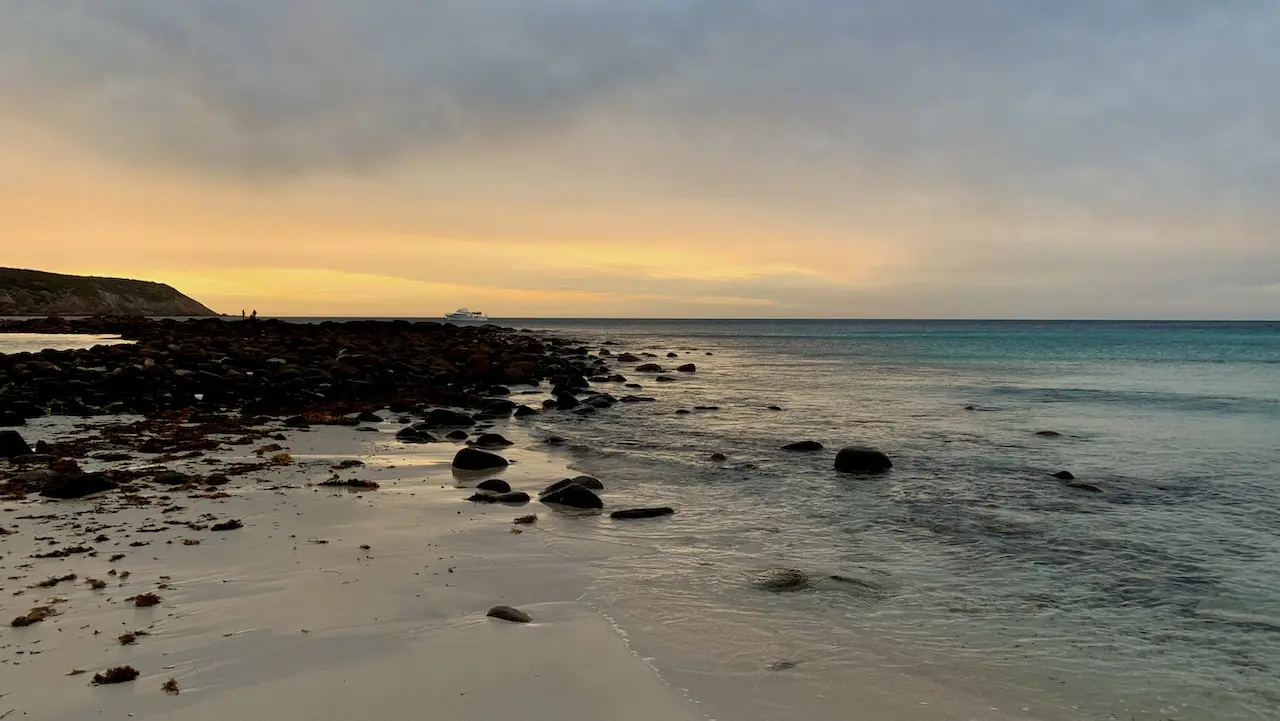
Brown Beach
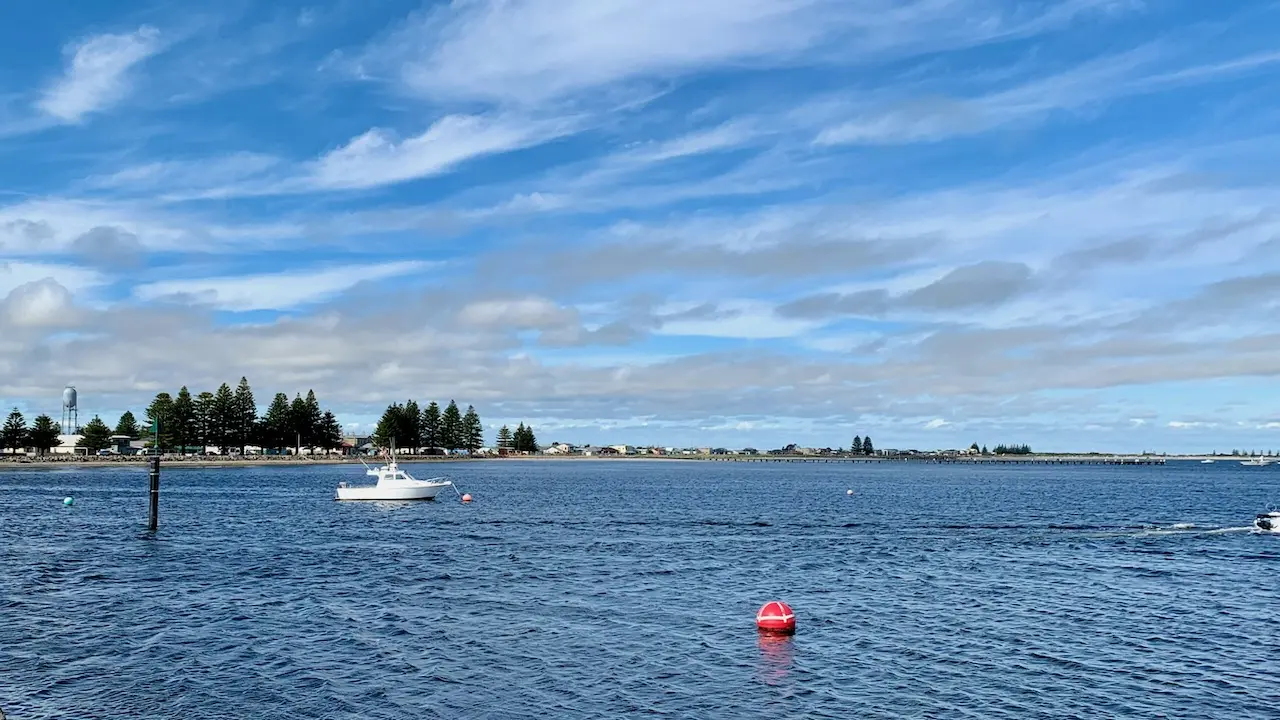
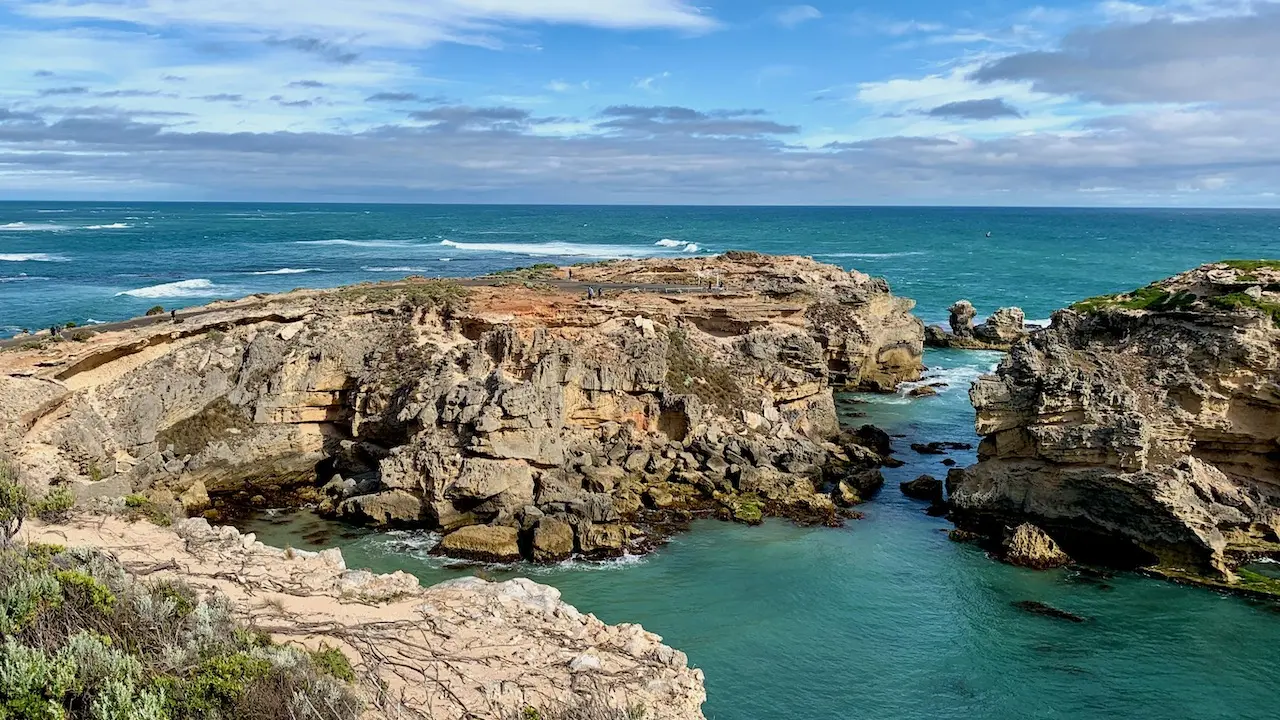
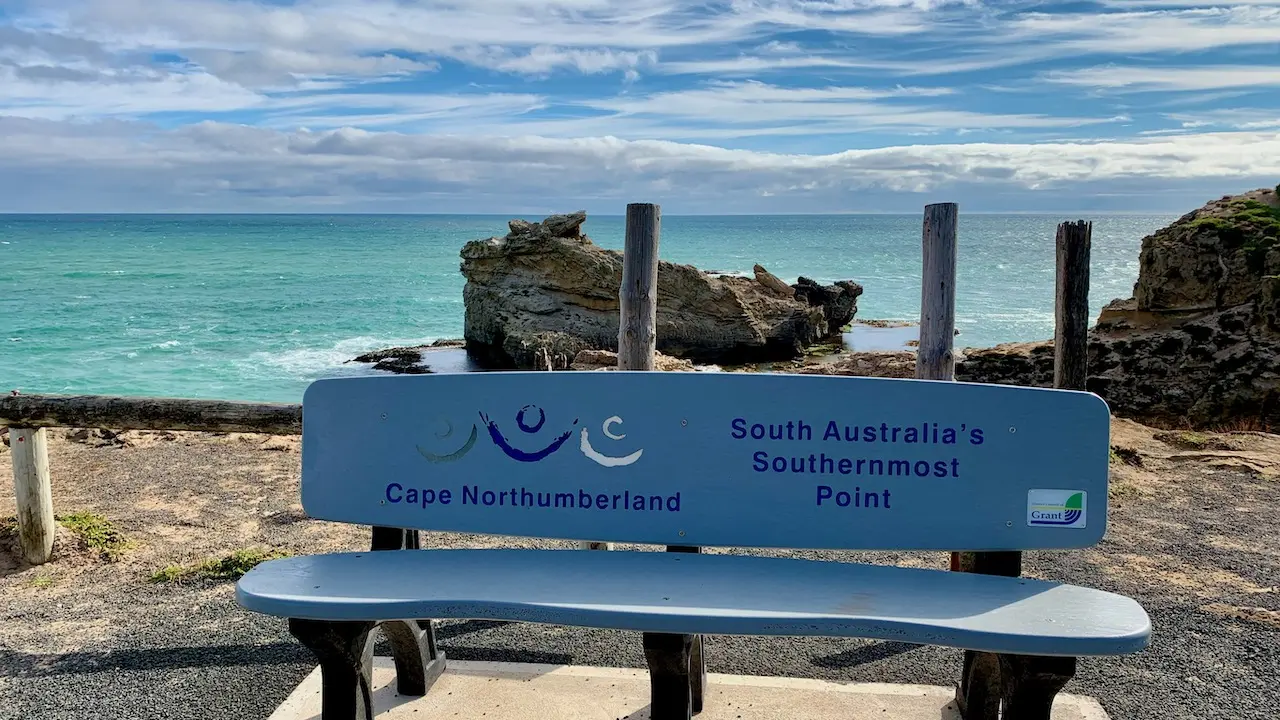
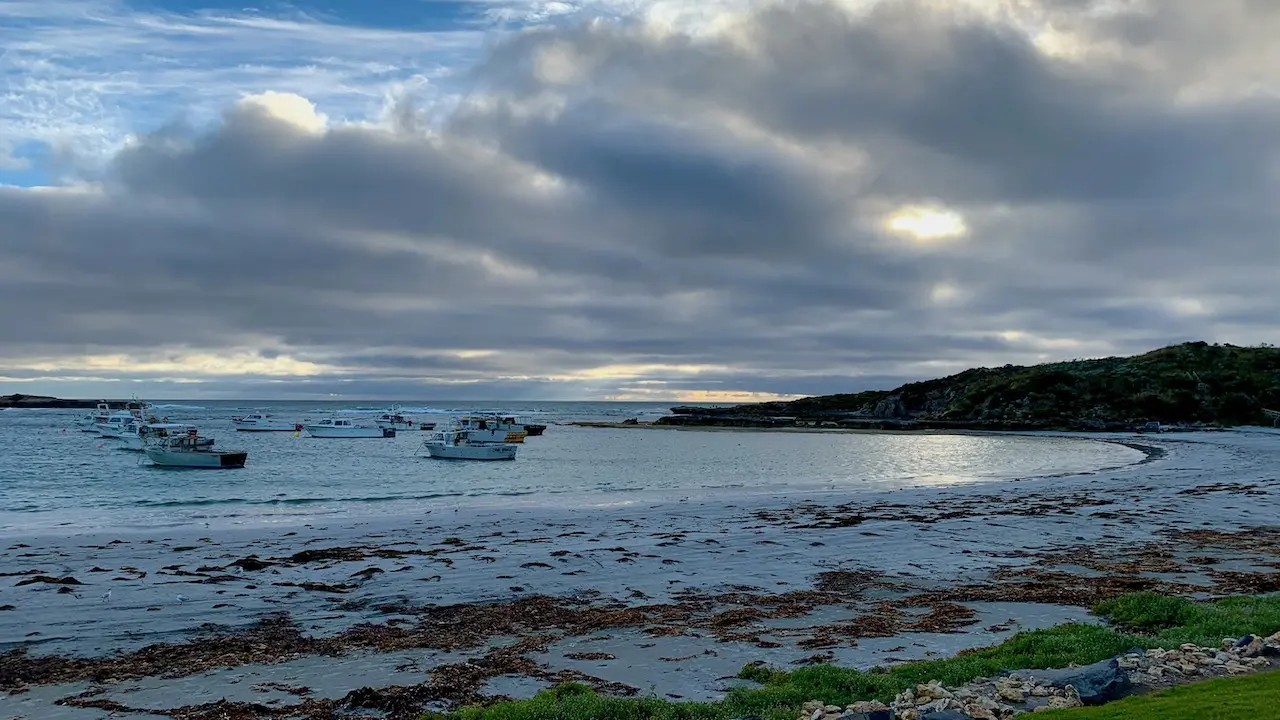
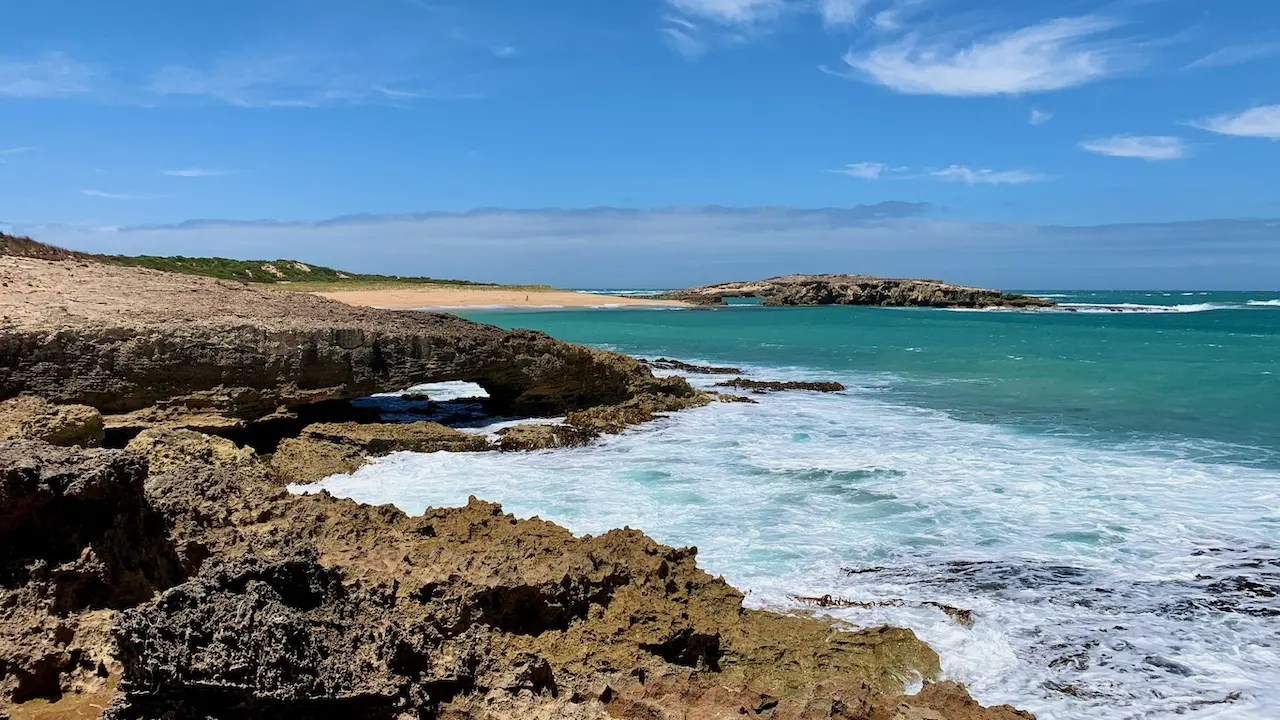
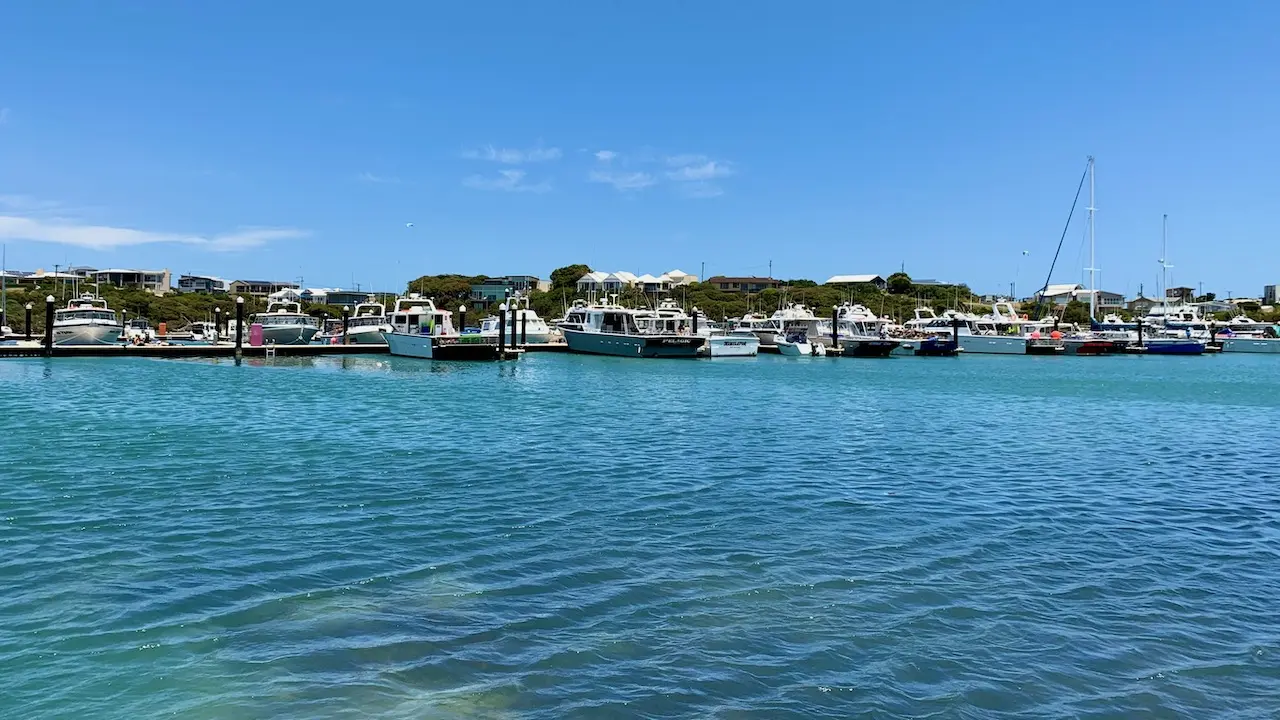
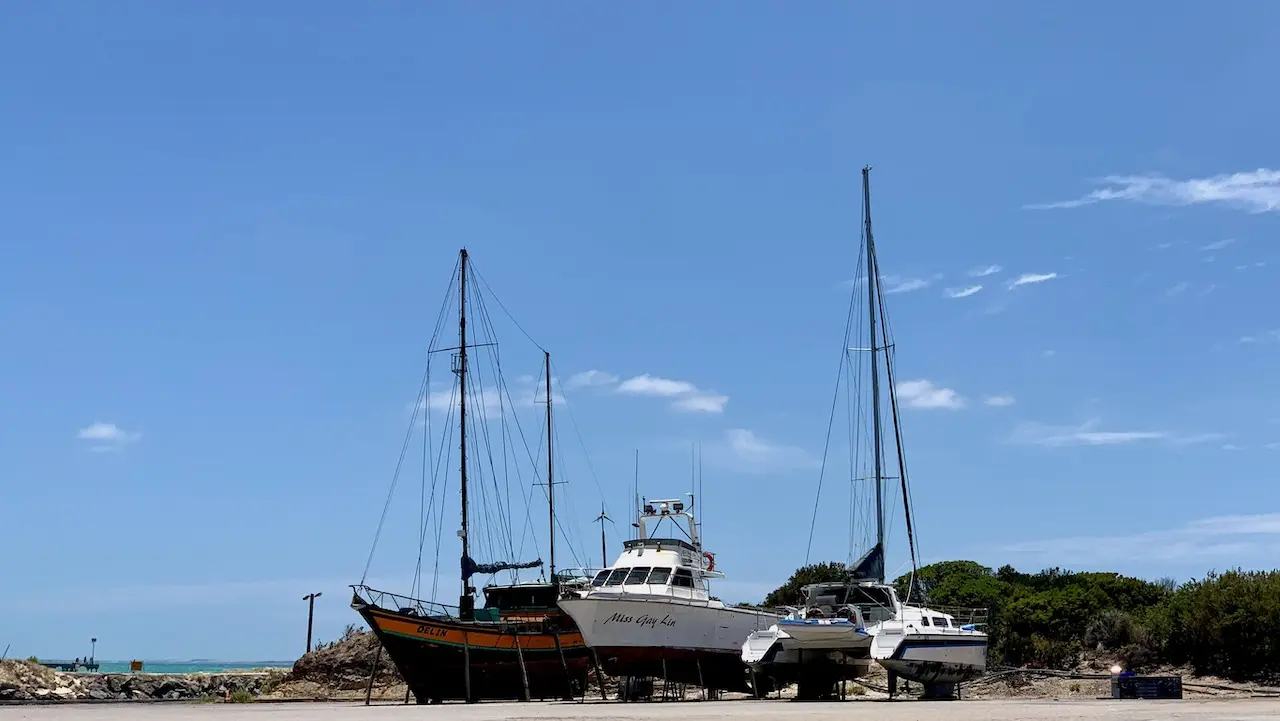
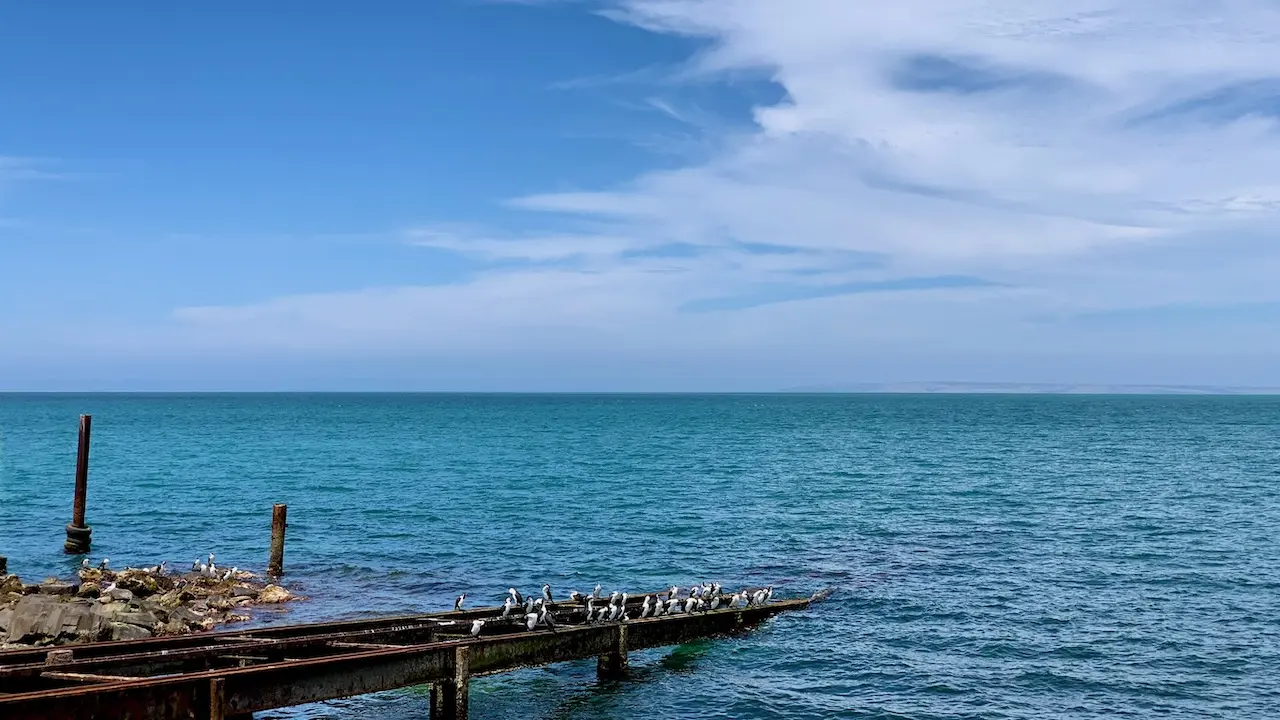
Port MacDonnell

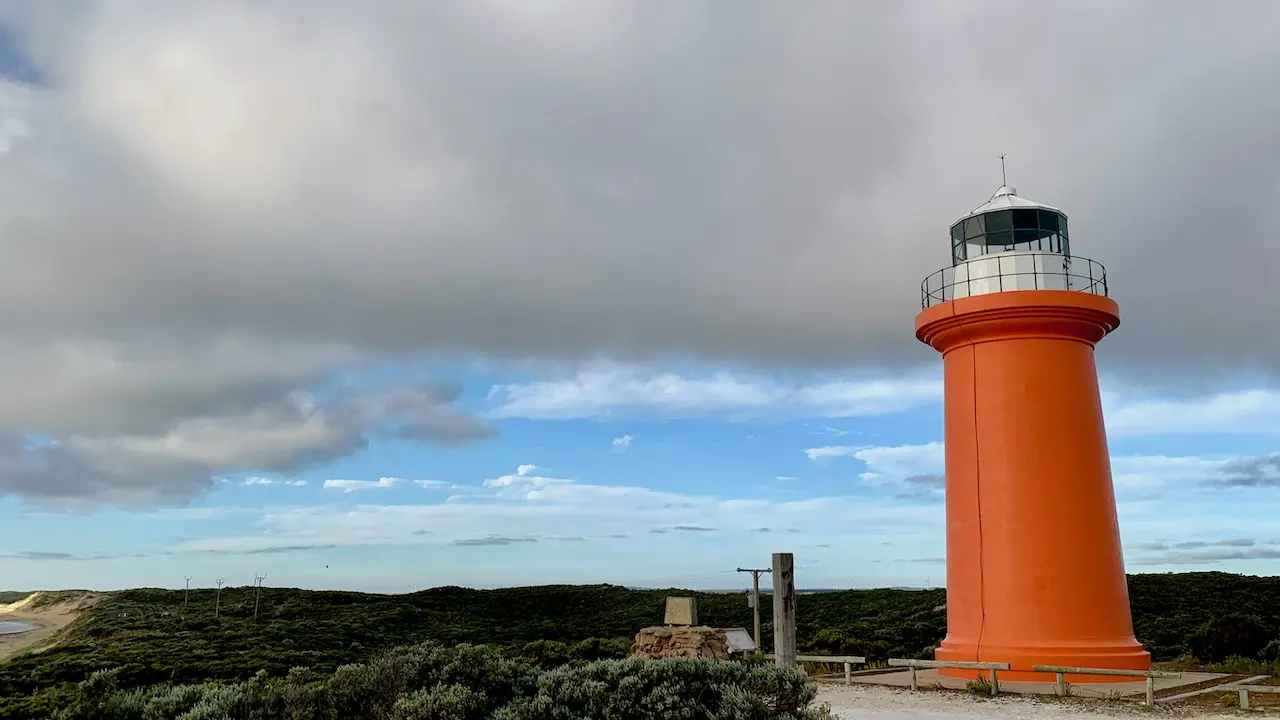
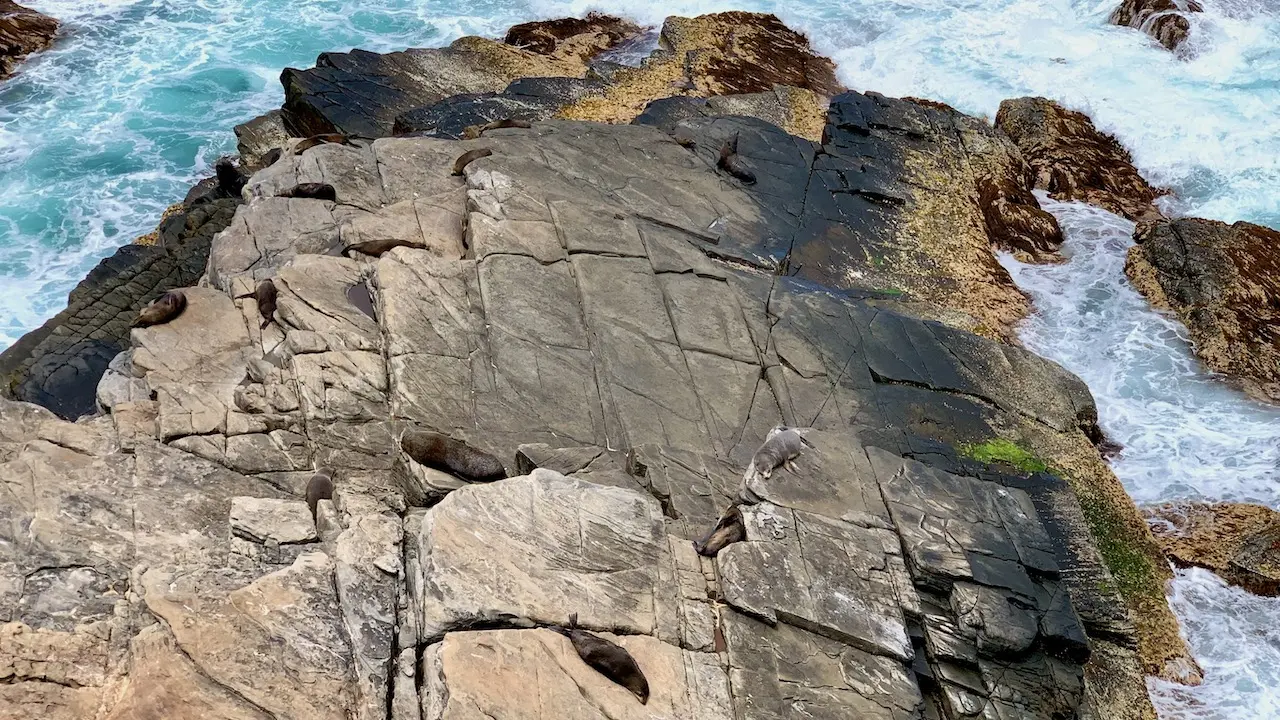
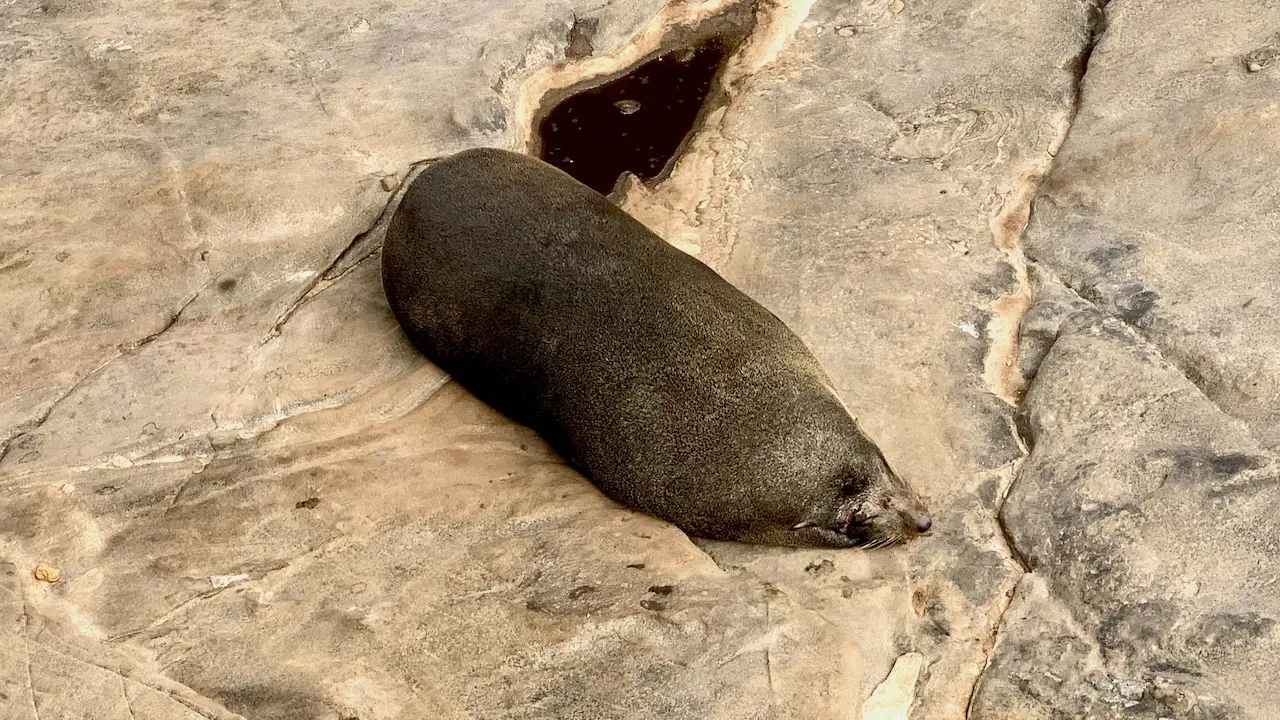
Cape Douglas
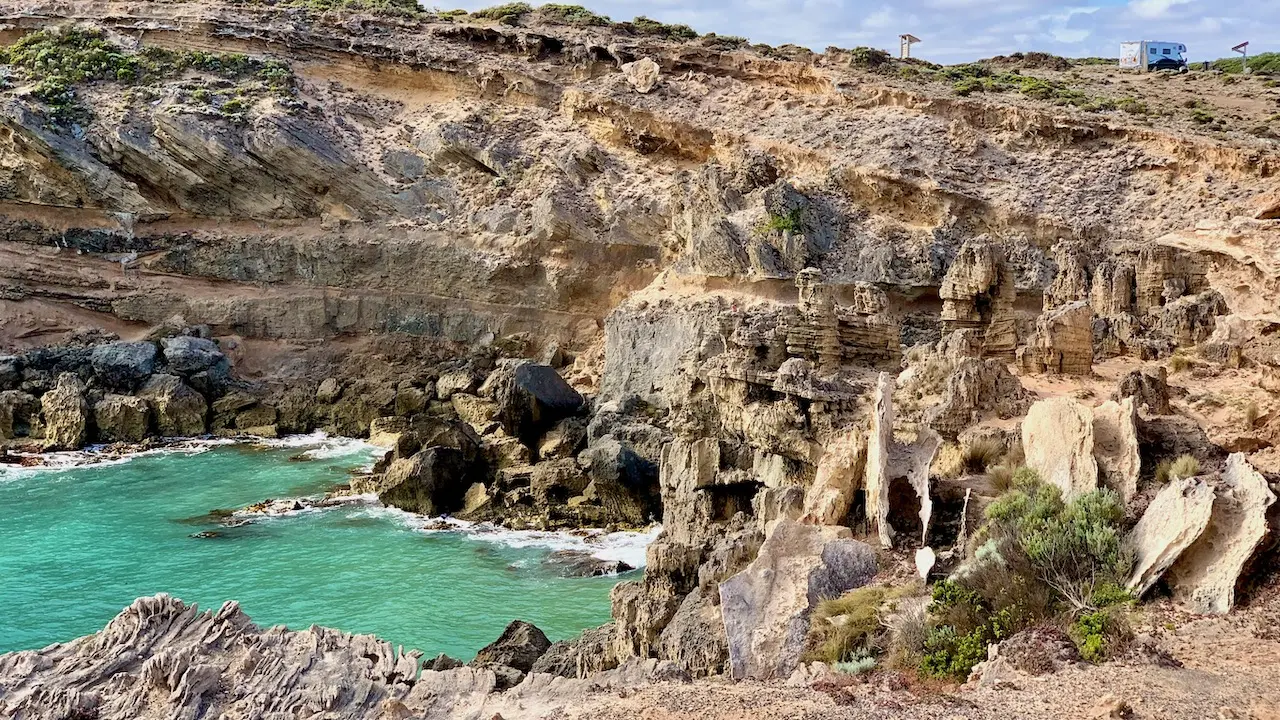
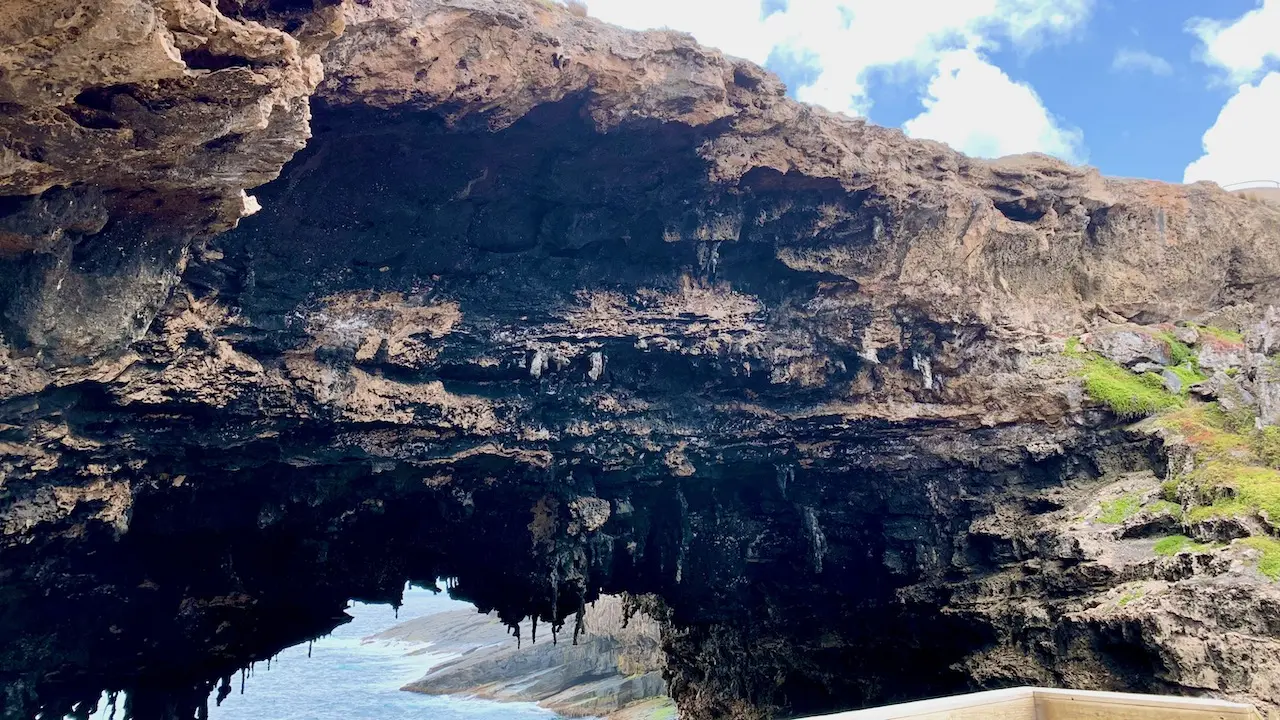
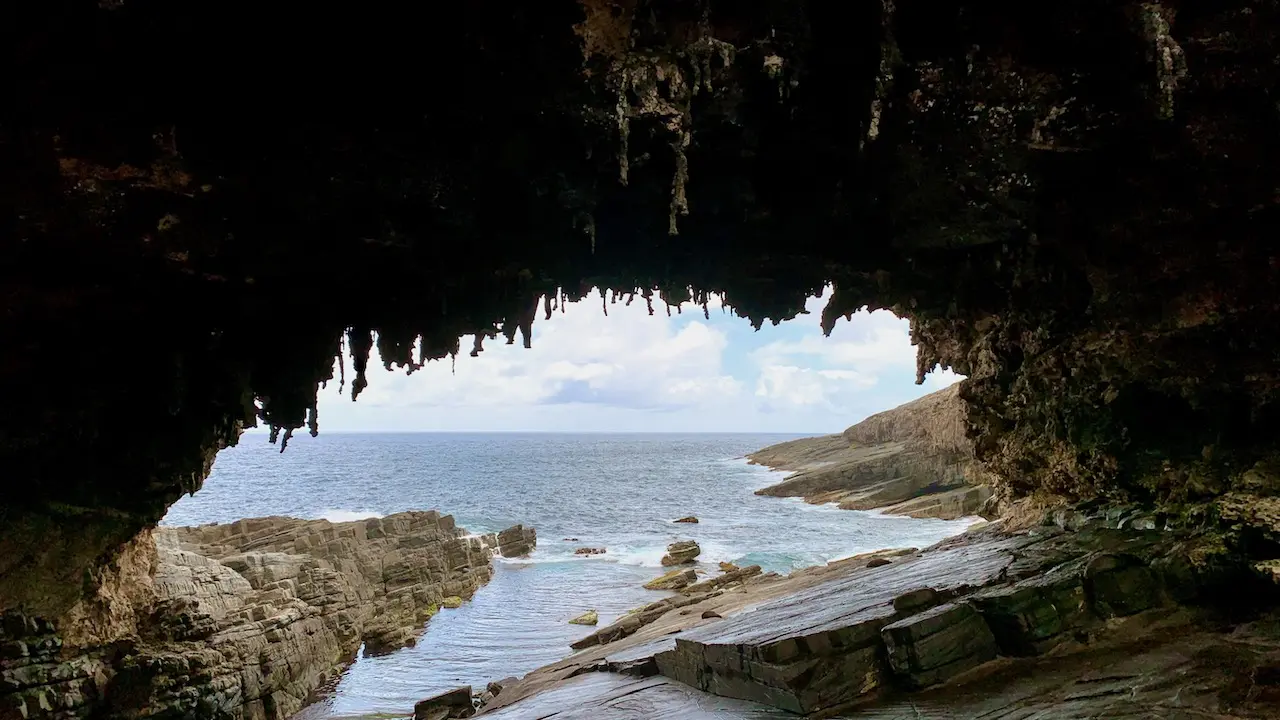
Blackfellows Caves
Carpenter Rocks

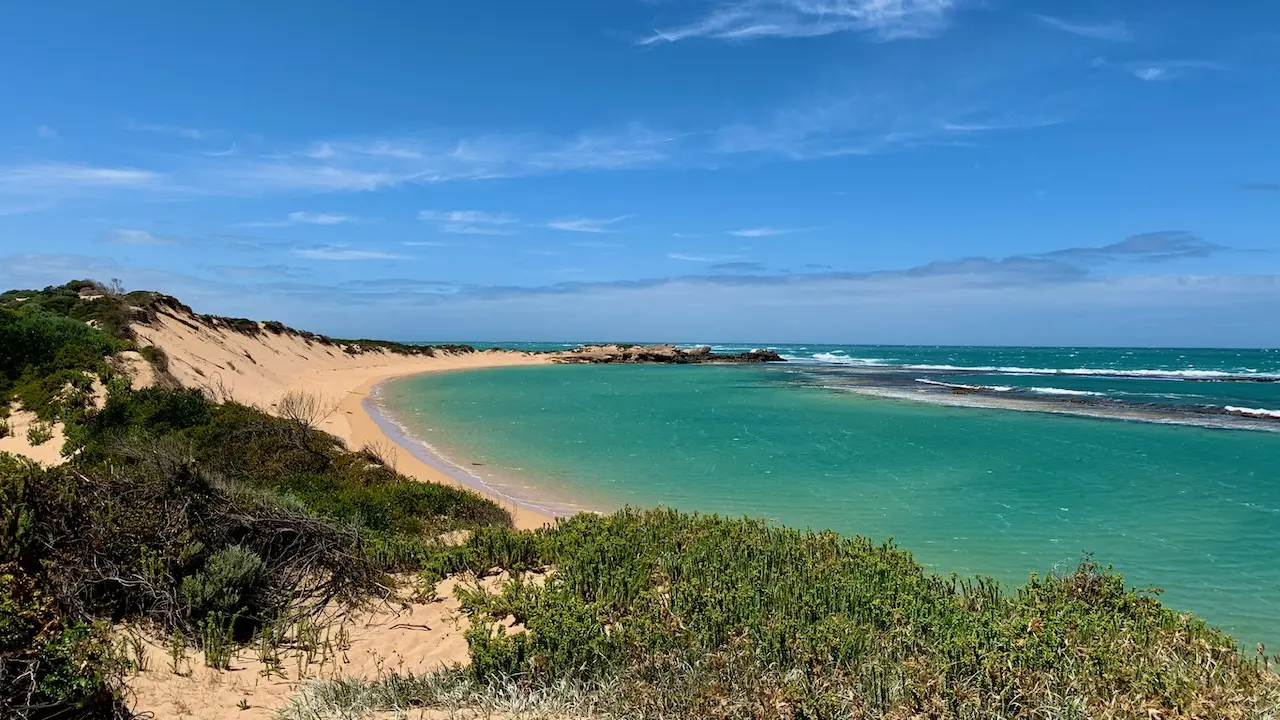
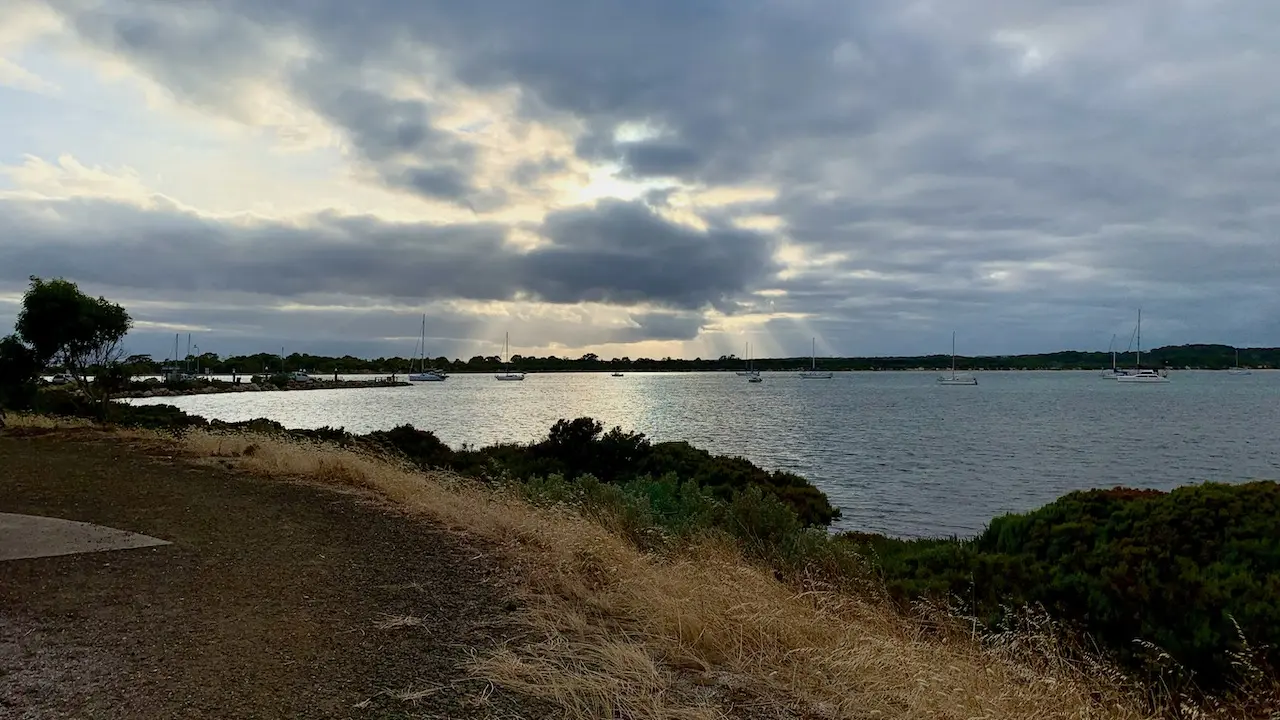
Beachport
Robe
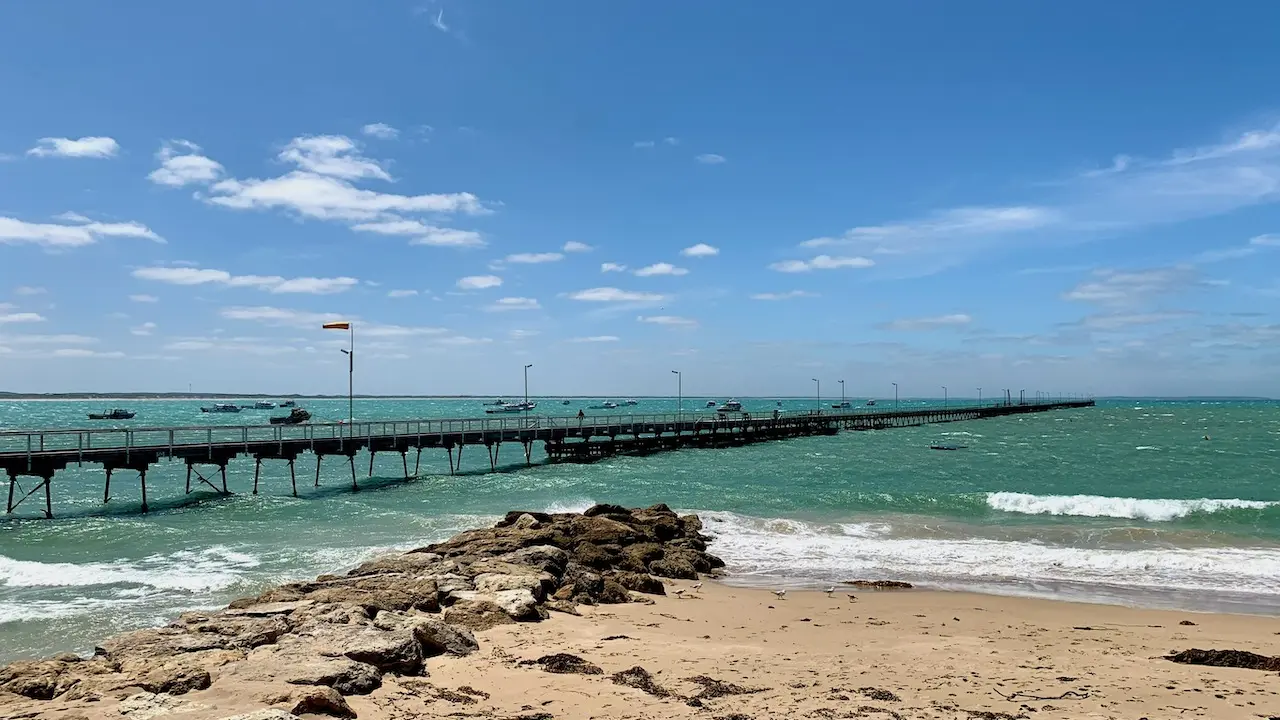
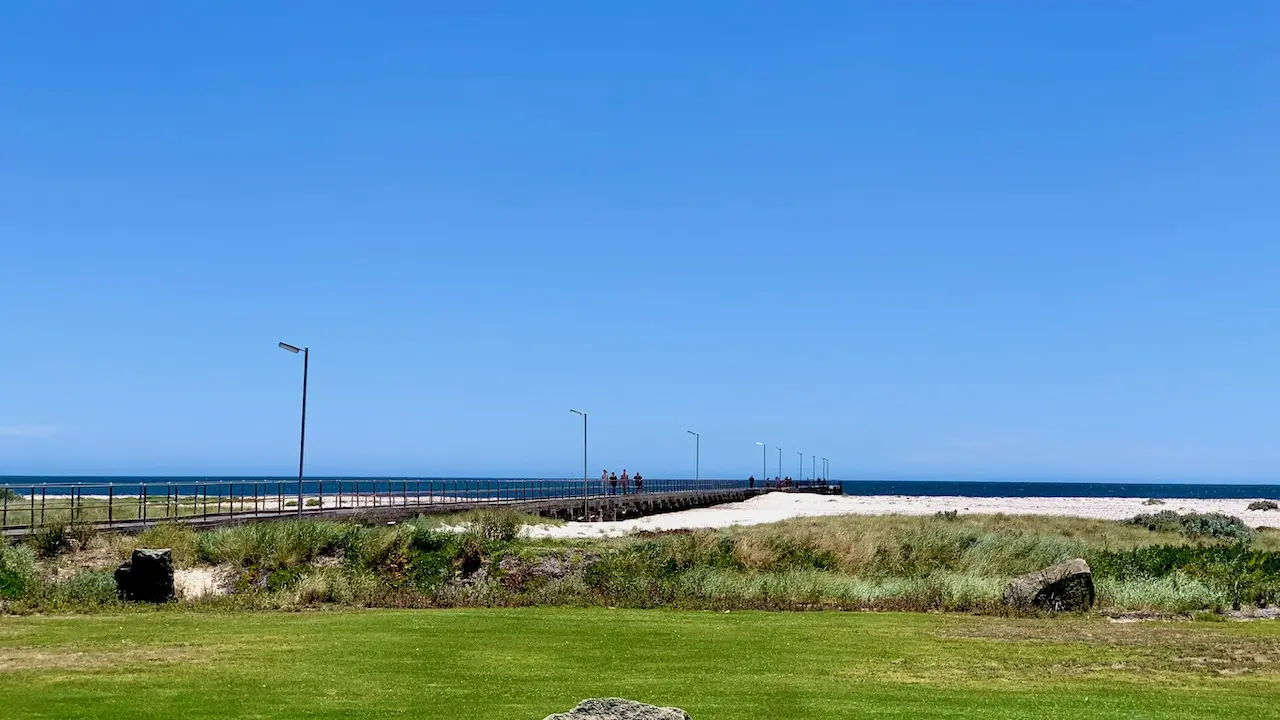
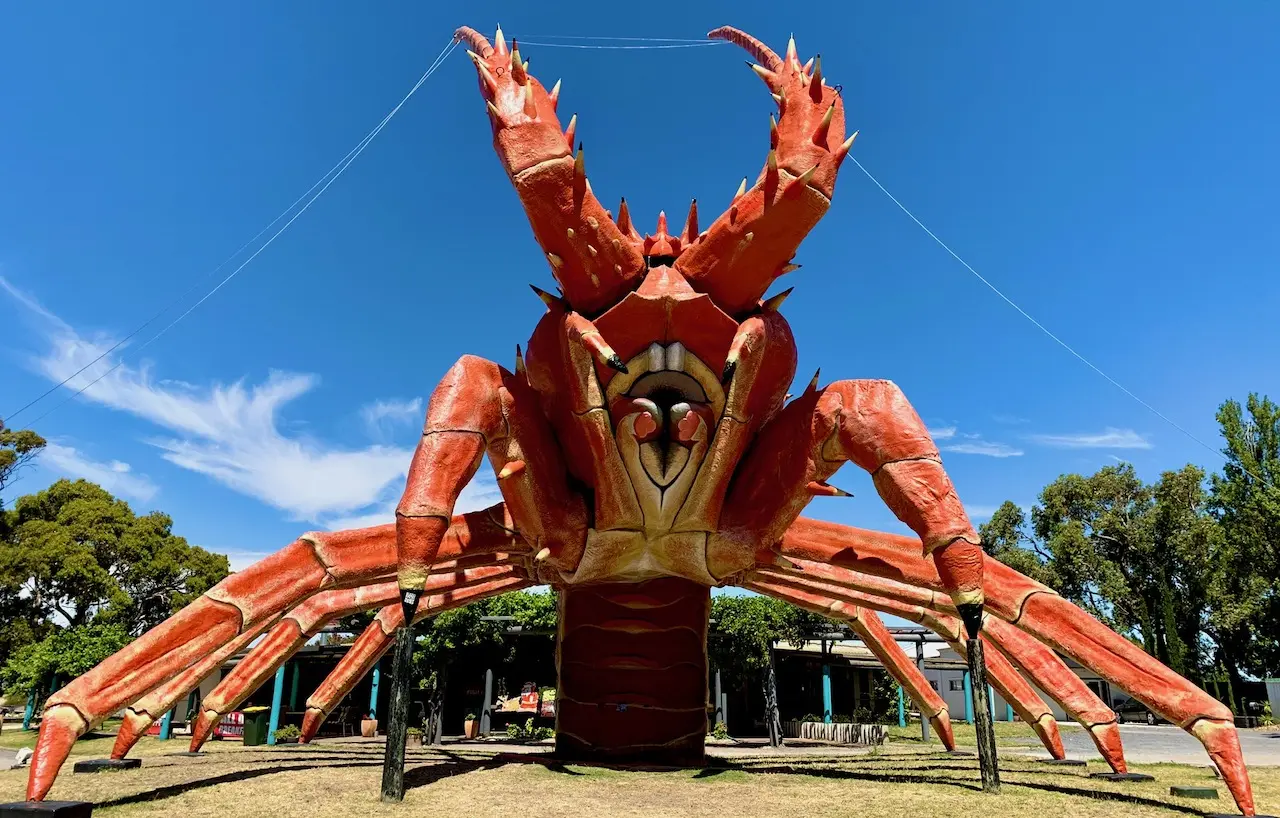
Kingston SE
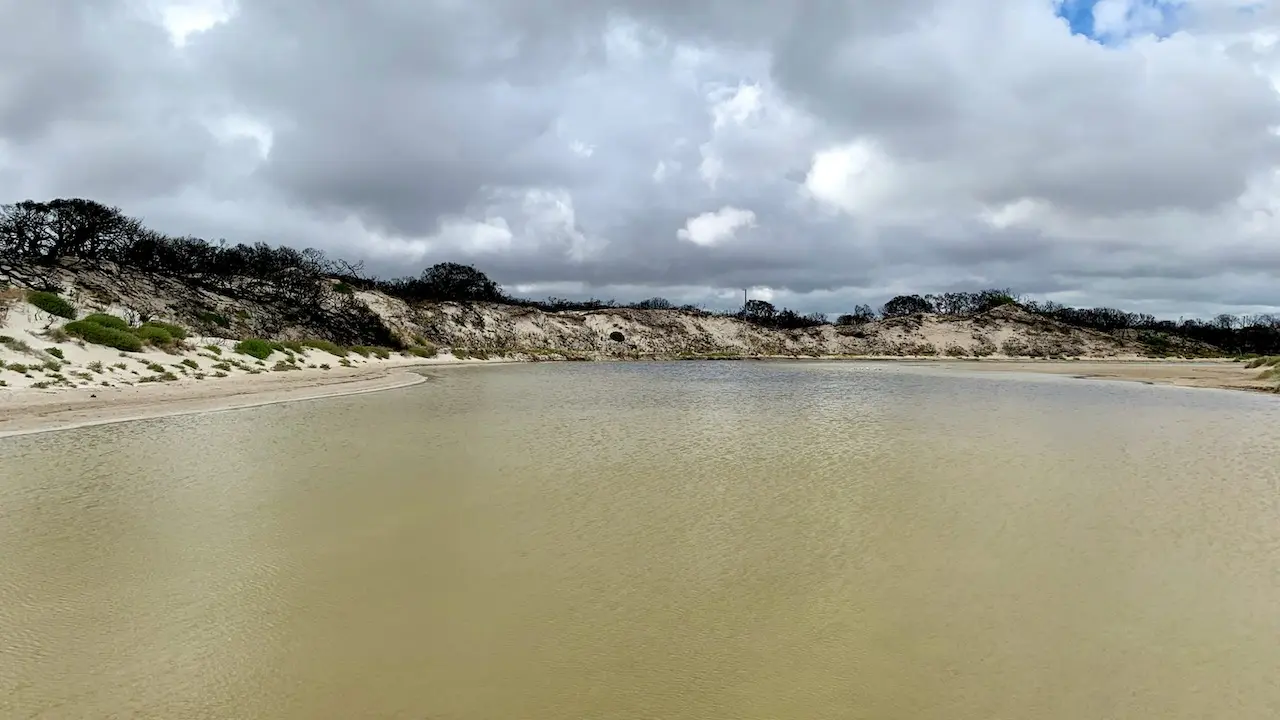
Coorong National Park

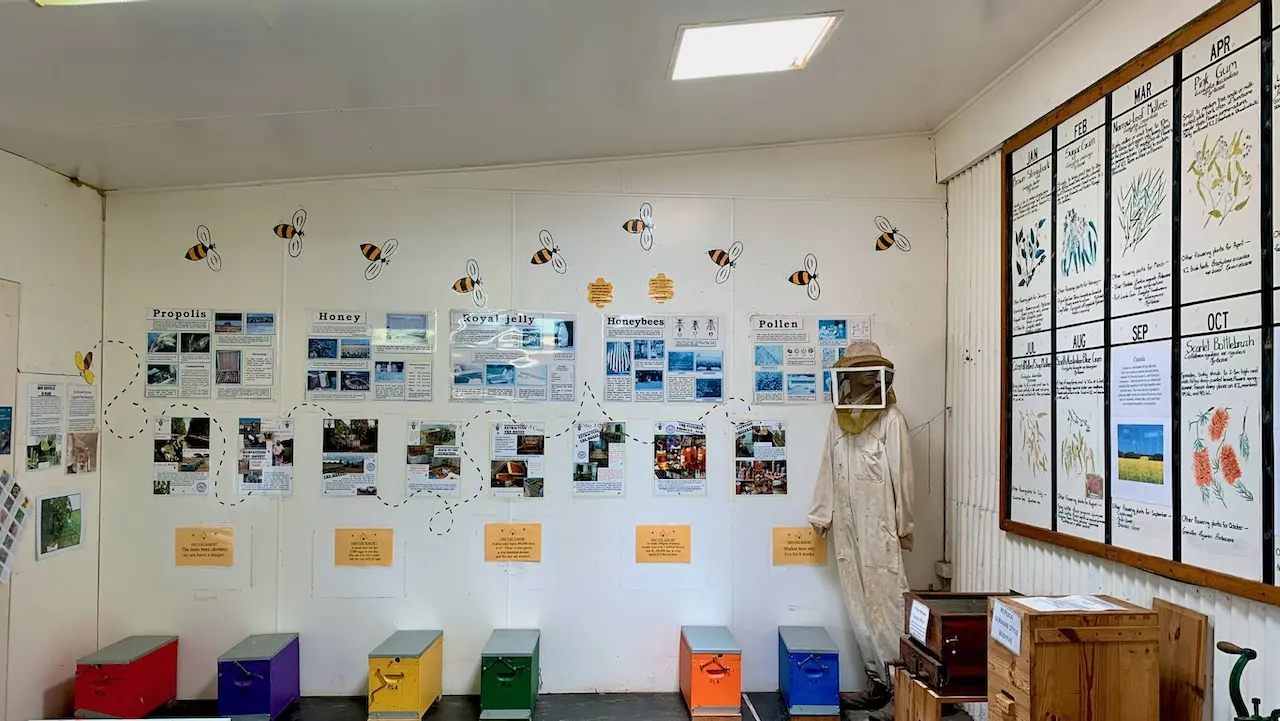
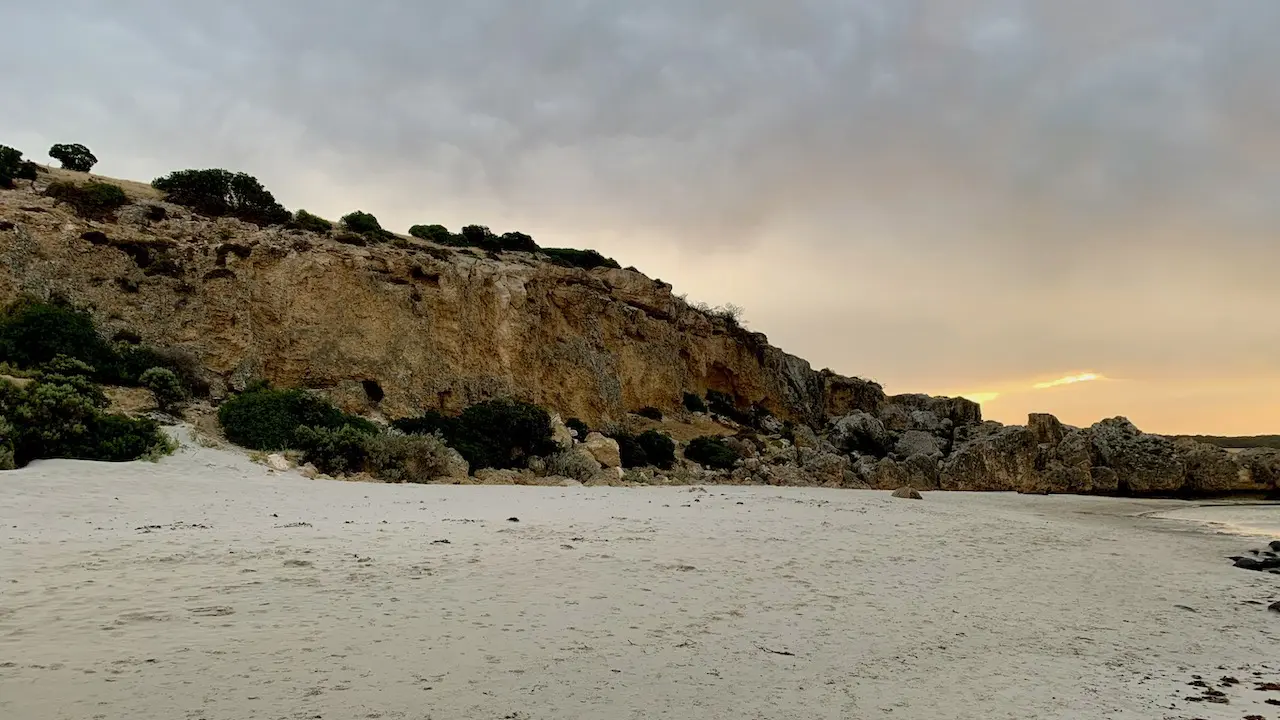
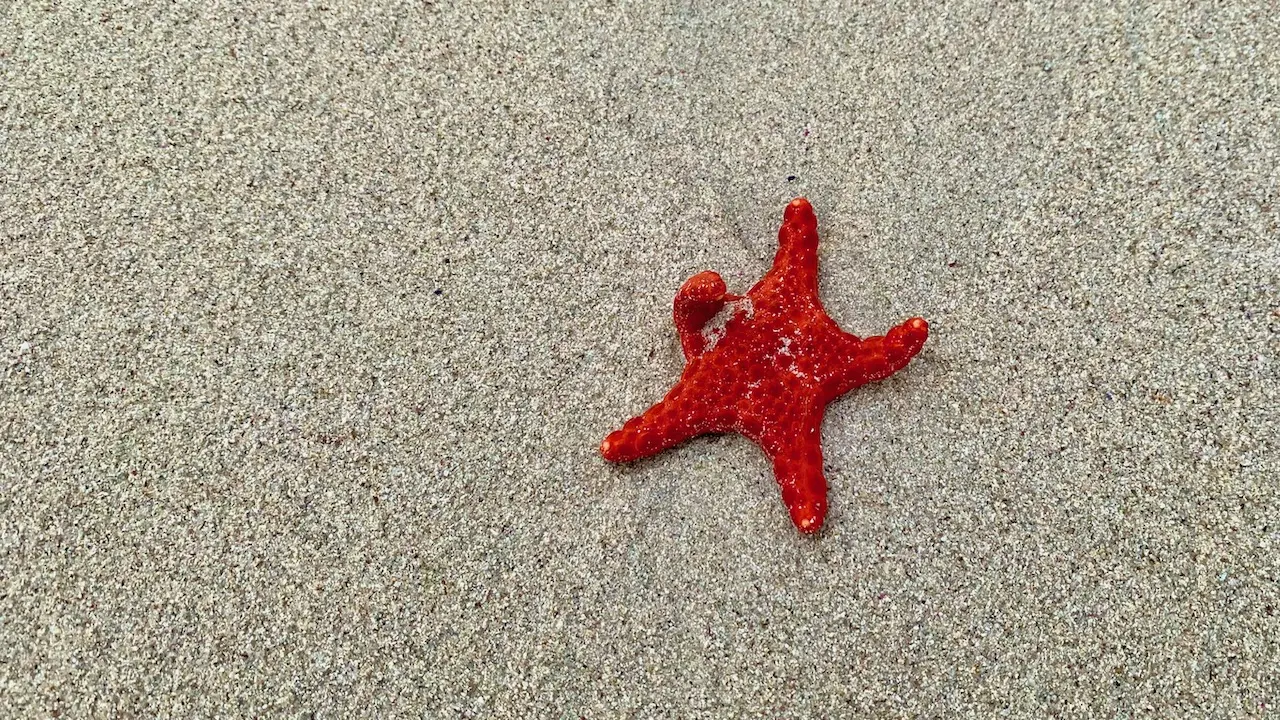
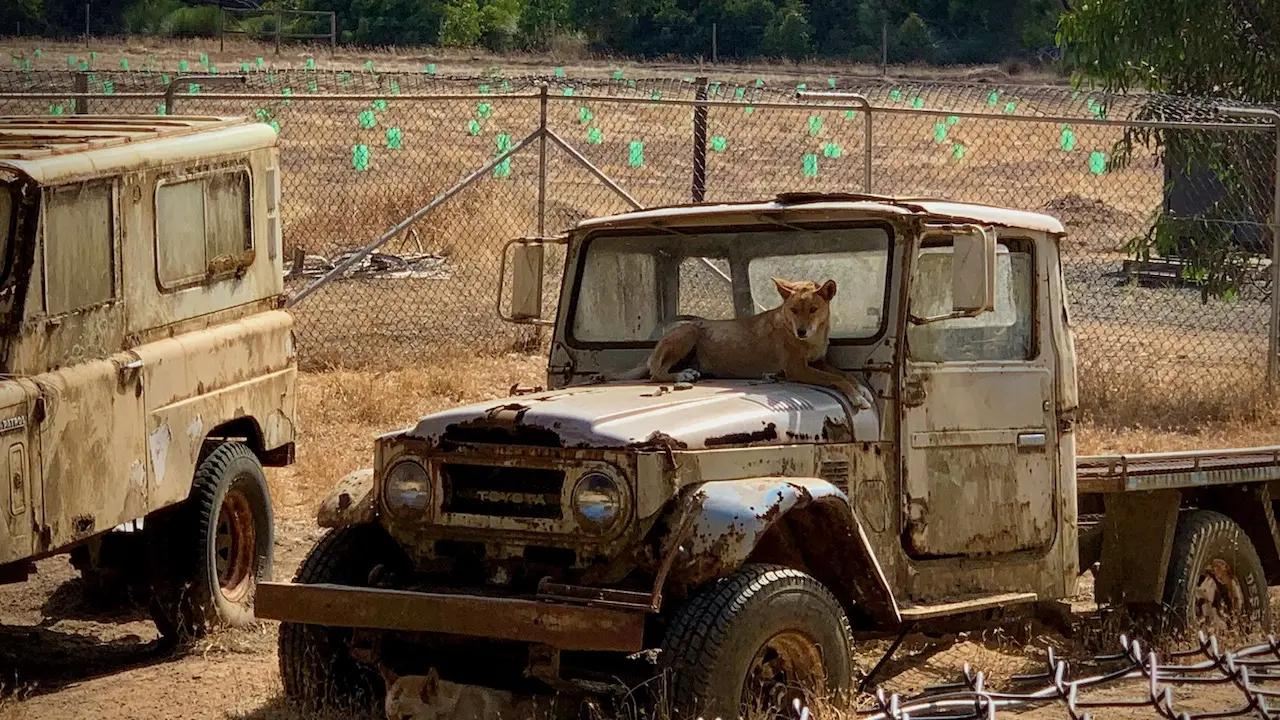
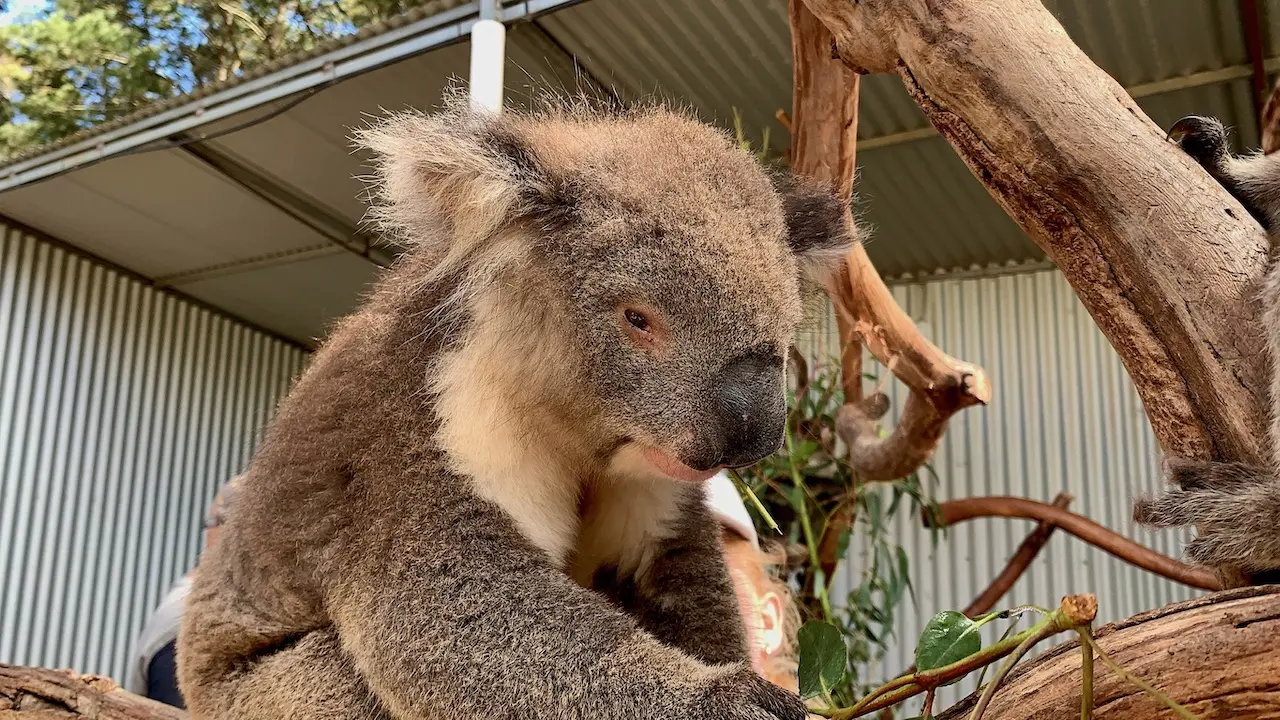
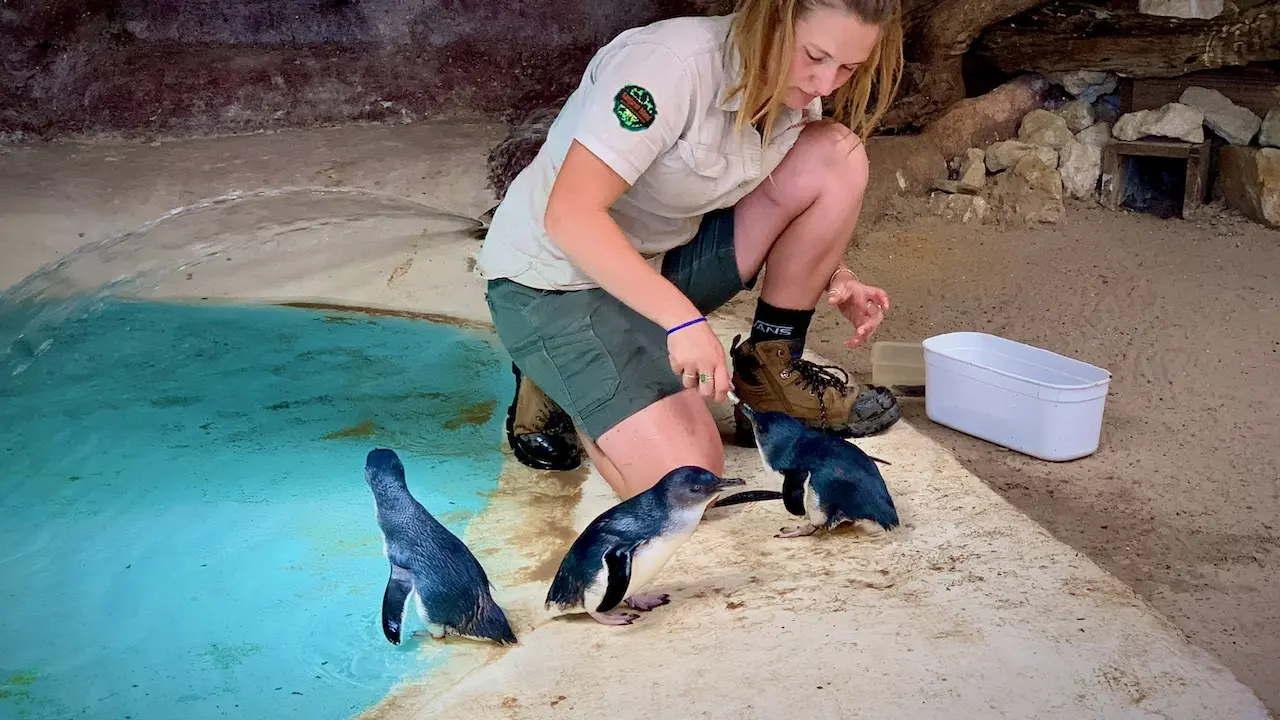
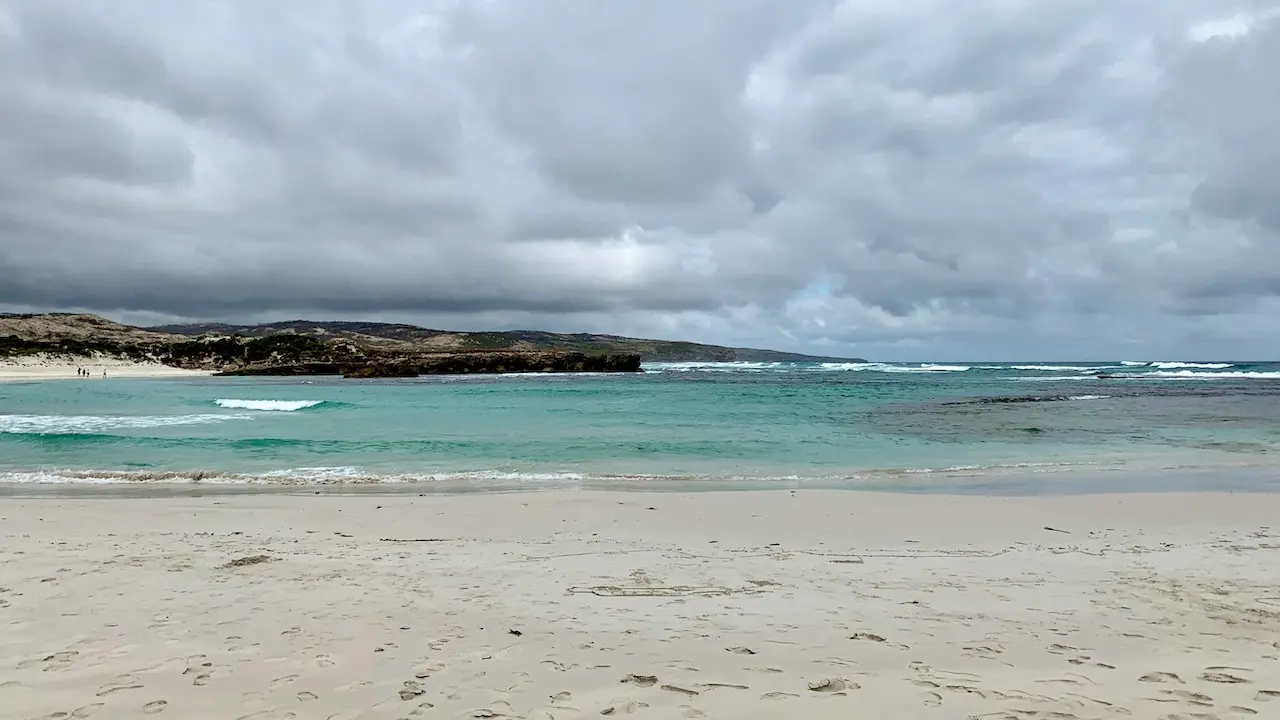
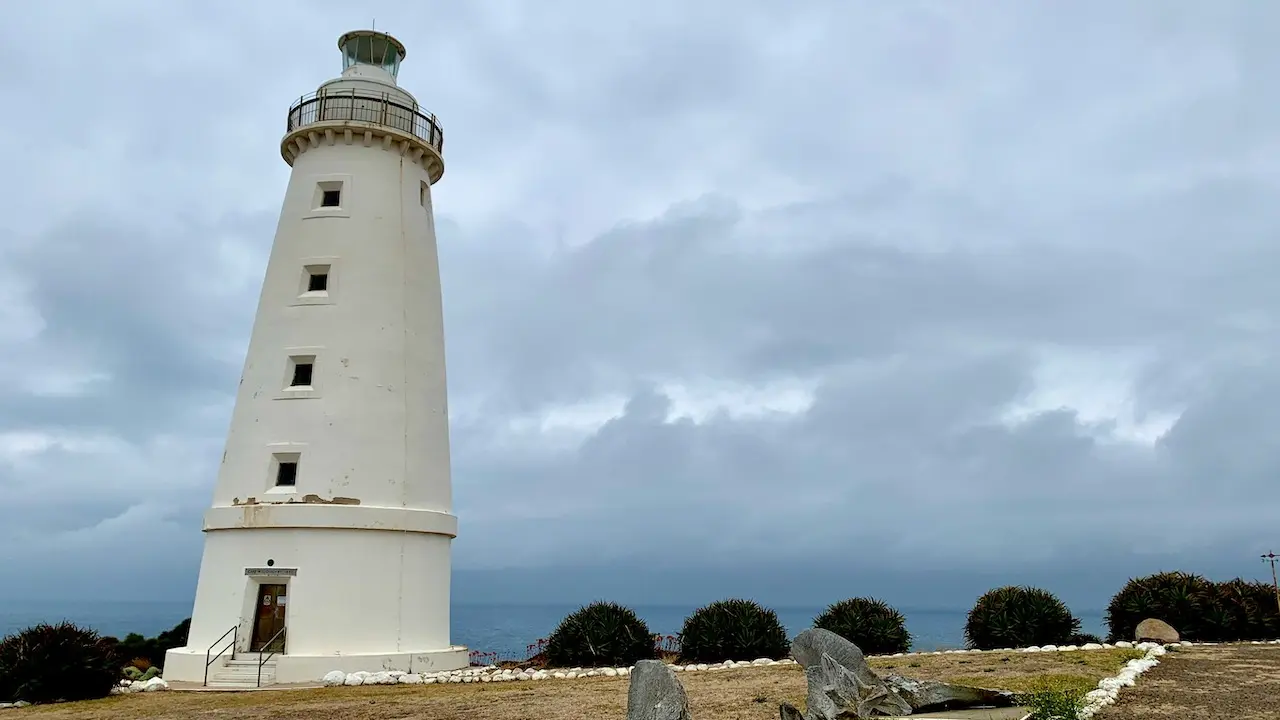
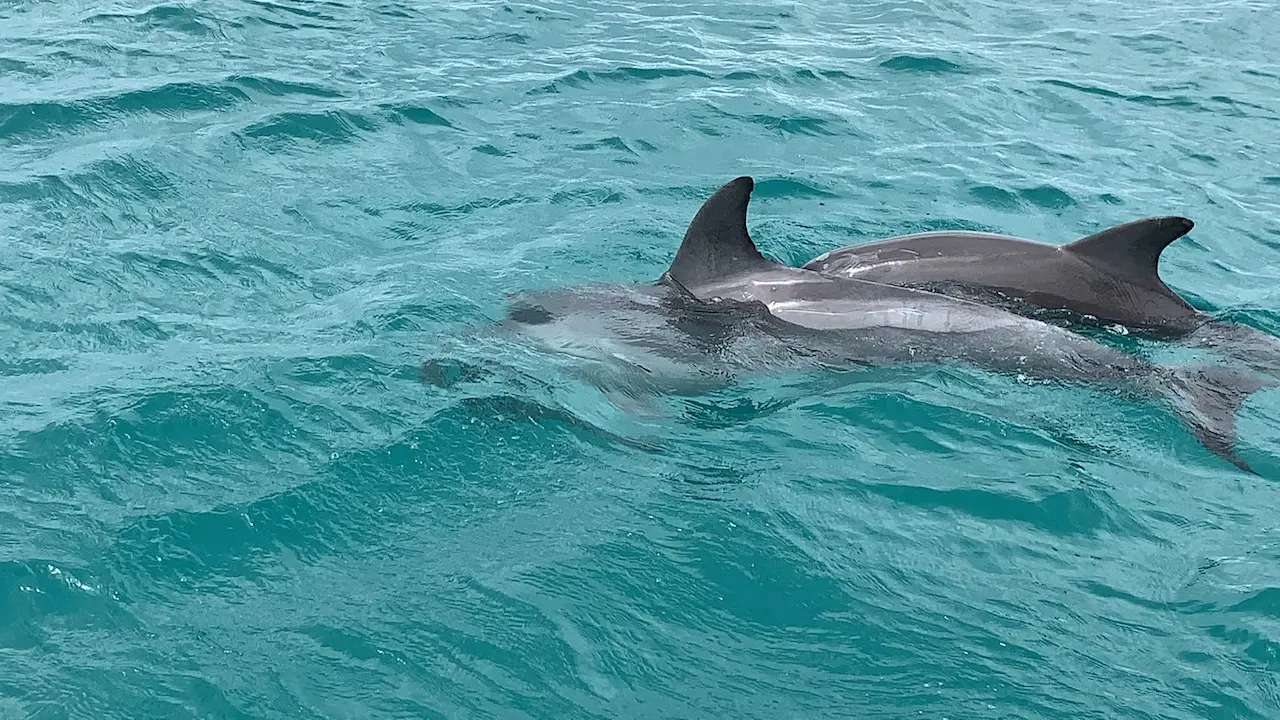
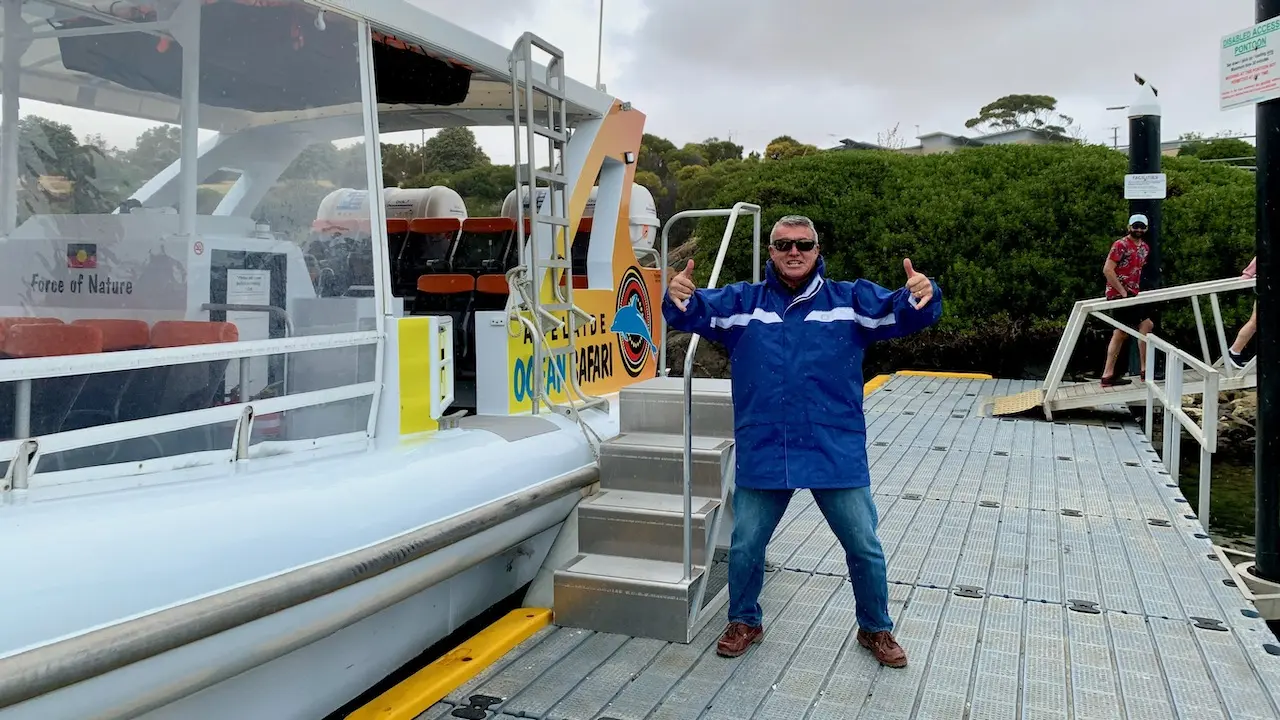
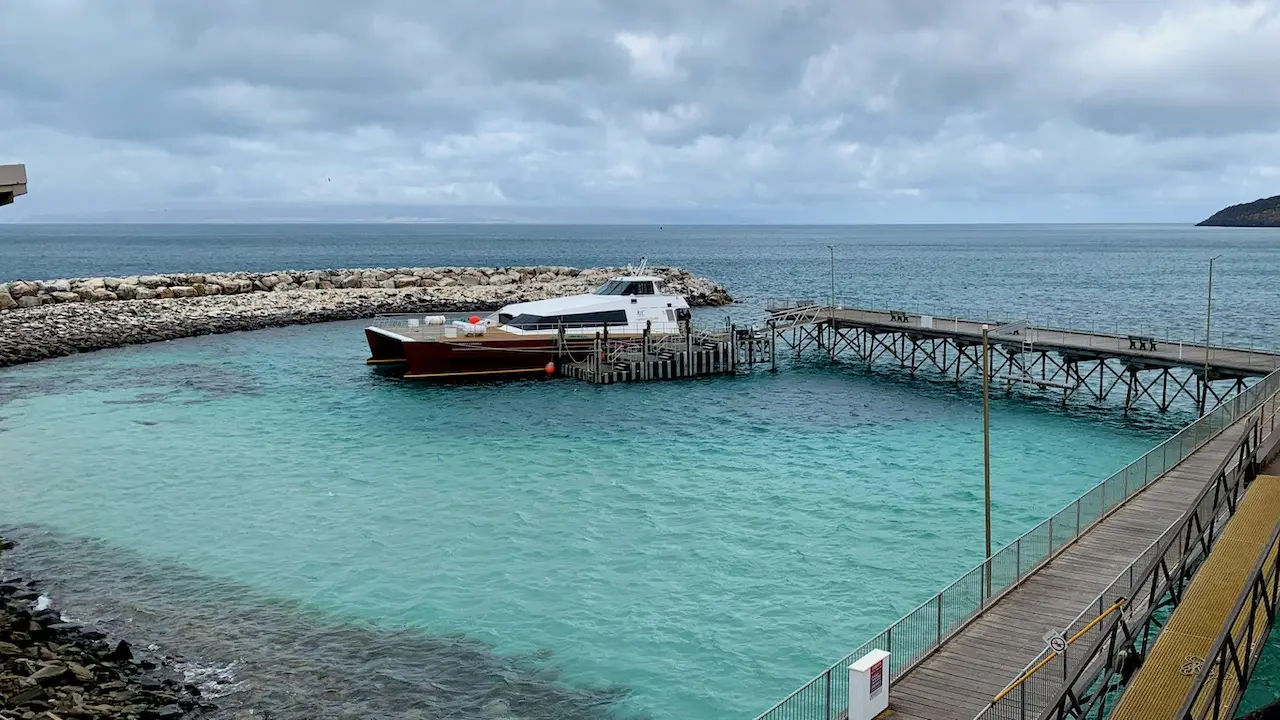
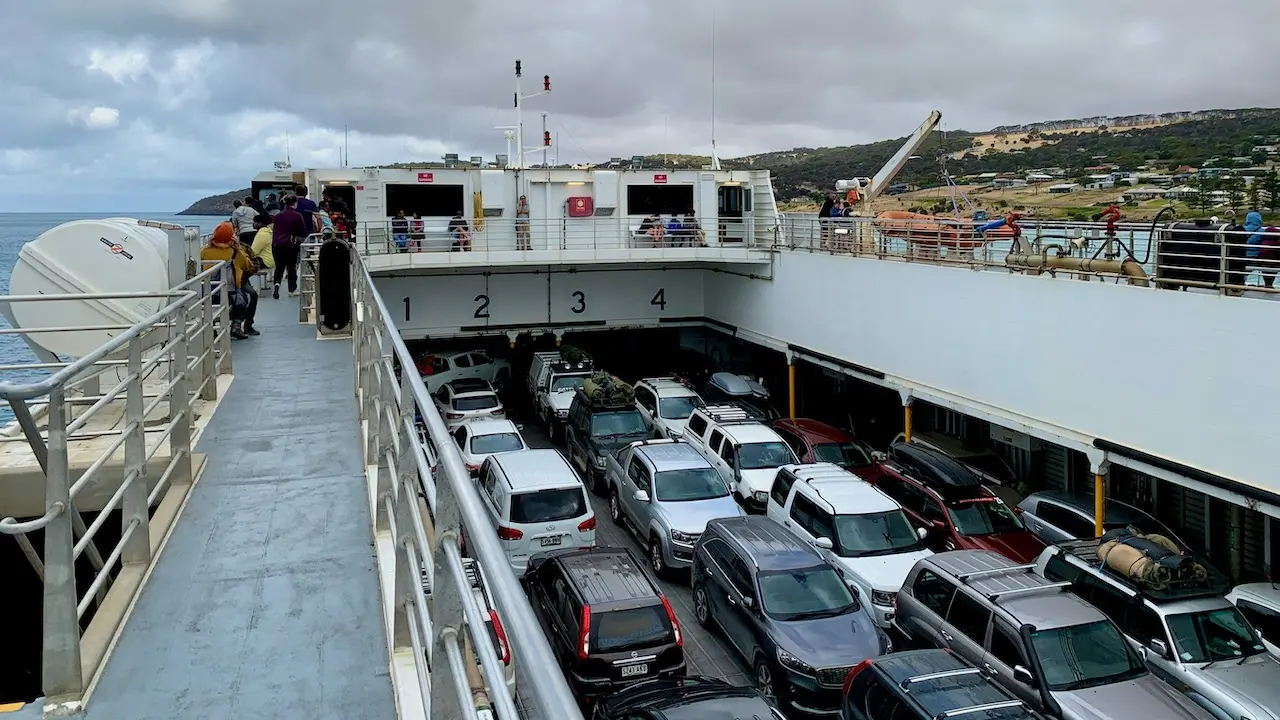
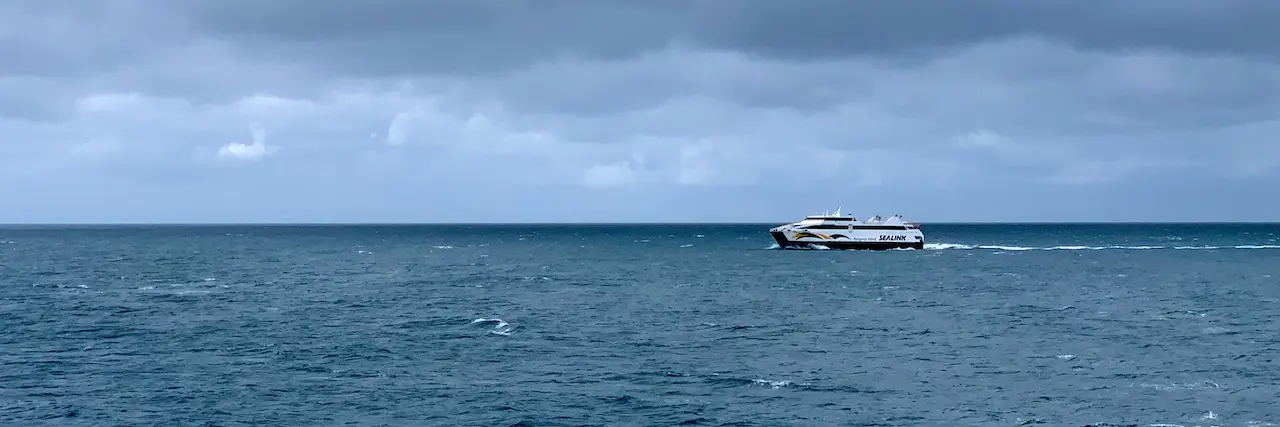
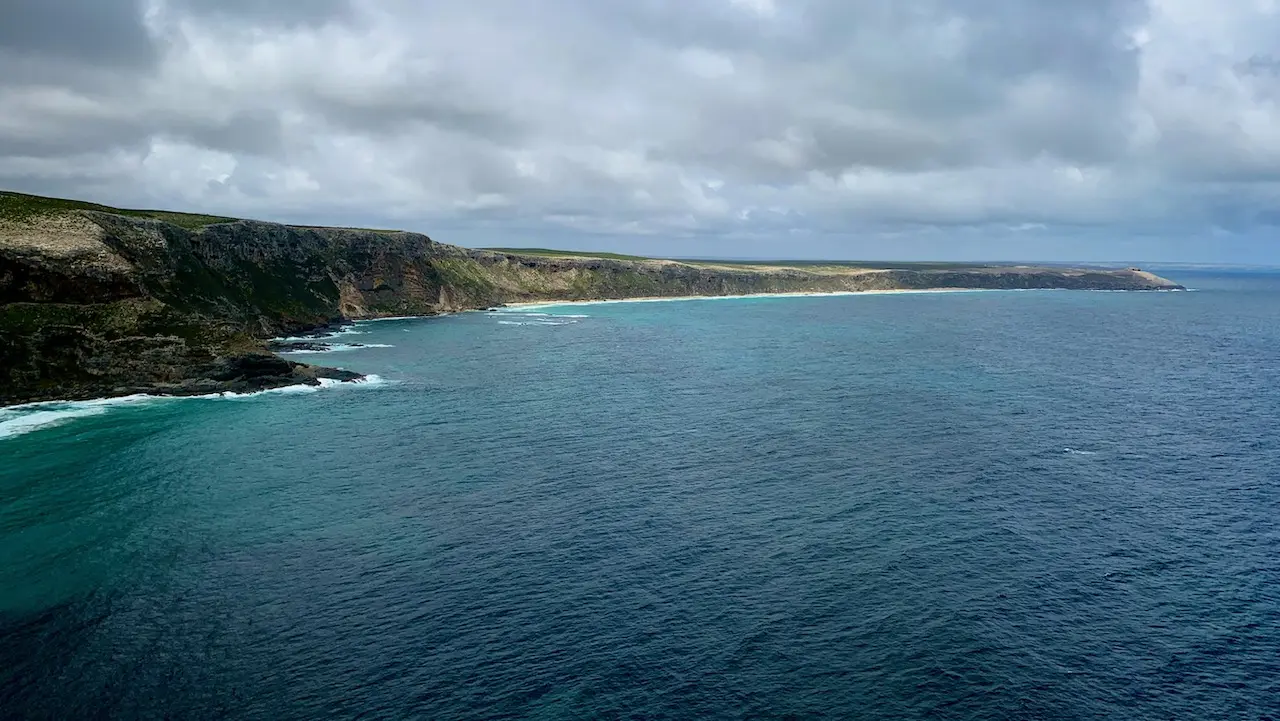
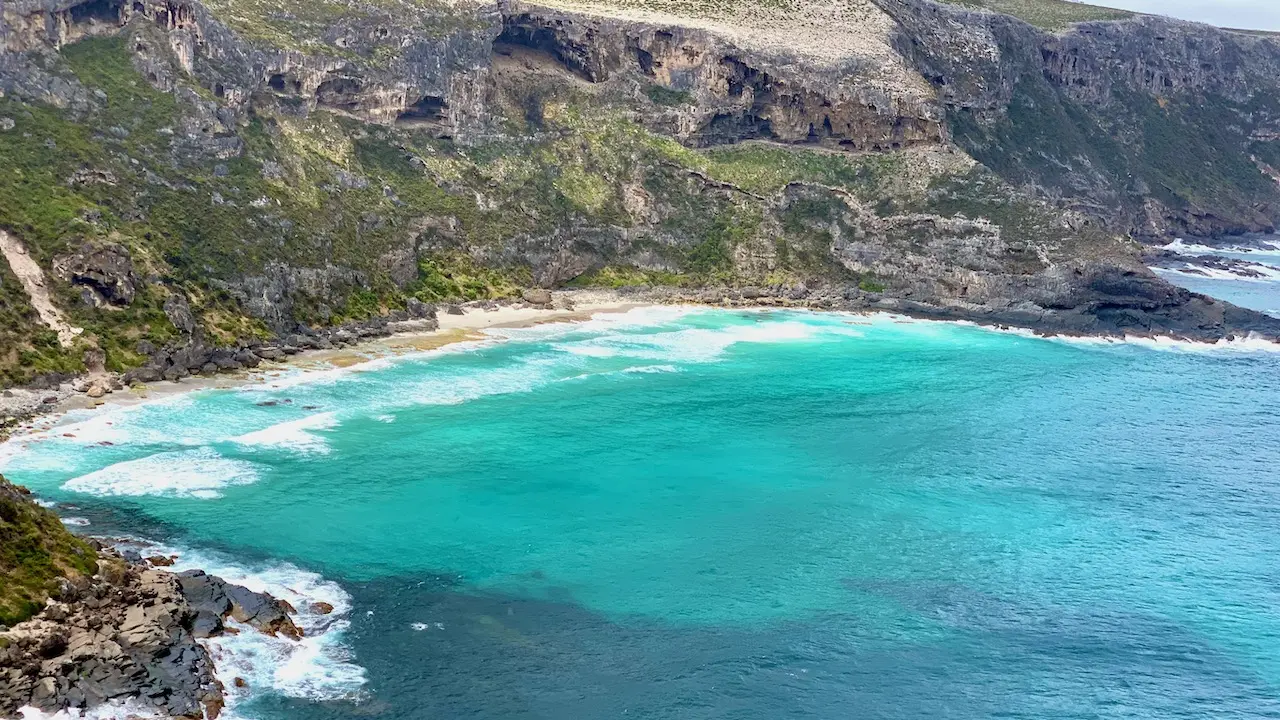
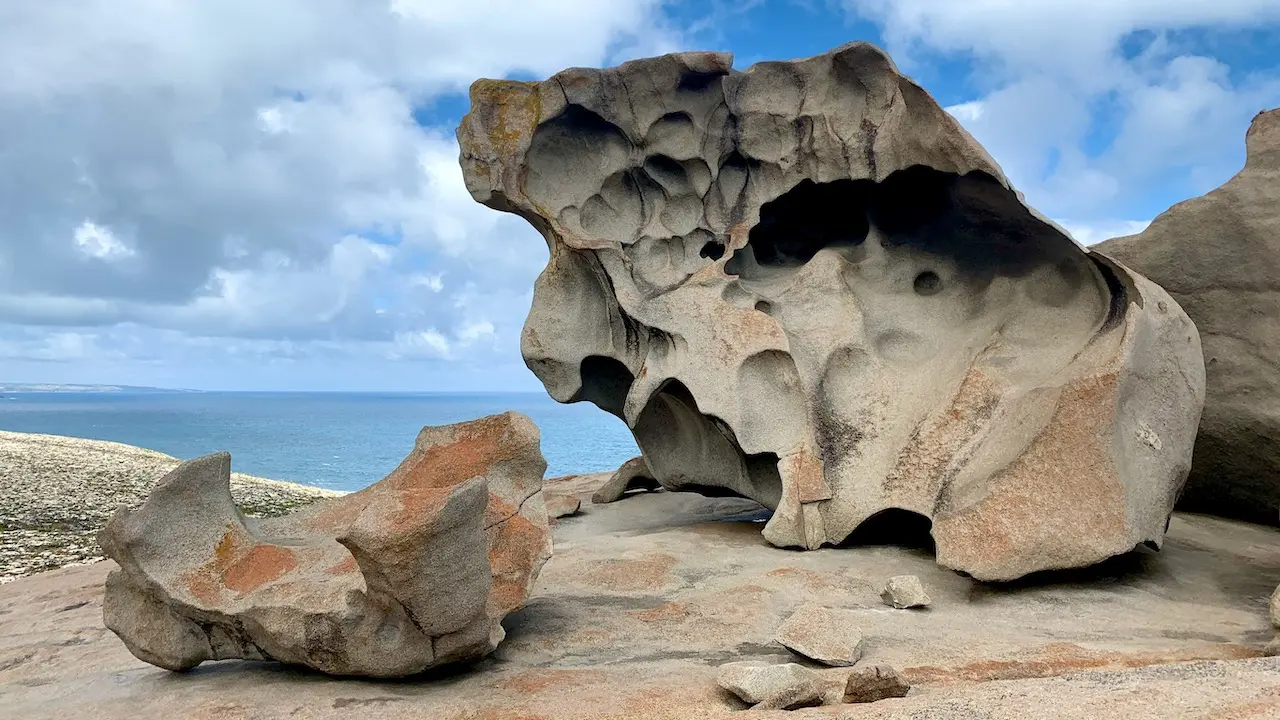
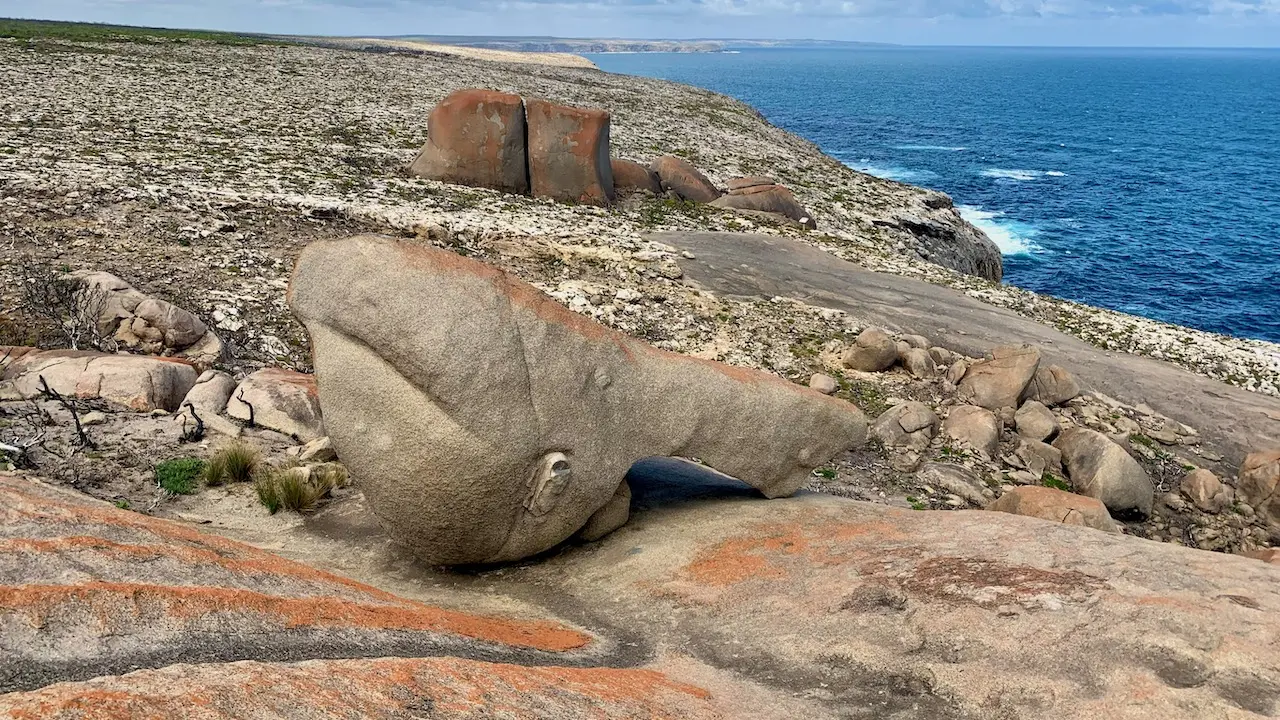
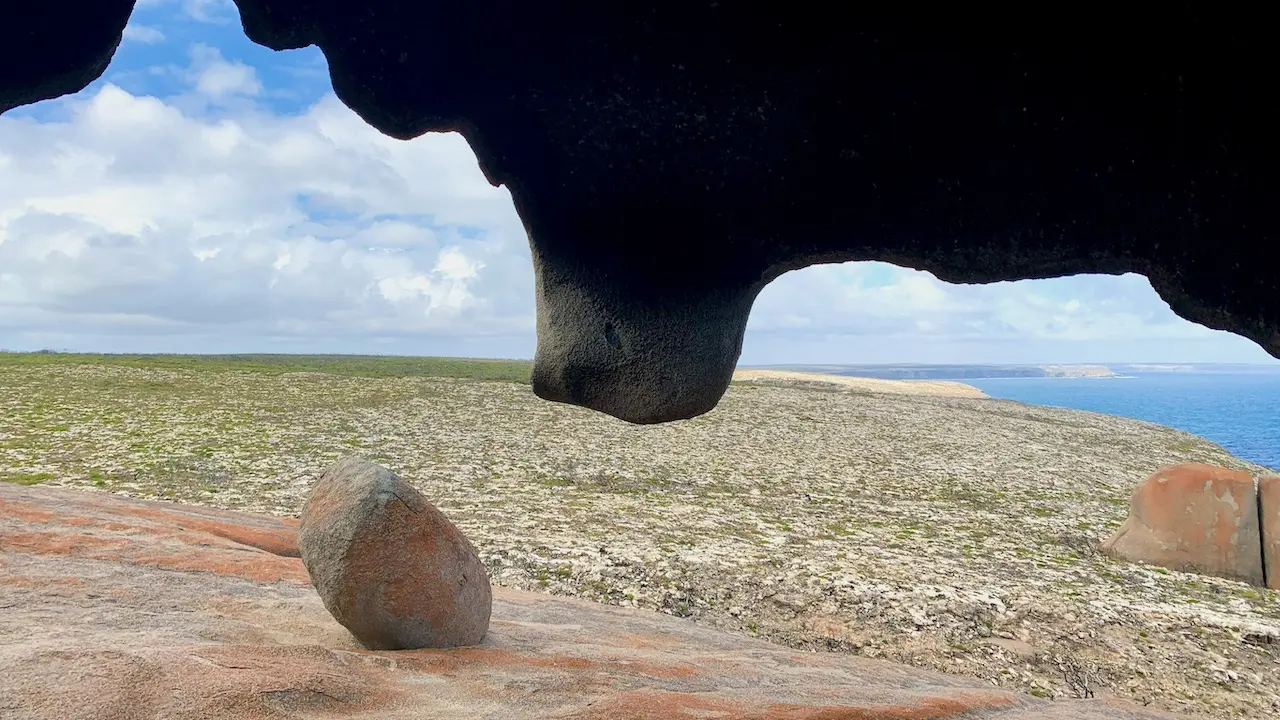
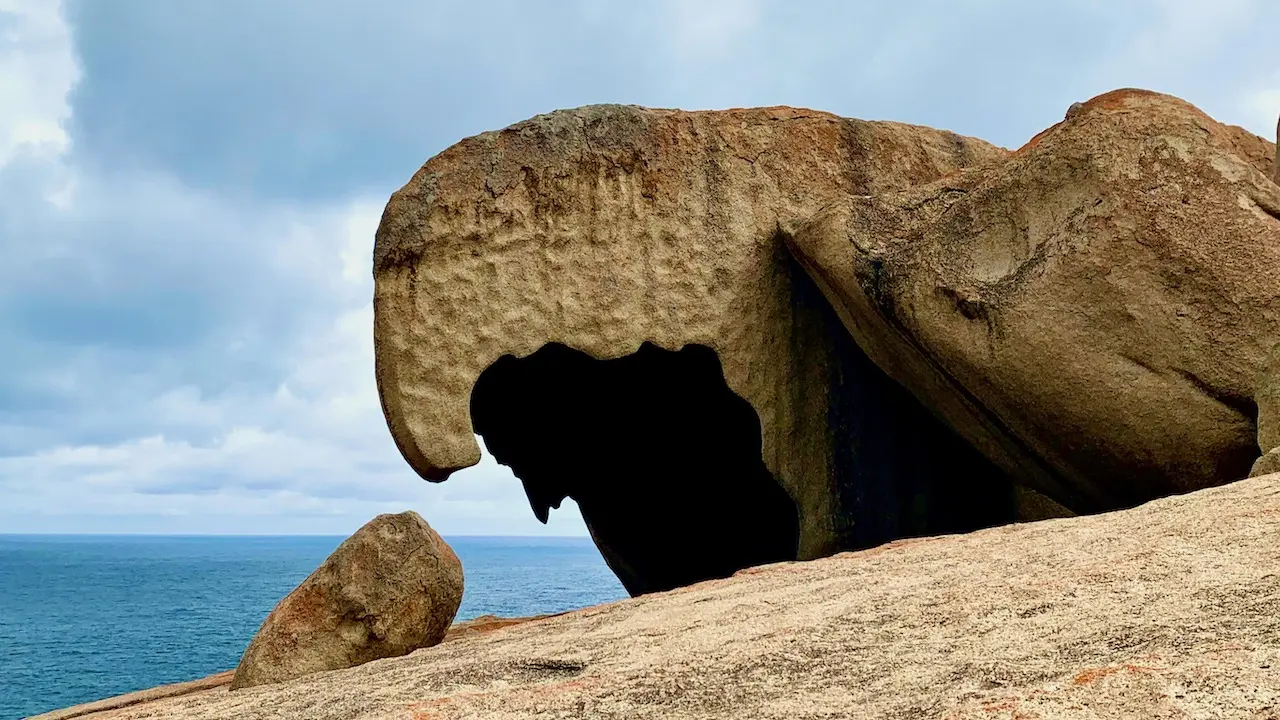
Kangaroo Island

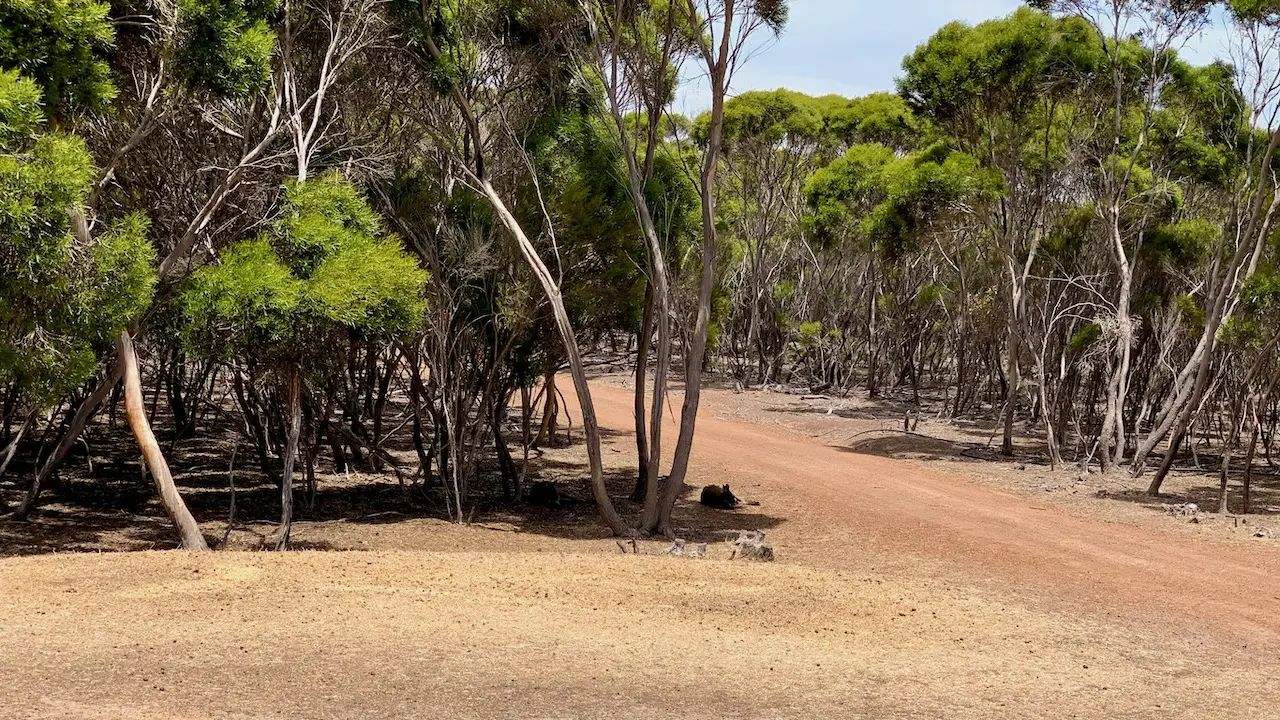


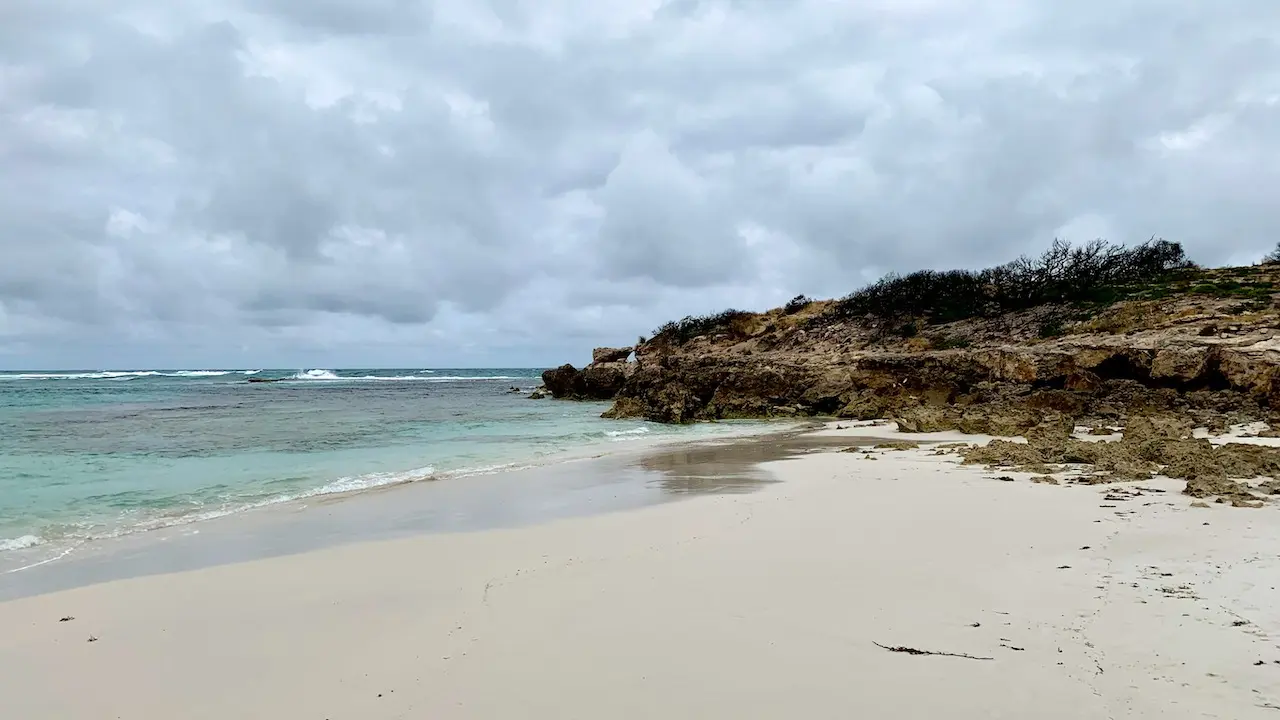


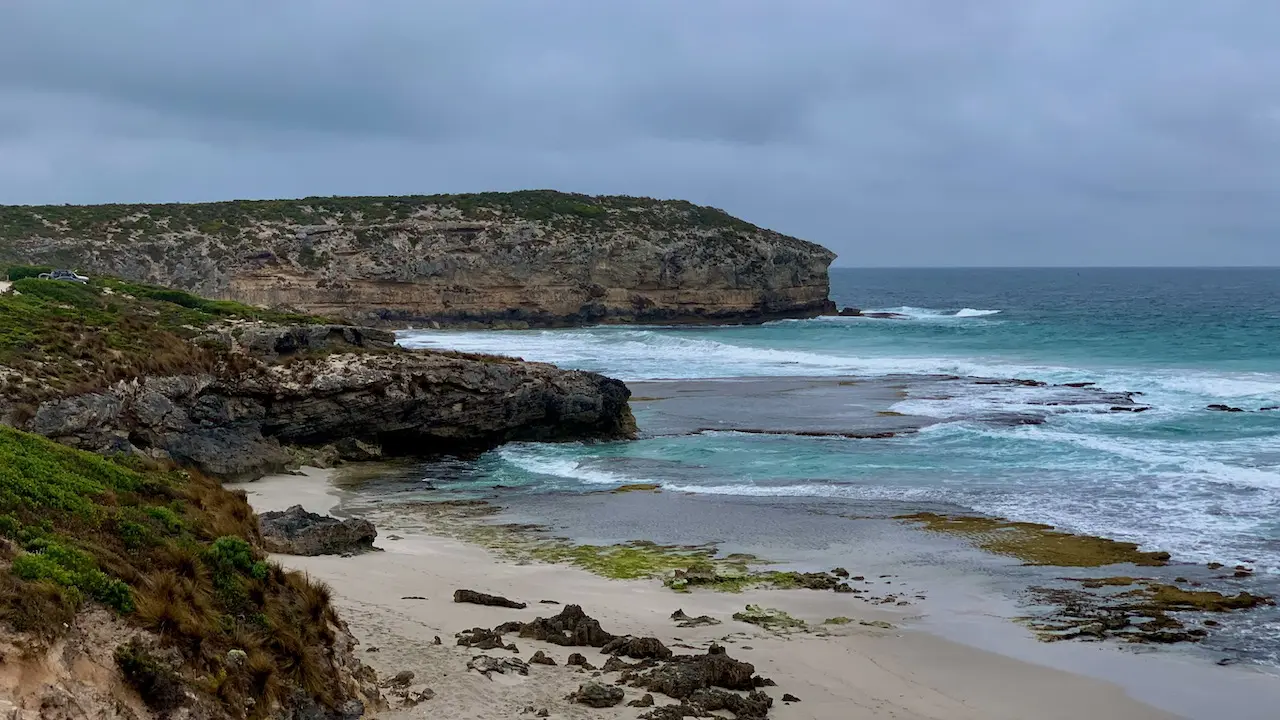
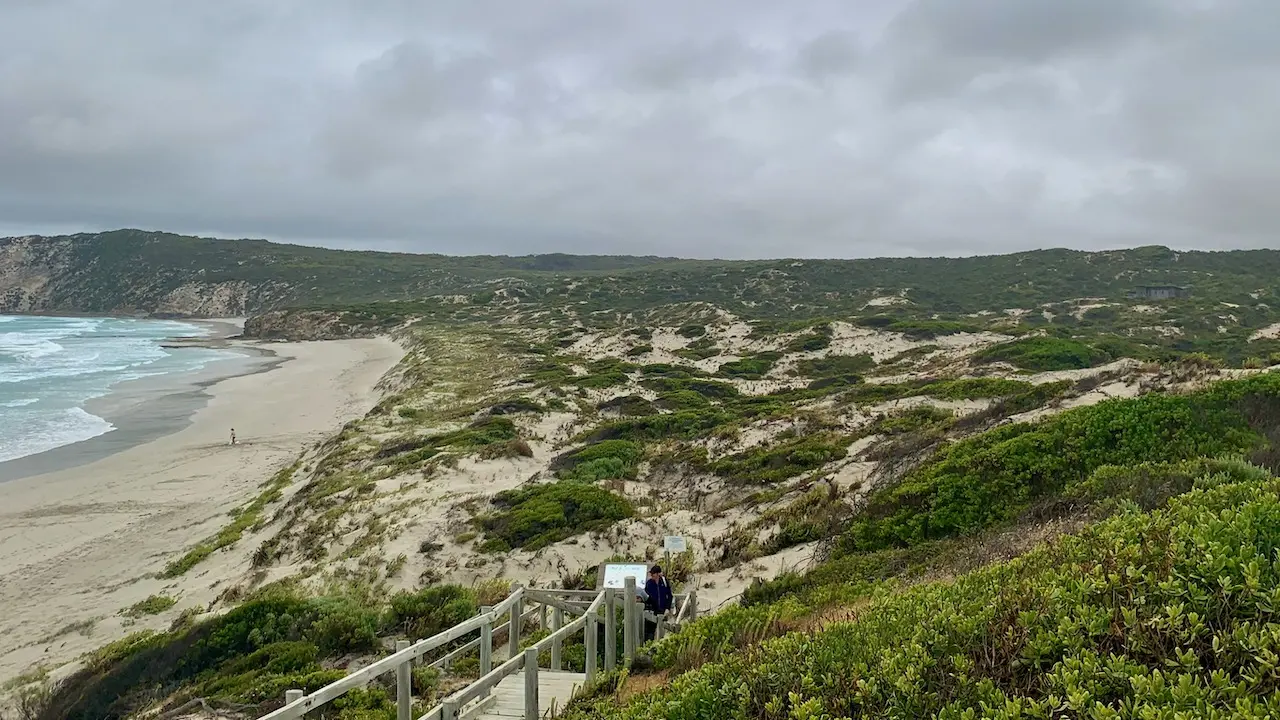


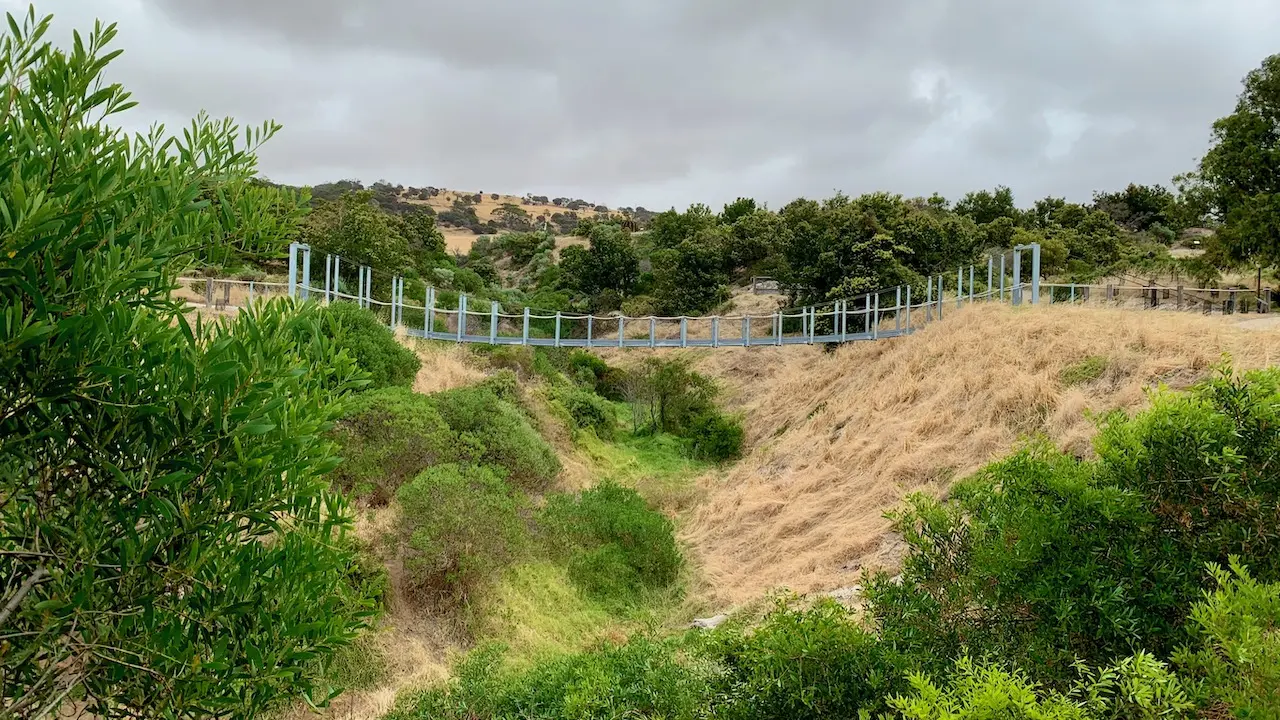

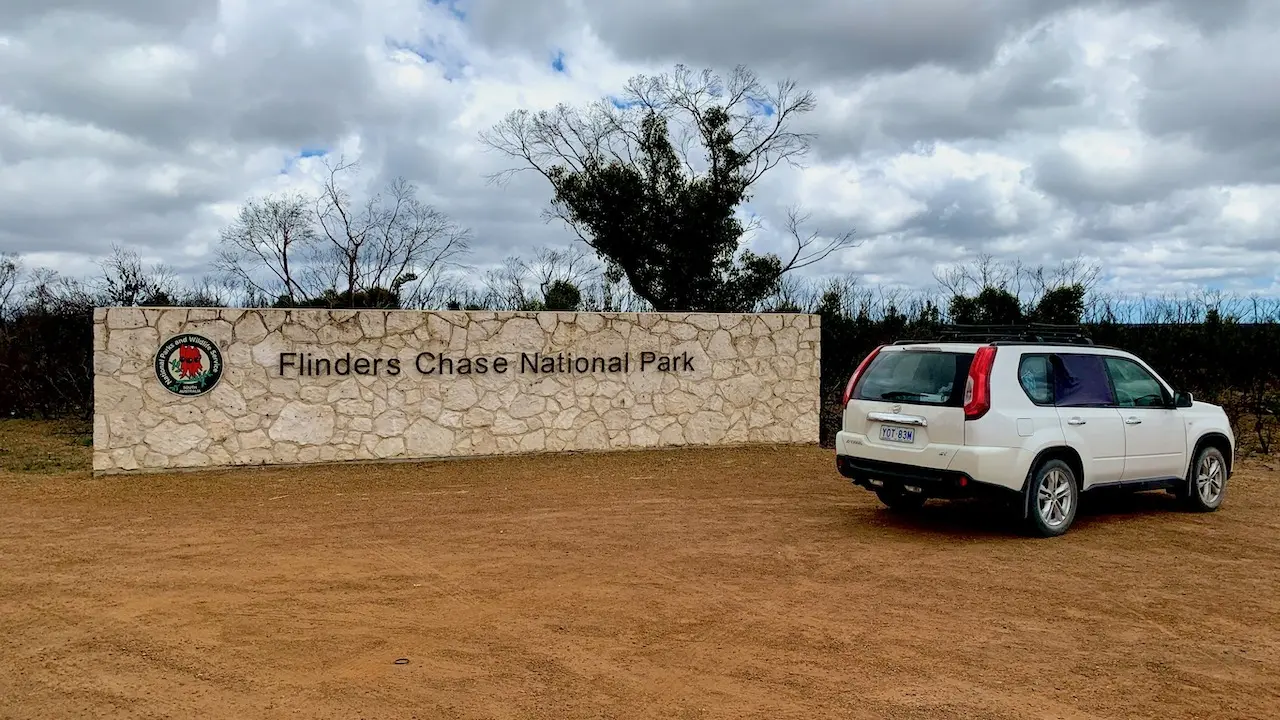
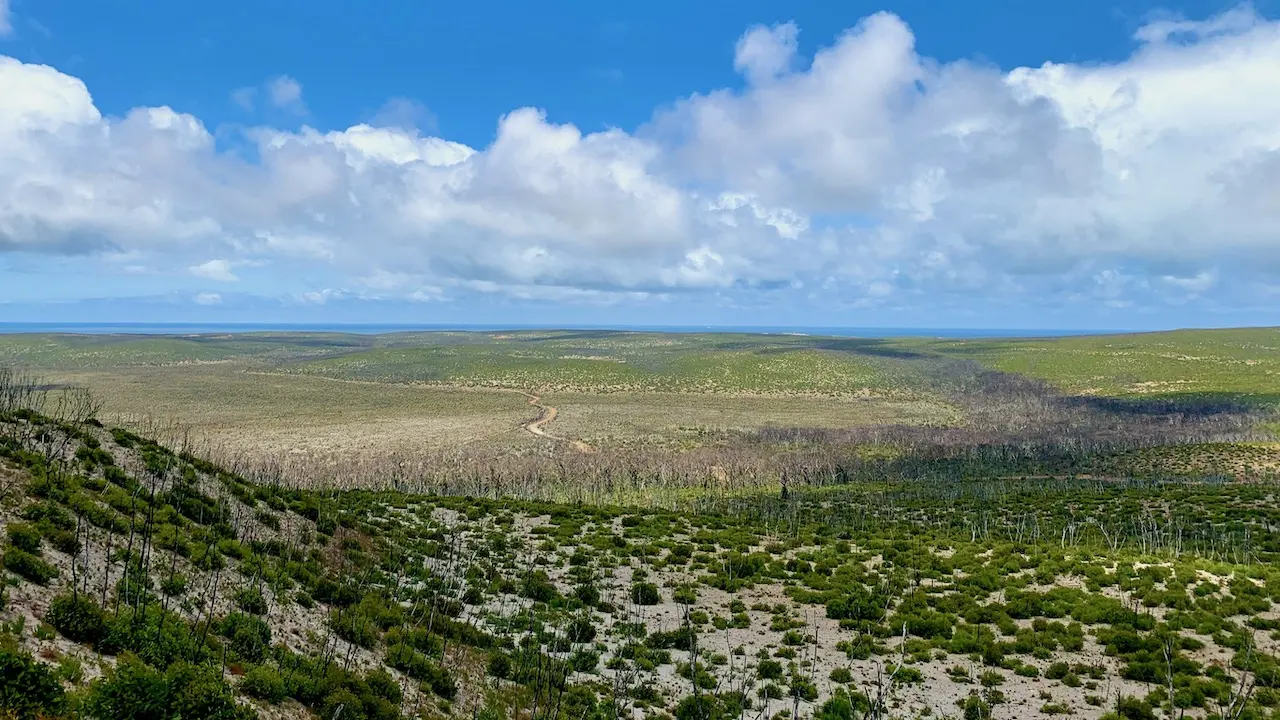
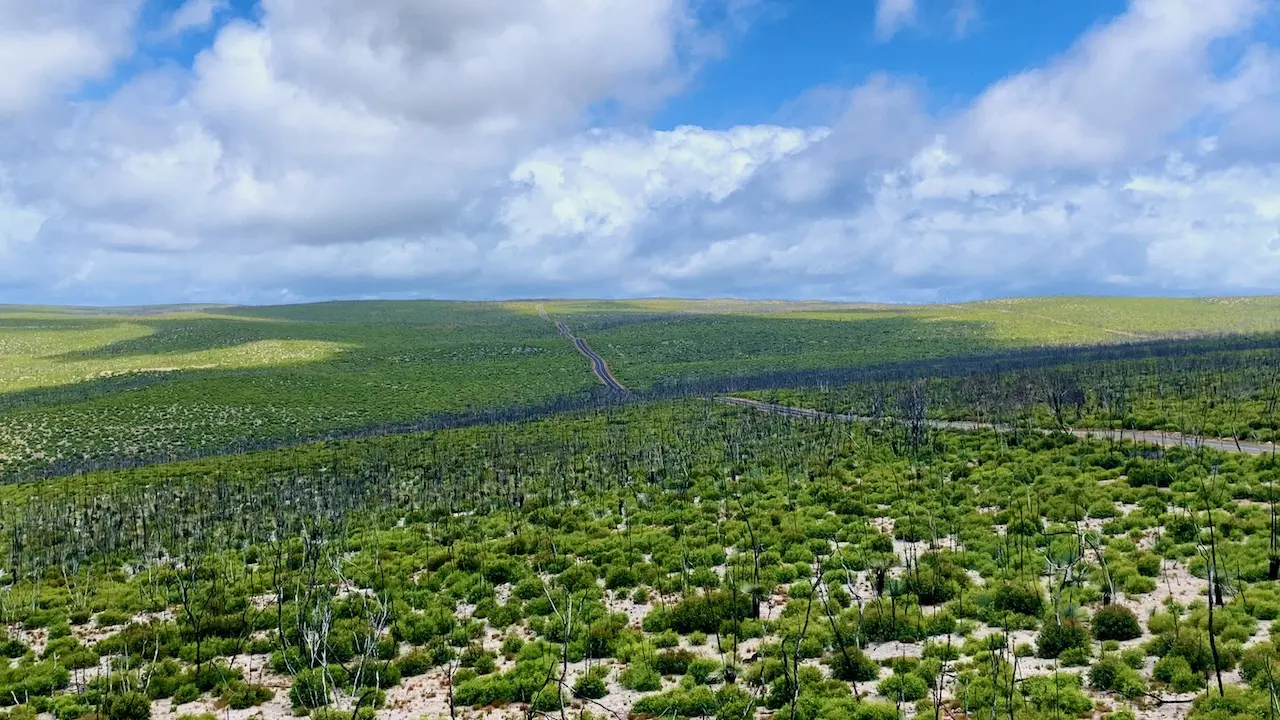
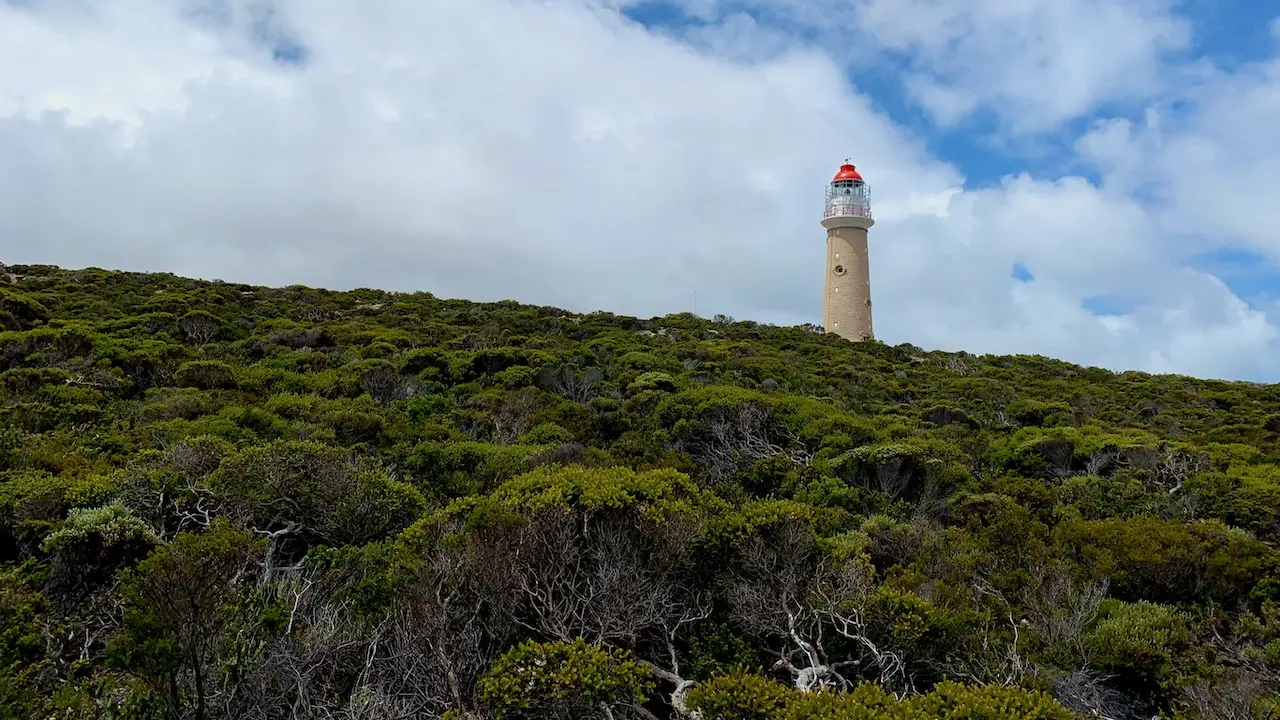
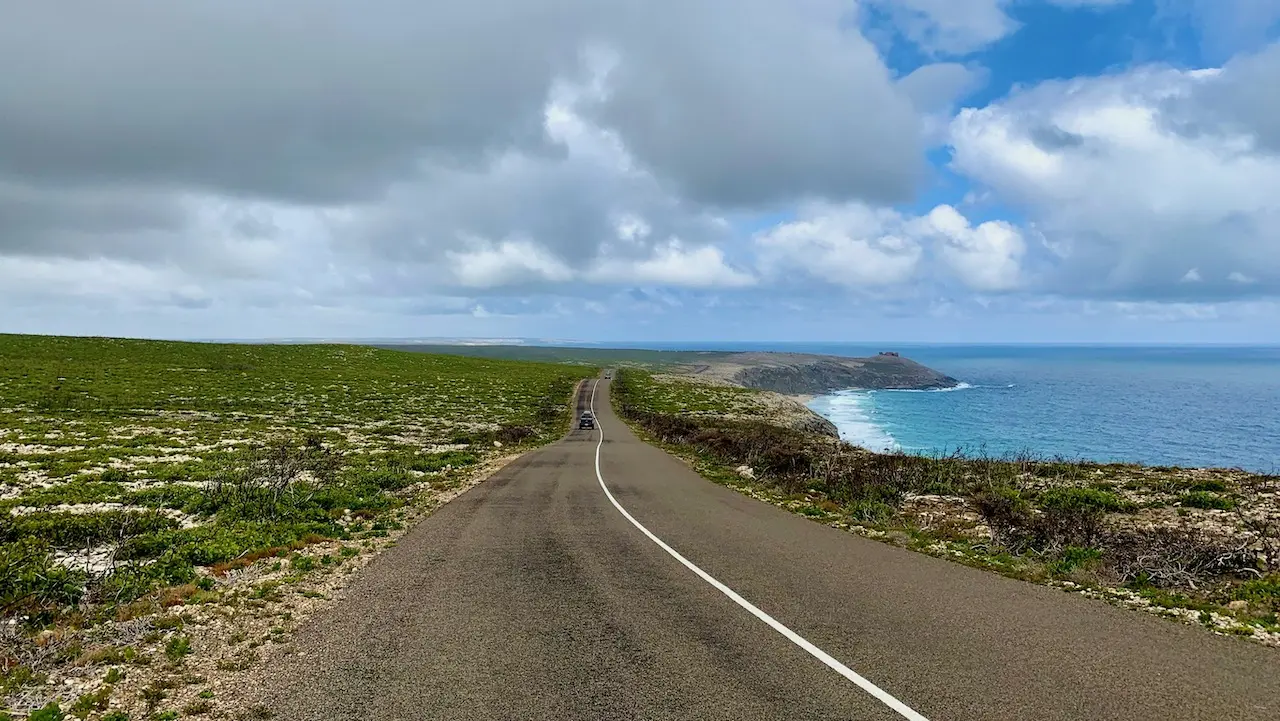
Flinders Chase National Park
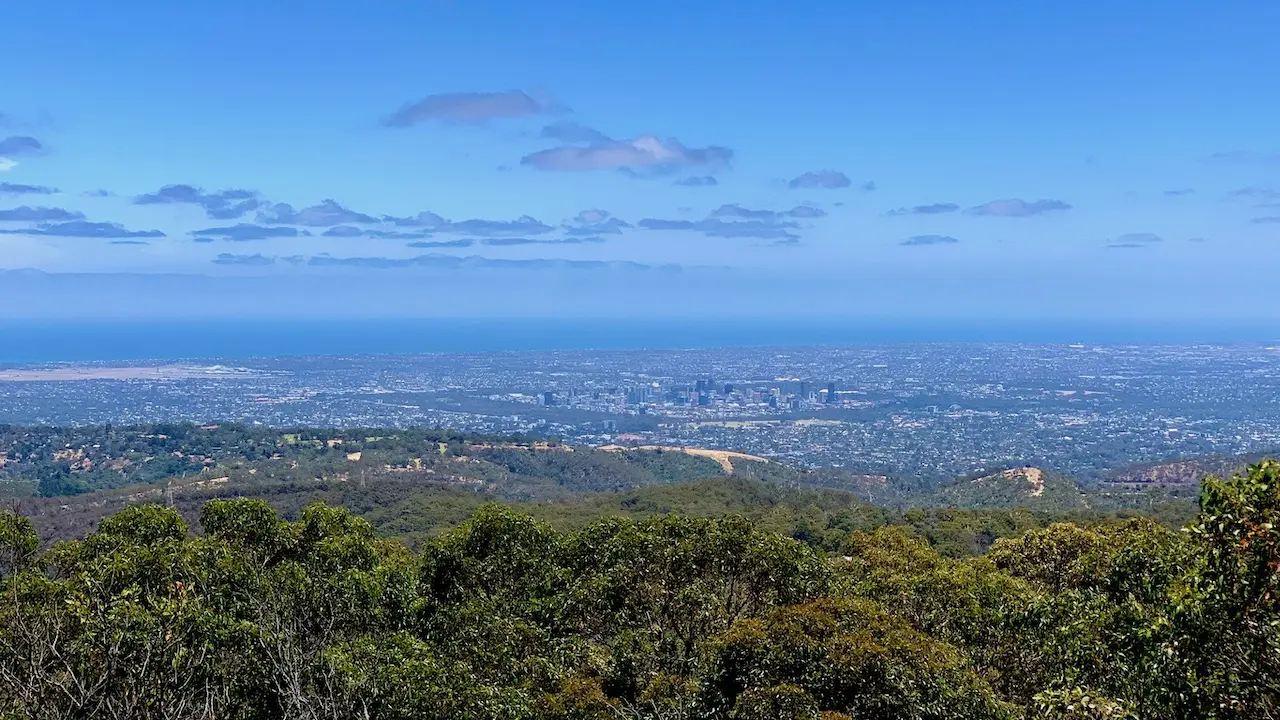
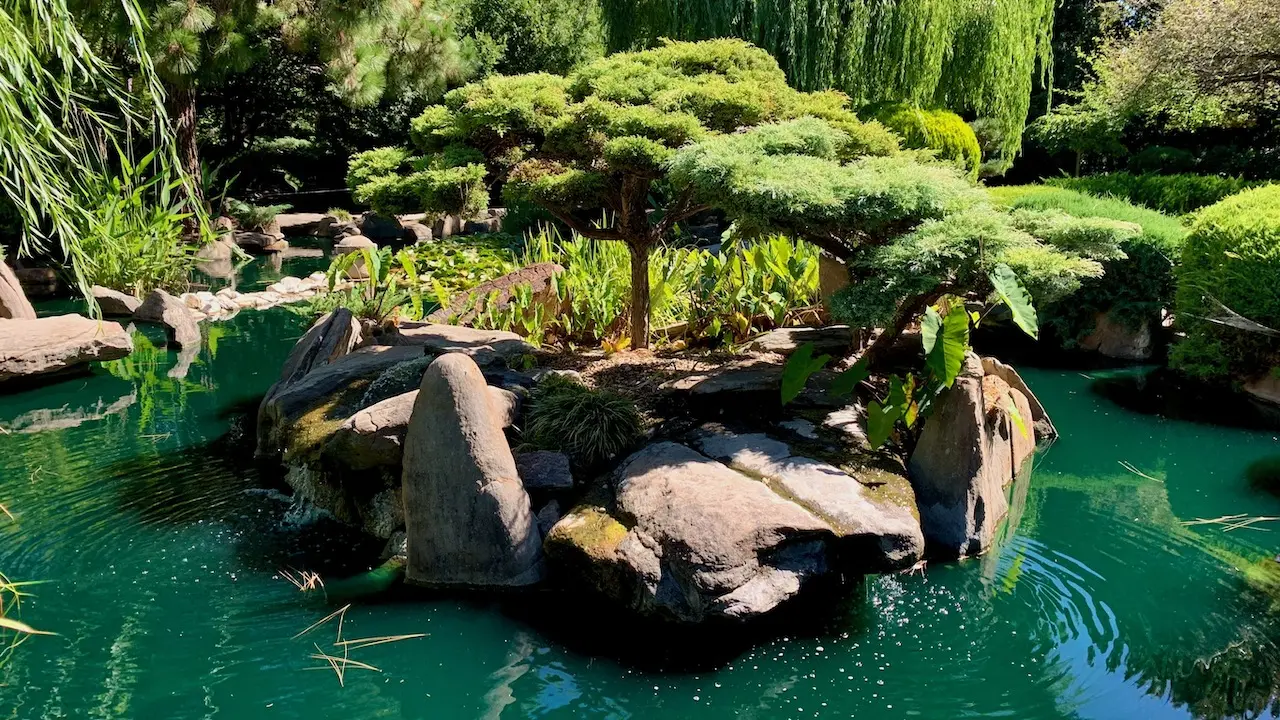
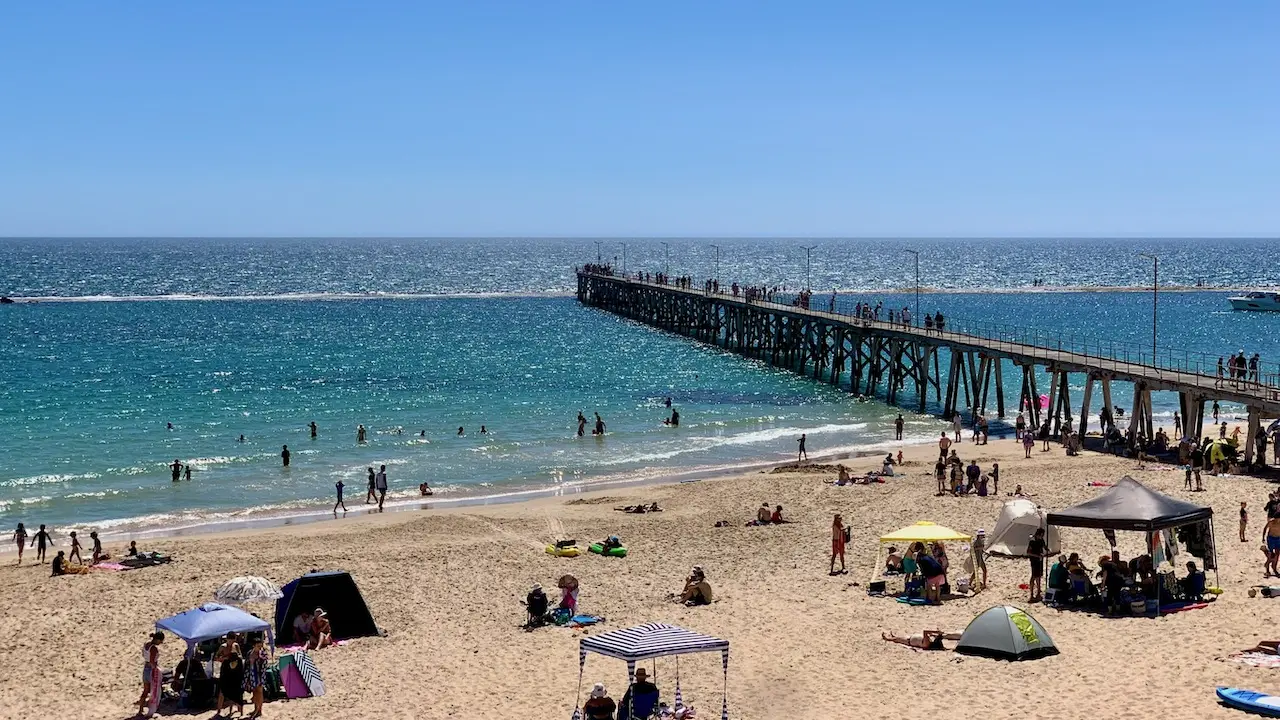
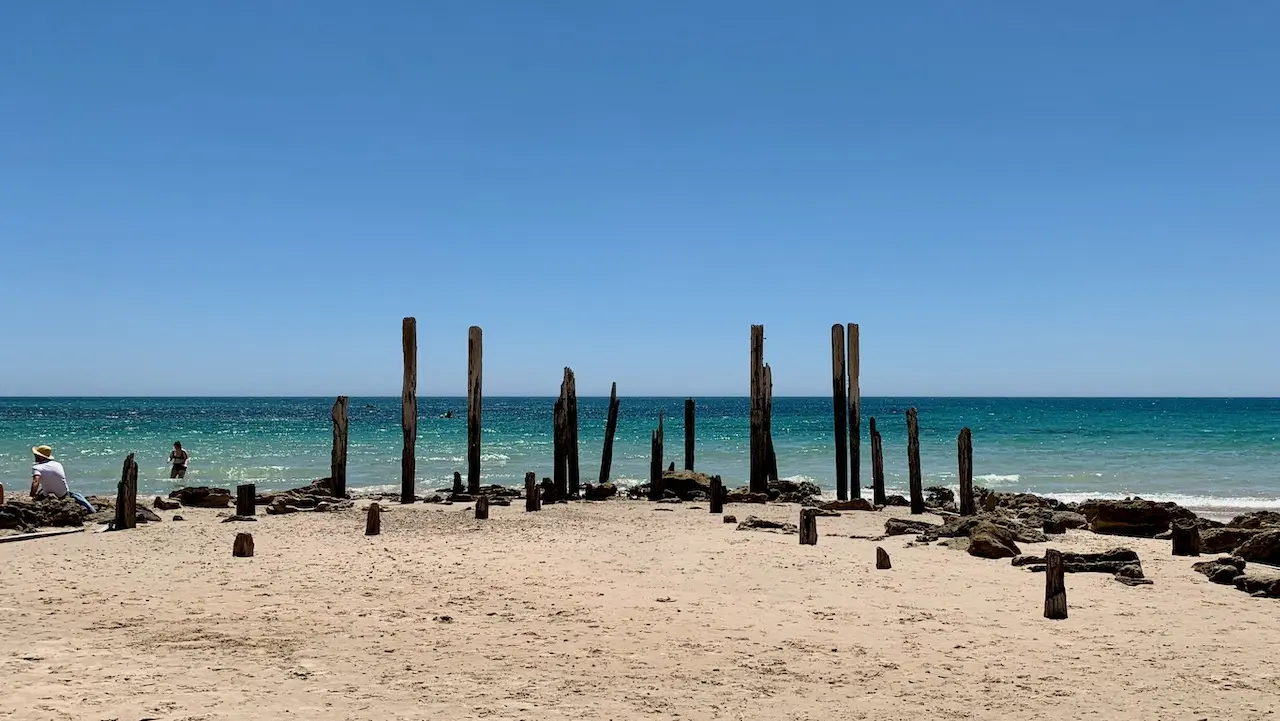
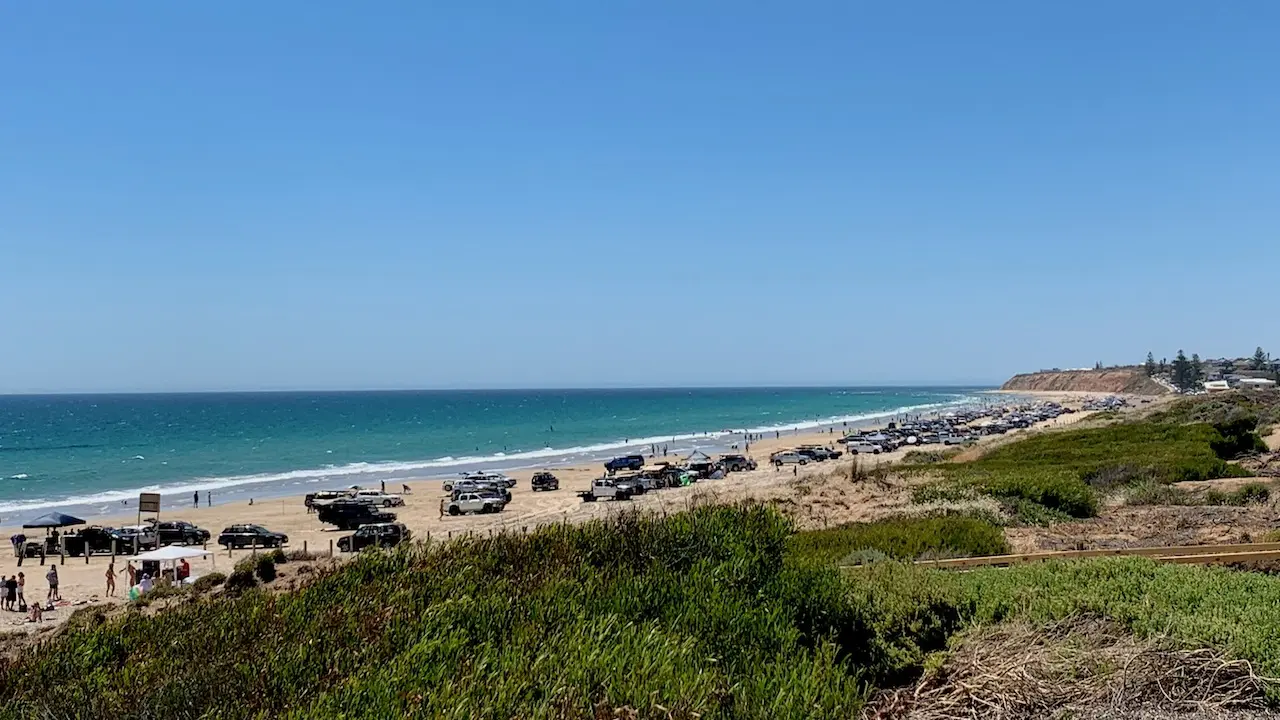
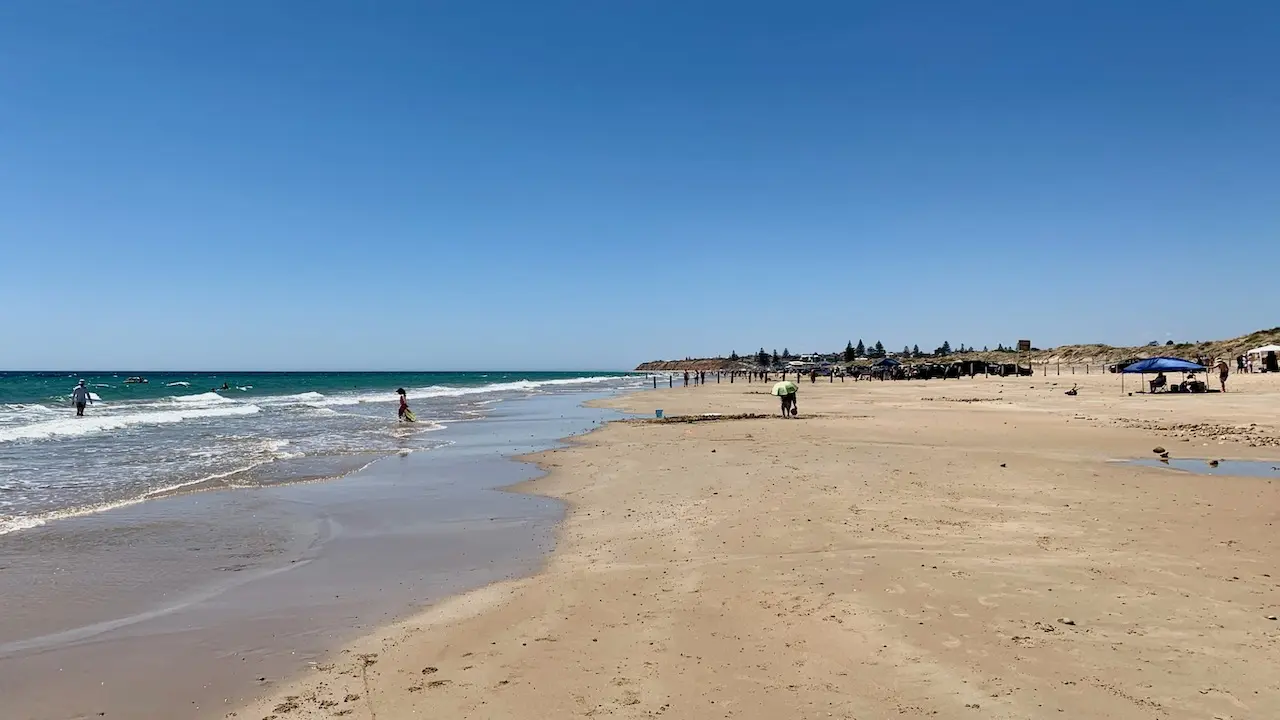
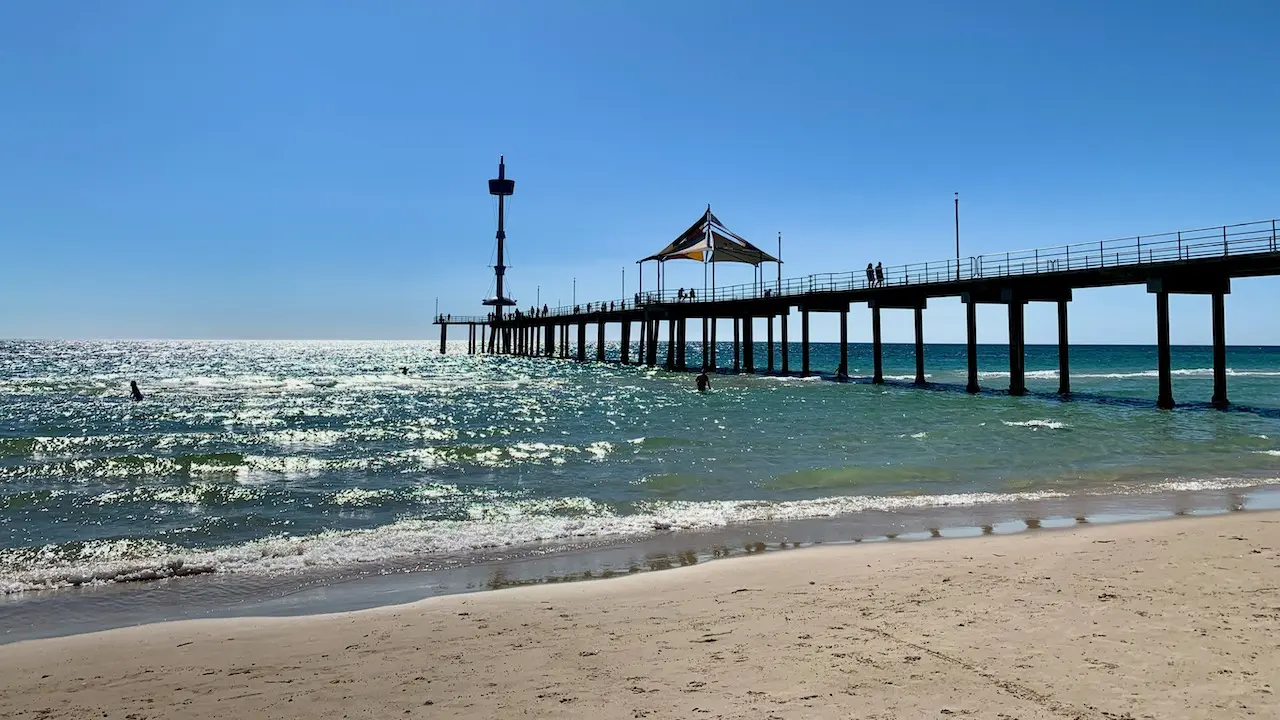
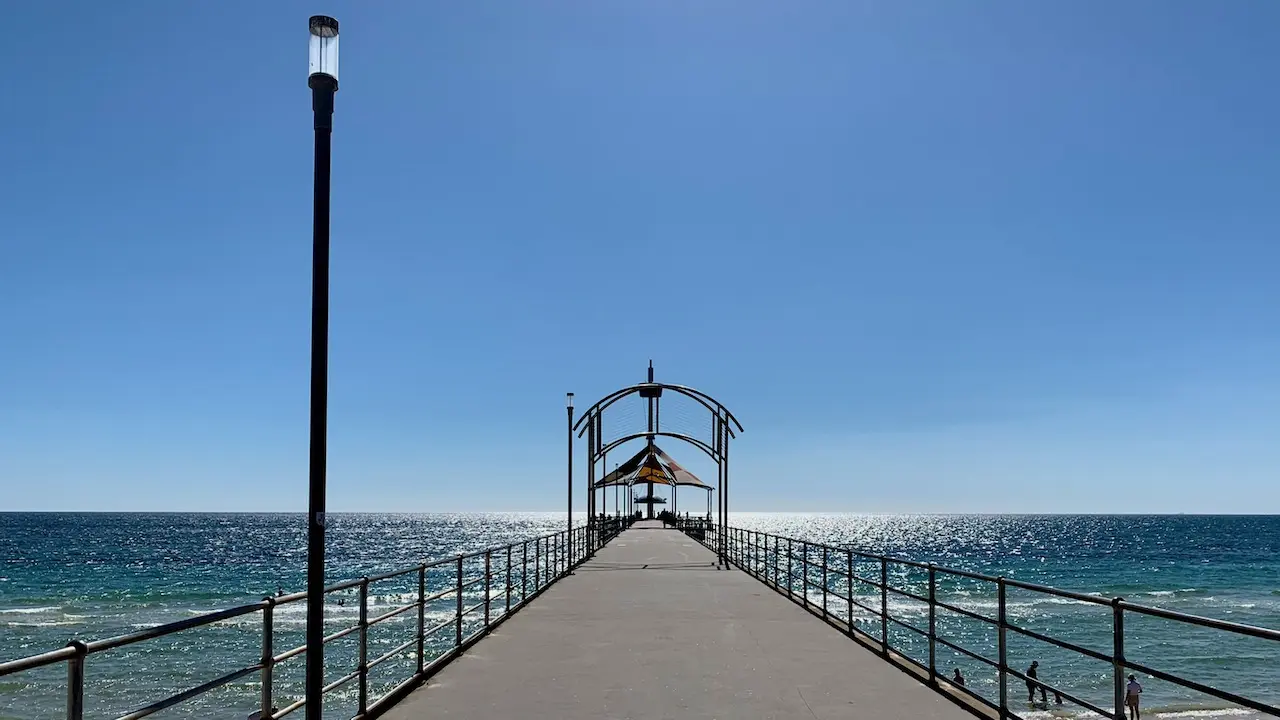
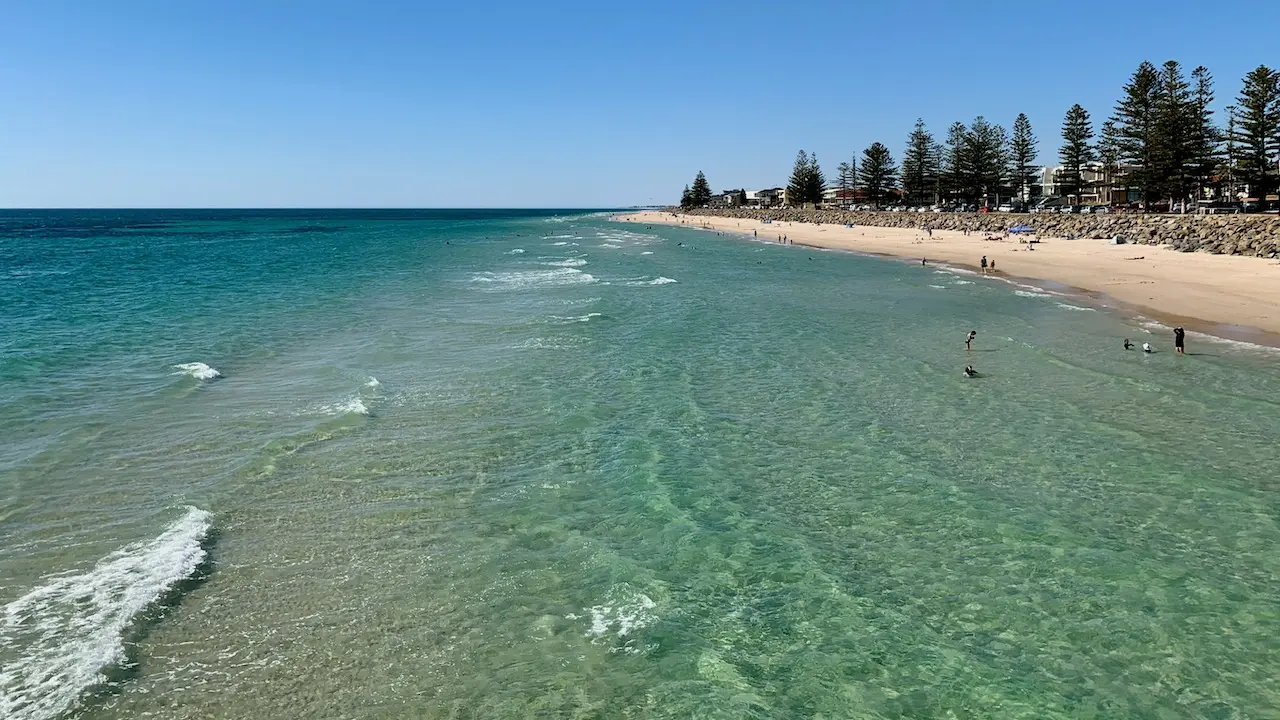
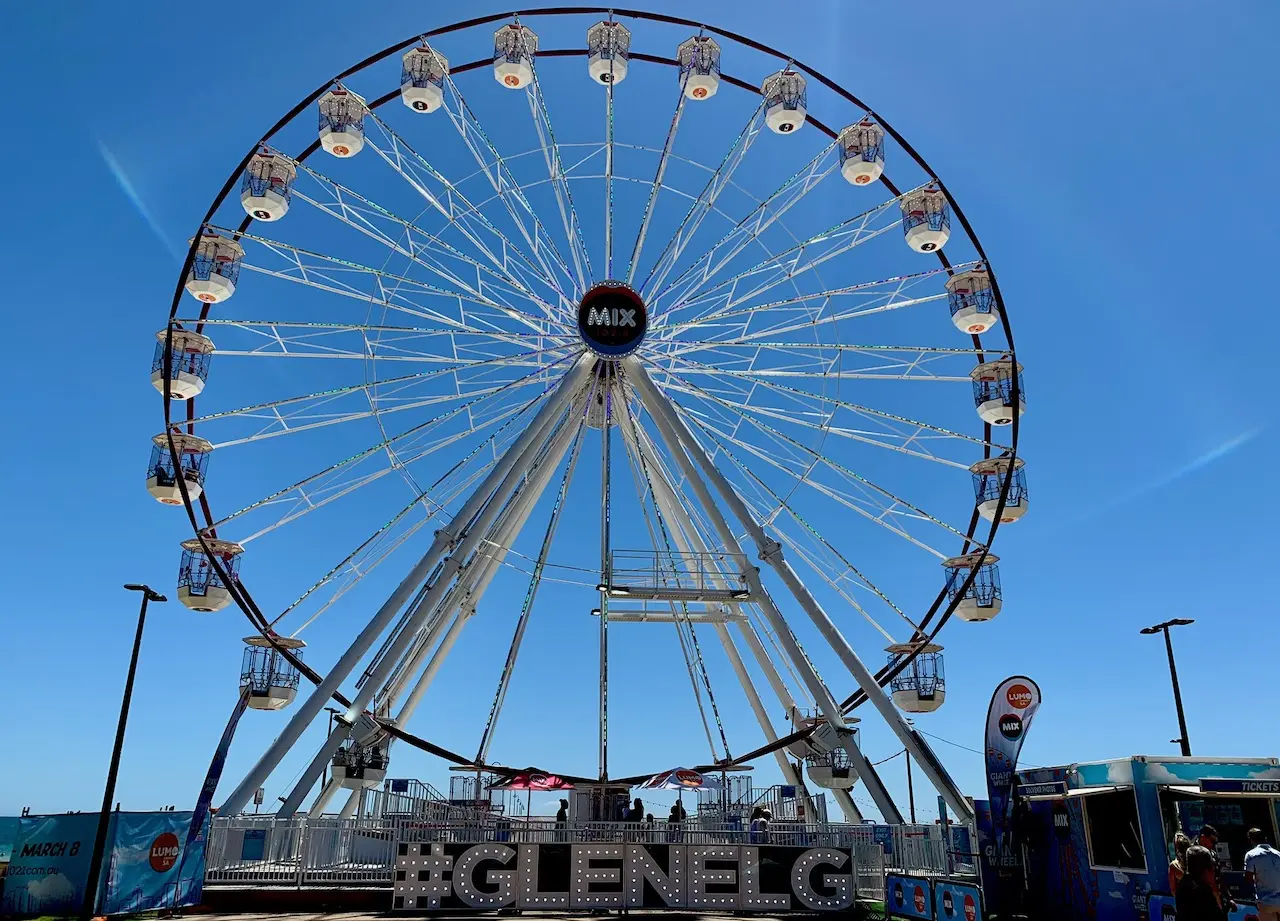
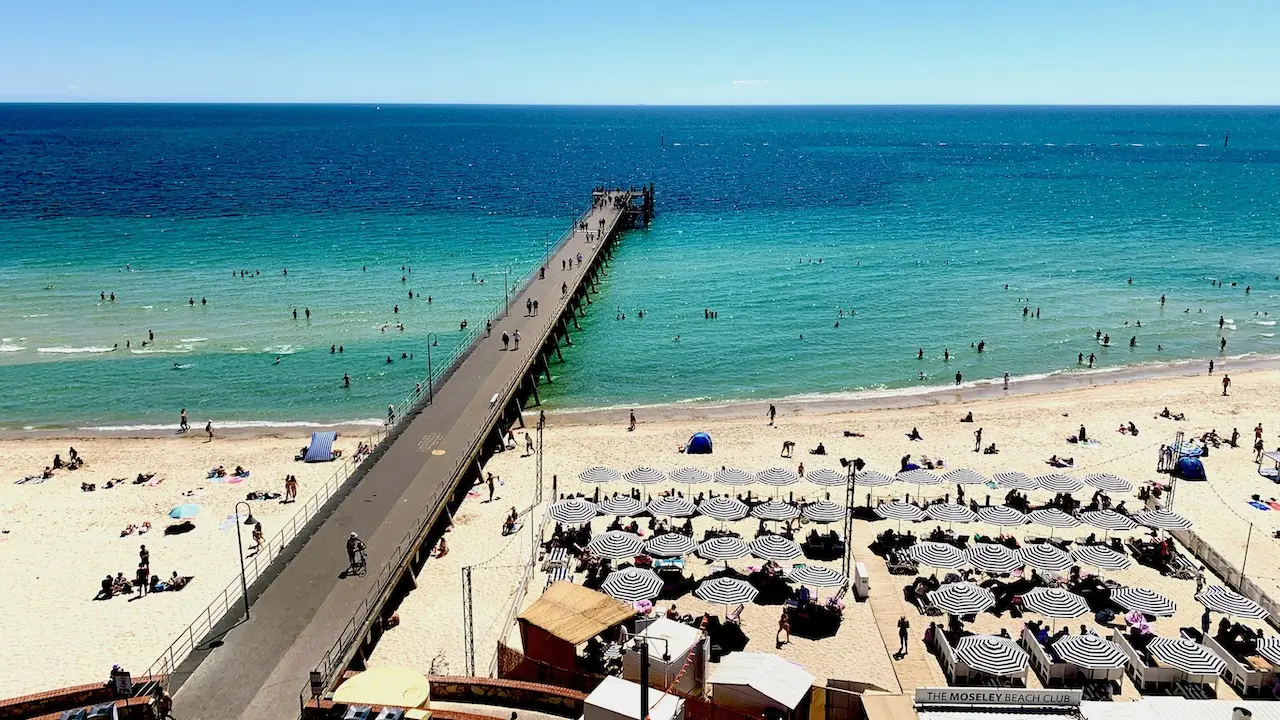
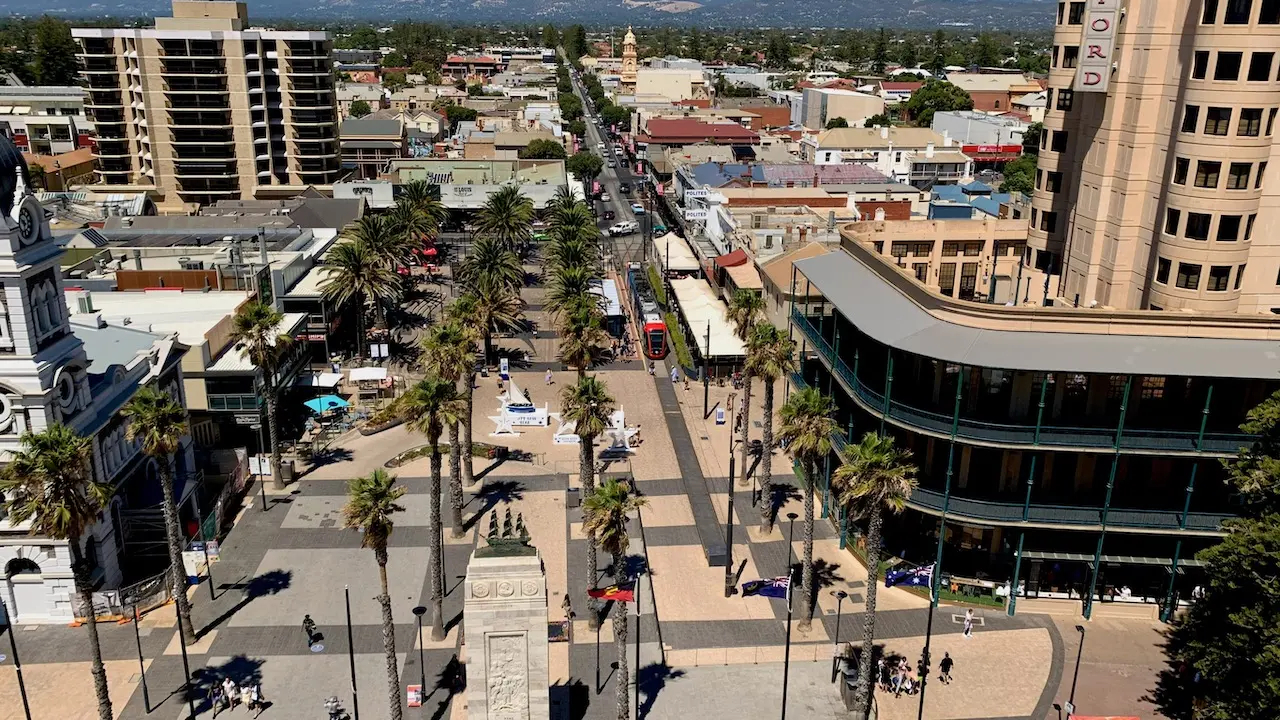
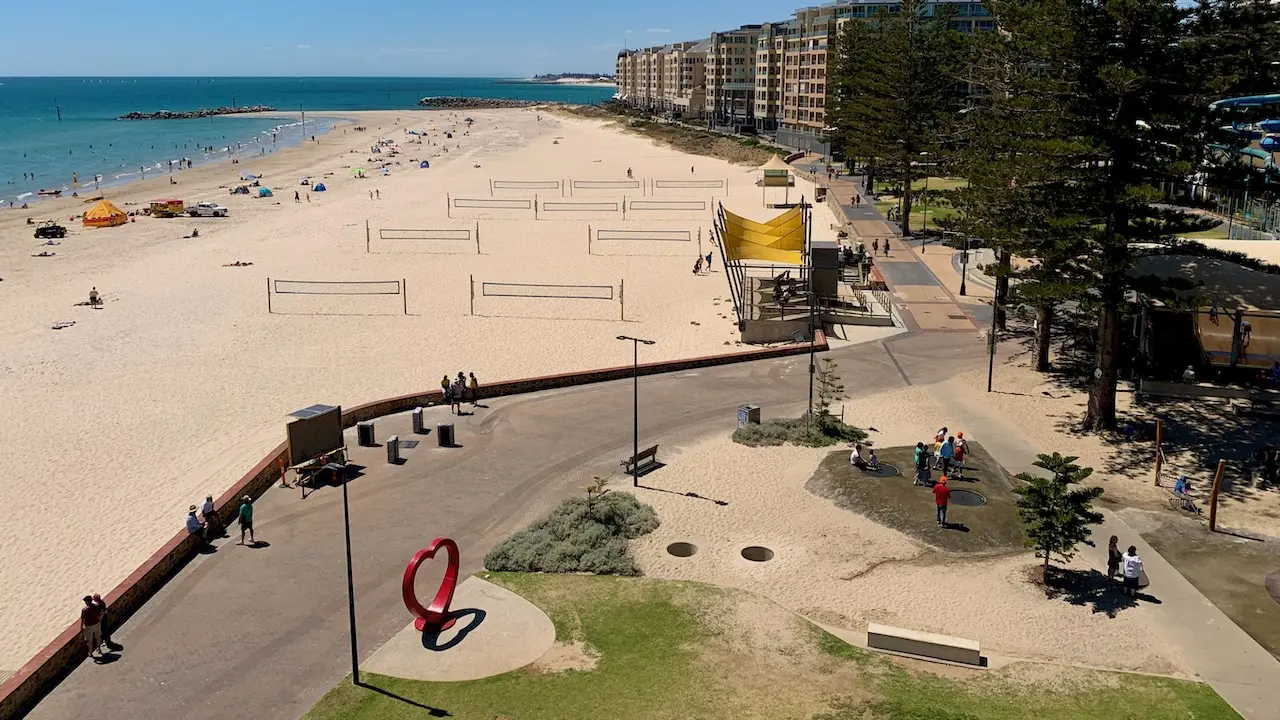
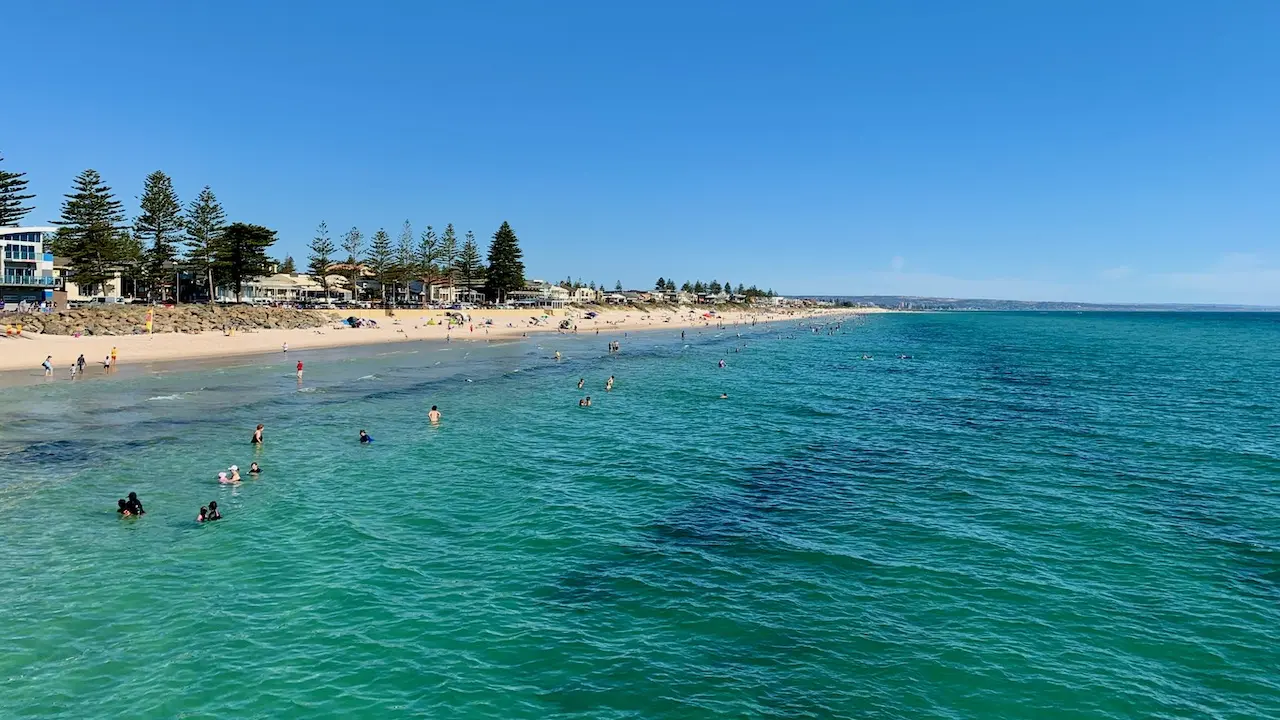
Adelaide


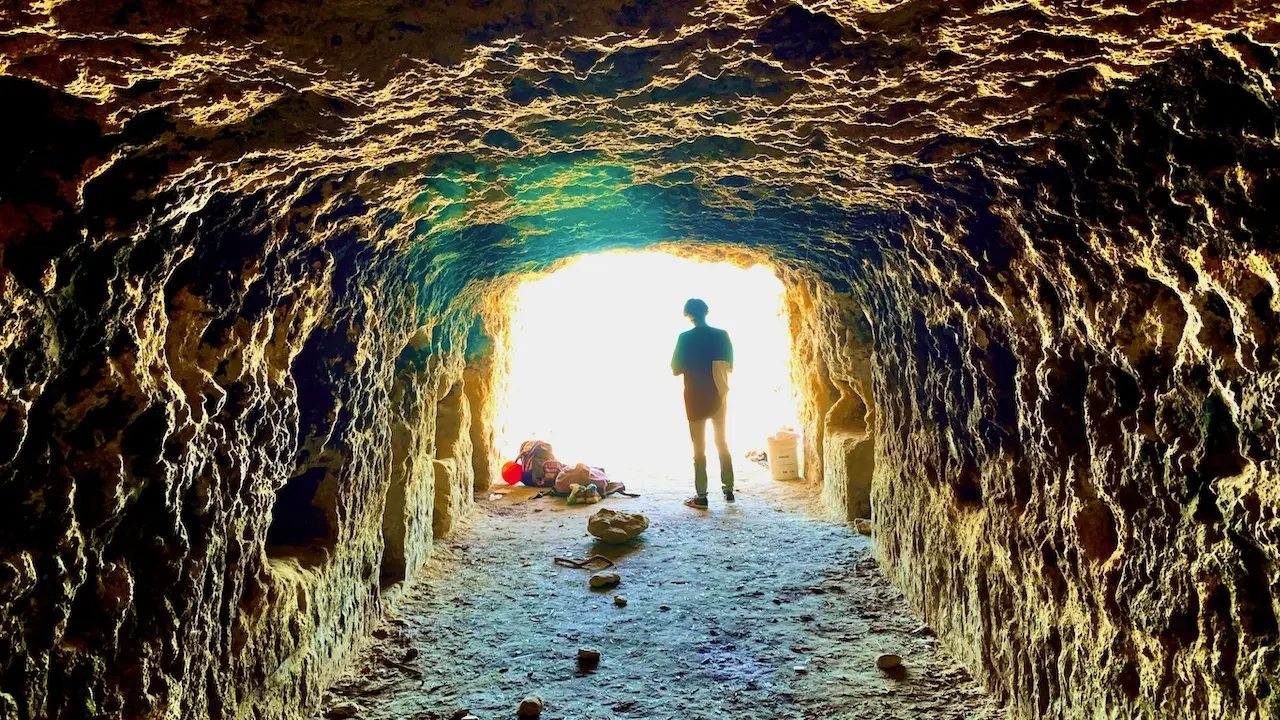

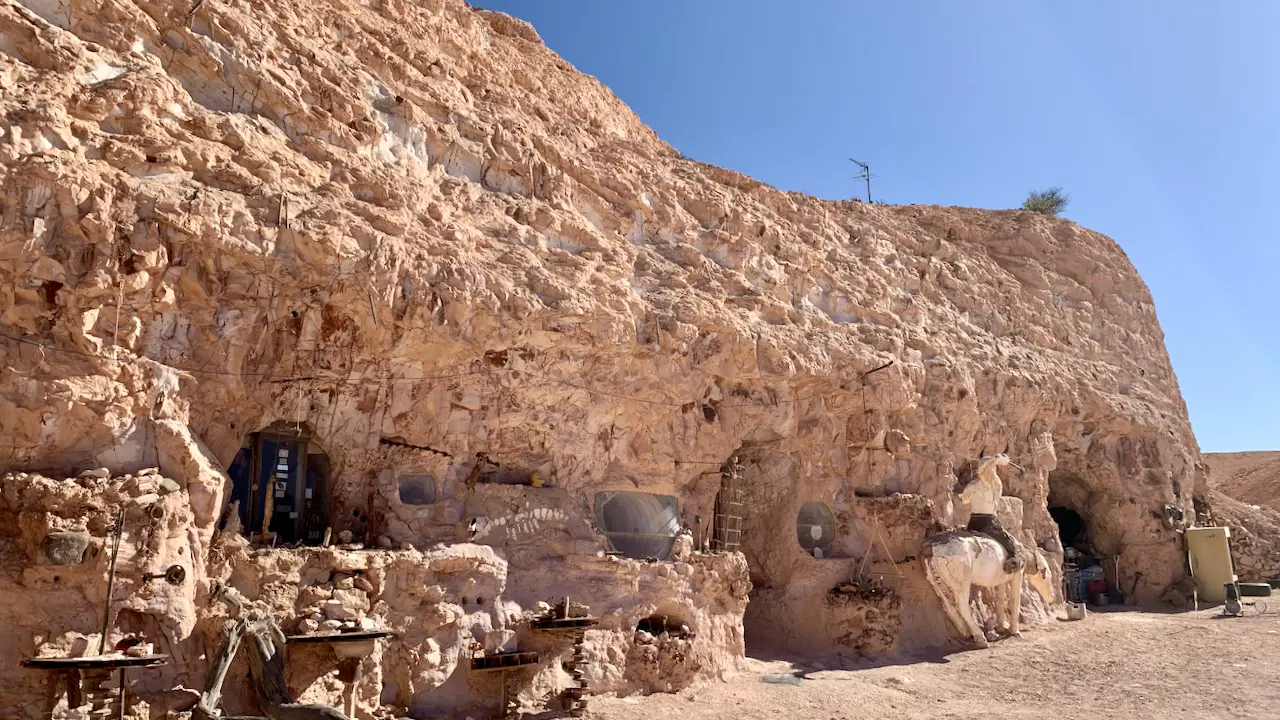
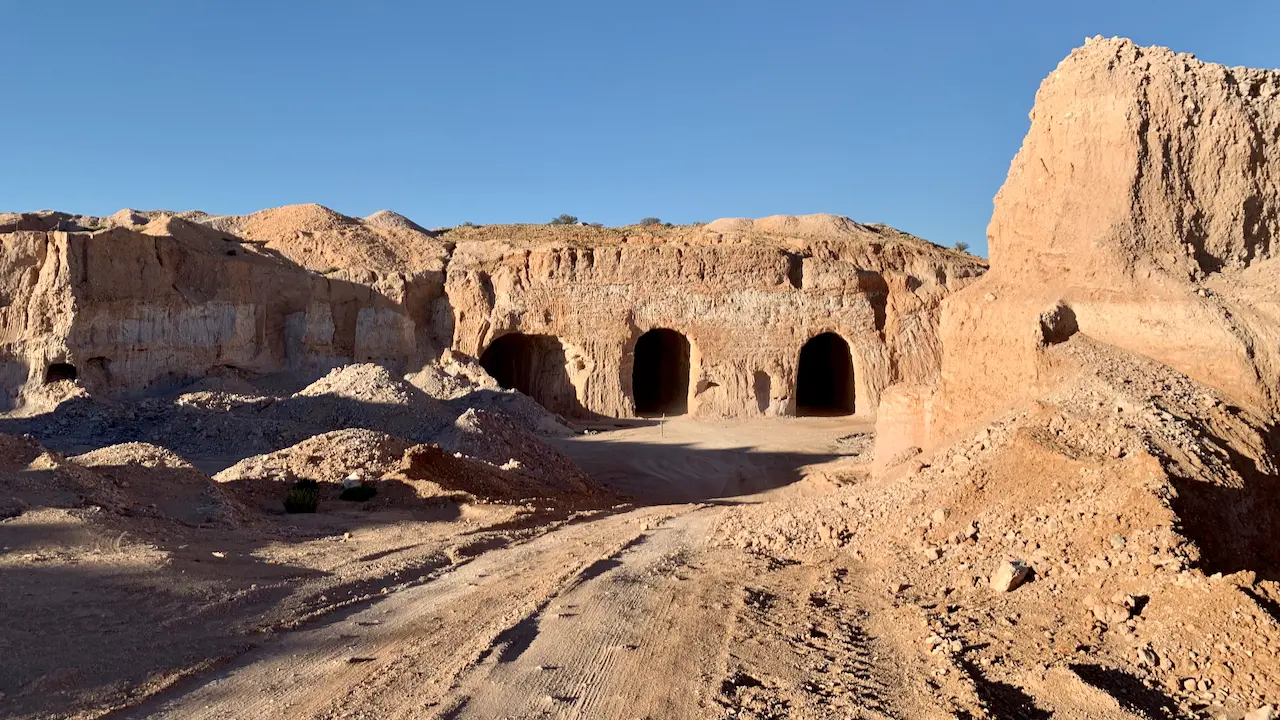
Coober Pedy


Popular Travel Guides
Our Most Popular Destinations
Latest from the Blog
Find Travel Inspiration